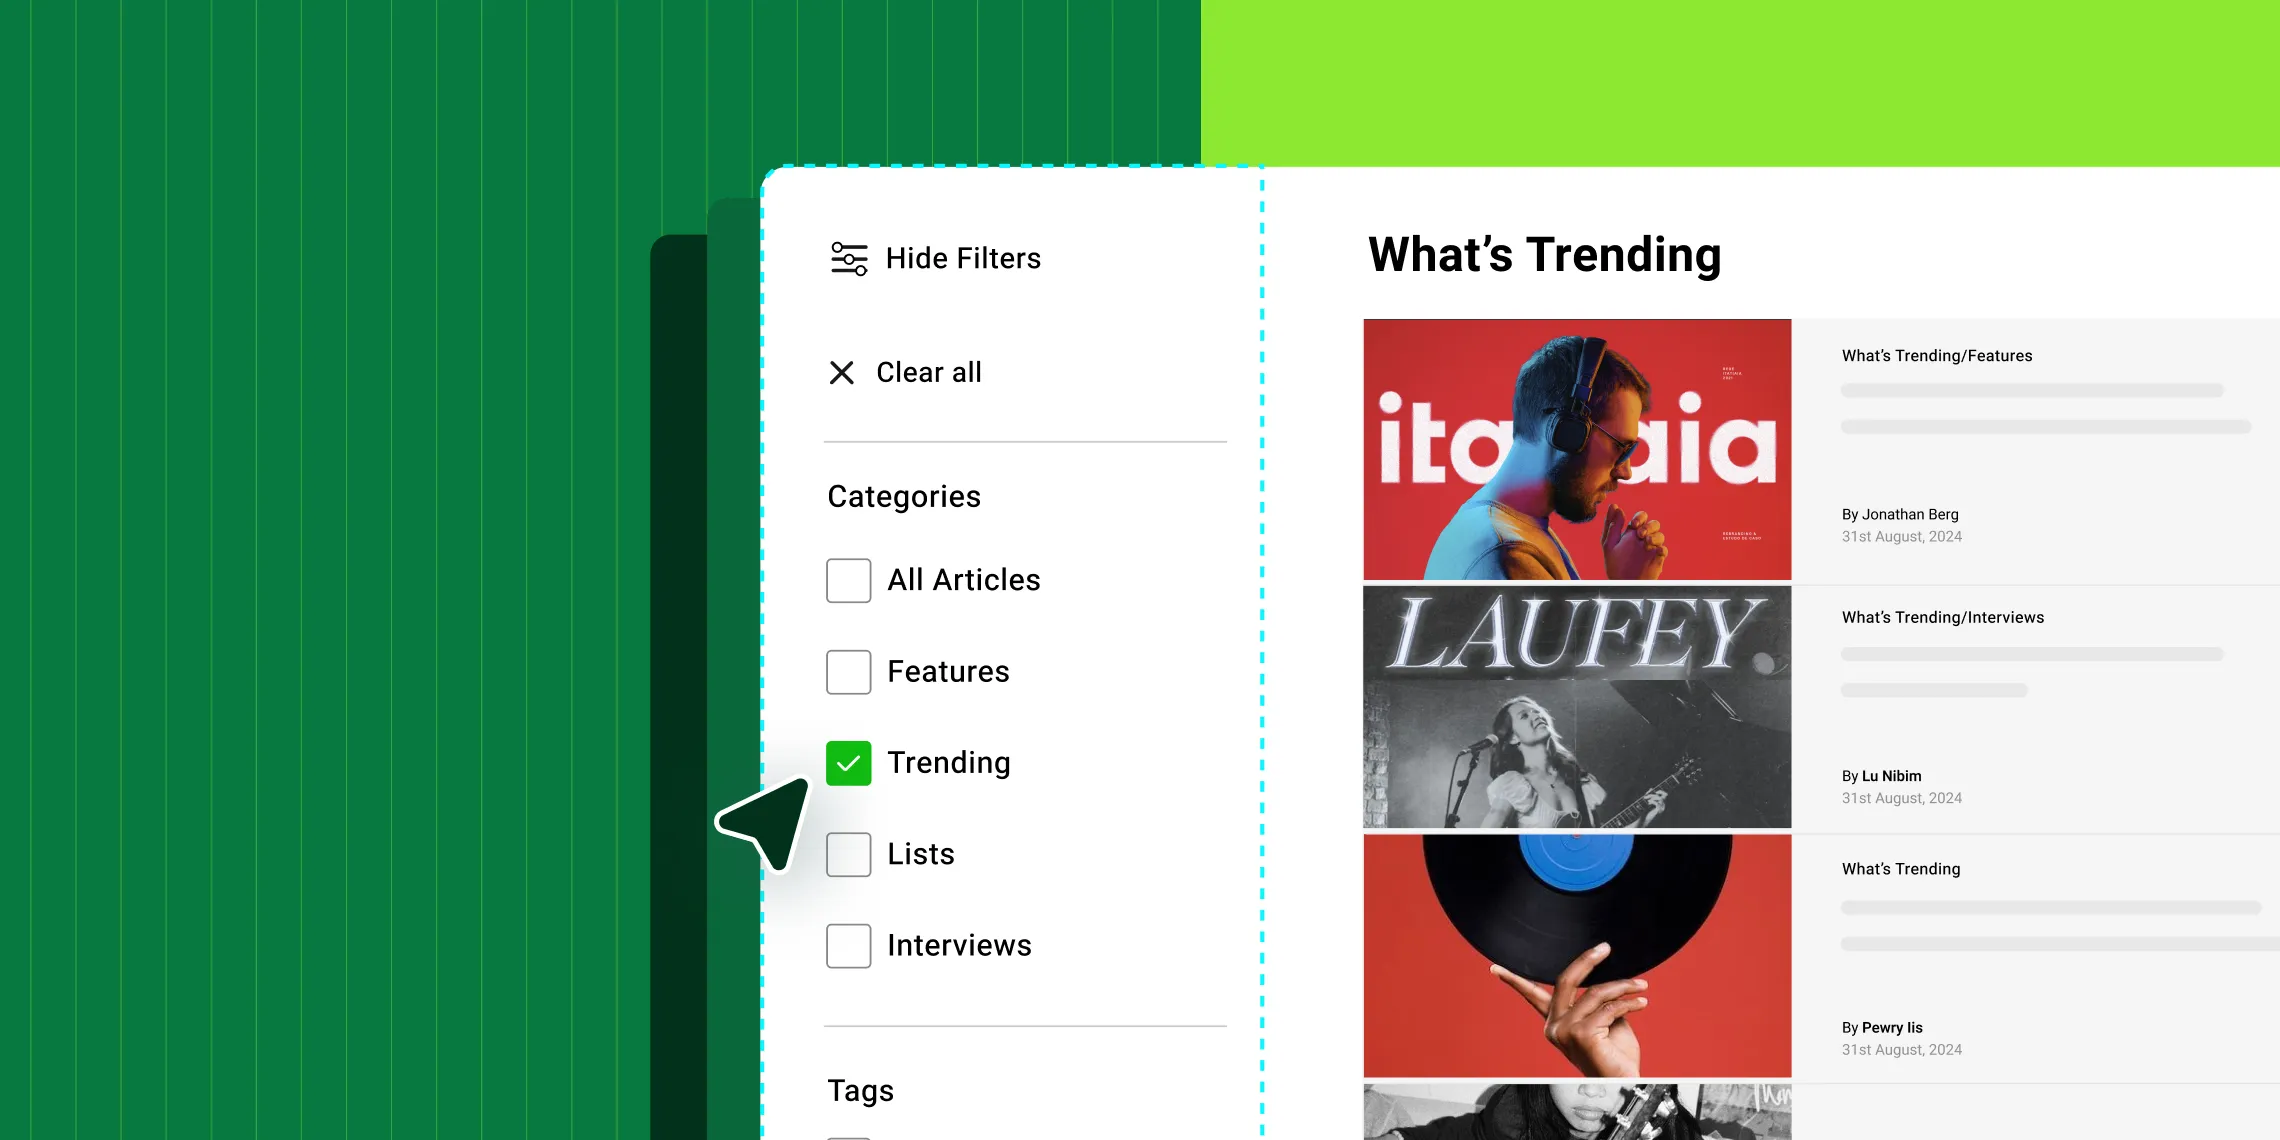
Typically, adding post filter functionality to any WordPress page means turning to third-party plugins, custom code, or the occasional theme that includes widget support for this feature.
Sounds like a hassle, right? Well, not anymore! Today, we’re excited to show you how to add WordPress post filter to your site with no extra plugins and no code.
Why You Need Post Filter Functionality on Your WordPress Site
Before we jump into how to add WordPress post filter with no extra plugins, you might wonder why you need this functionality at all. Here’s why:
Enhanced User Experience: On dynamic WordPress listing pages, users can filter posts by category, tags, and more, helping them navigate and find what they’re looking for more easily, which enhances their overall website experience.
Increased Engagement: Interactive filters keep users on your site longer, encouraging them to explore different categories or sections rather than leaving when they can’t find what they need quickly.
Boosts Visitor Retention: A smoother user experience and increased engagement mean visitors are more likely to return, directly boosting visitor retention over time.
Improved SEO: A well-structured website with organized dynamic content filtering often ranks better on search engines, improving your organic traffic and long-term visitor retention.
How to Add WordPress Post Filter to Your Site With Kirki
It’s time to discover how you can add WordPress post filter functionality to your website with no extra plugins!
The secret? The Kirki WordPress website builder. Say goodbye to third-party plugins and custom code. With Kirki’s powerful built-in Dynamic Content Manager, you can not only create any type of dynamic website but also add post filter functionality to your WordPress pages with ease.
Here’s a step-by-step guide on how to do it:
Step 1: Dynamically List Your WordPress Posts
Start by adding a Collection element to your canvas from the Insert panel. Give it a unique name so you can reference it later when linking your filters.
To open its settings, click the Collection icon in the Design tab on the right panel. The Collection List Settings panel will appear. Set the Source to Post and the Post type to Posts. Your WordPress posts are now listed dynamically on the page!
You can choose to leave the default item structure as is or add more elements to your Post Item. For each element, click the Dynamic Content icon in the Design tab and map the Type to Post and the Value to the relevant field.
To further refine your listing, you can also set options like Limit, Start, and Pagination directly from the Collection List Settings panel. Take advantage of Kirki’s extensive customization options in the Design tab to style your dynamic post list so it matches the rest of your website’s aesthetic.
Step 2: Create Dynamic Filters
Next, it’s time to create your dynamic filters!
Add another Collection element to your canvas. Open its Collection List Settings and this time set the Source to Terms and the Post to Posts.
Then, select the Taxonomy you want to filter by from the dropdown. Options include Categories, Tags, and any Custom Taxonomies you’ve defined for your site.
Once that’s done, replace the elements inside the Item with a Term Link element. Then click the Dynamic Content icon in the Design tab for the Term Link and map its Type to Term and its Value to the Name field so each filter label displays the taxonomy term name dynamically.
Repeat this process to add as many taxonomy filter collections as you need for your page!
Step 3: Link Filters to Your Post List
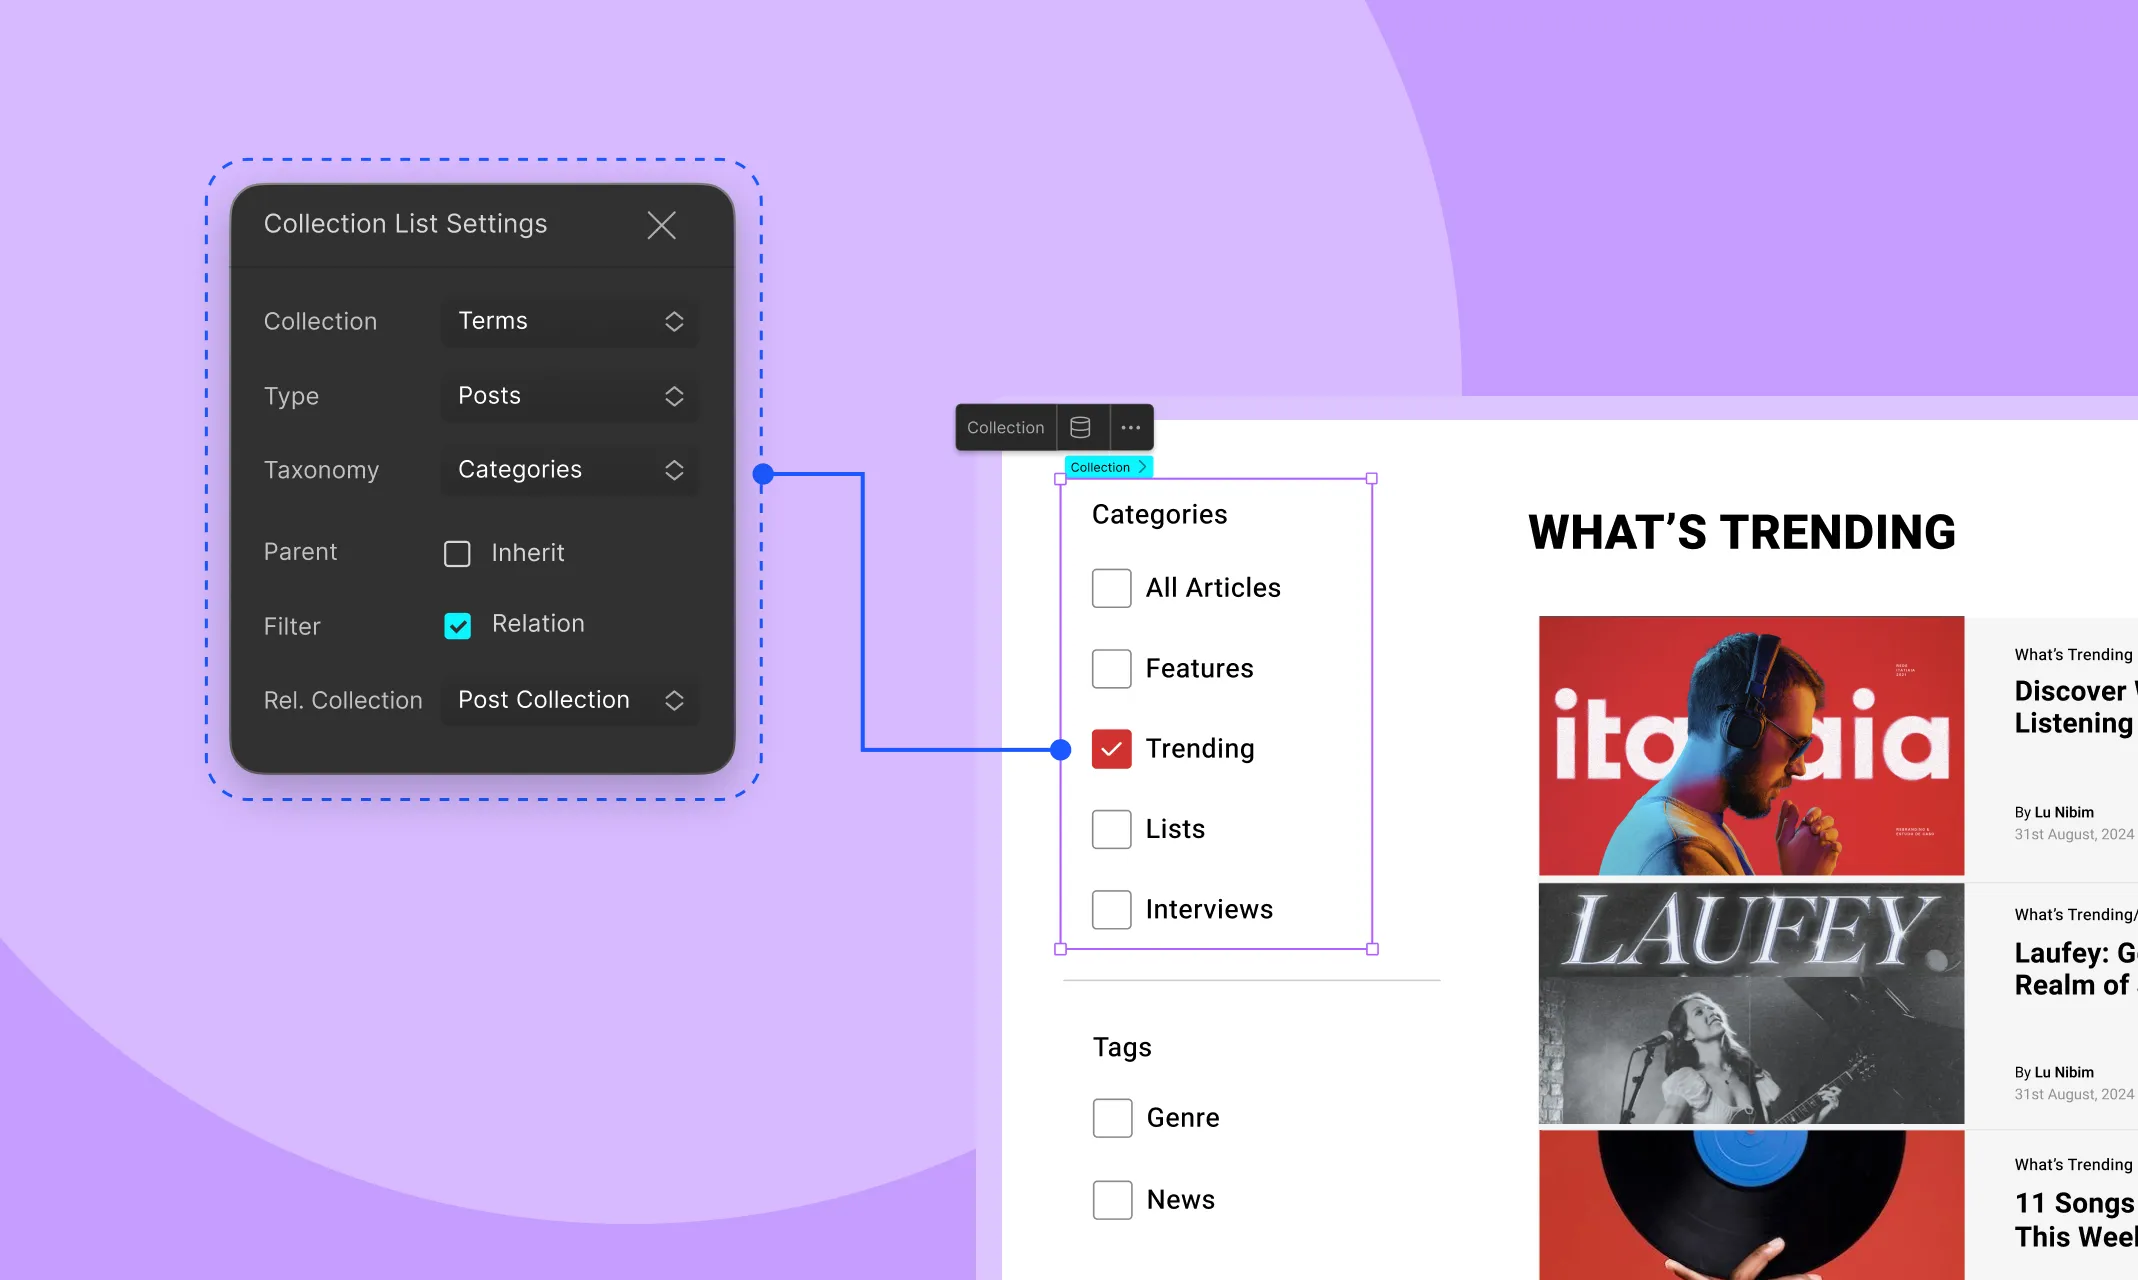
Finally, you need to link your dynamic filters to your dynamic post list to implement the actual filtering functionality.
Select your filter Collection element and open its Collection List Settings. Under the Filter row, check the Relation checkbox to enable filter linking. A Rel. Collec. dropdown will appear — select your post collection’s name from this dropdown to link the two together.
Repeat this step for each filter collection element you’ve added to the page.
And just like that, your WordPress post filter is fully set up using only Kirki and no extra plugins!
Benefits of Using a One-Stop WordPress Website Builder
See how effortless it was to not only showcase your posts dynamically but also add WordPress post filter functionality using a one-stop solution like Kirki?
And that’s just one of the many perks of using a comprehensive all-in-one website builder. Here are some more:
Lowered Costs: With a one-stop website builder, you eliminate the need for extra plugins, saving significantly on expenses and making it more cost-effective to run your WordPress website long-term.
Enhanced Performance: Fewer plugins mean reduced load, leading to faster loading times and enhanced website performance across the board.
Reduced Compatibility Issues: Relying on an all-in-one solution means fewer chances of compatibility issues. You won’t have to worry about updating multiple plugins and those updates causing conflicts with each other or with WordPress itself.
Streamlined Website Building: Working with a single tool that has all the necessary features makes website building far more streamlined and efficient.
Simplified Learning Curve: With only one website building tool to master, you avoid the hassle of dealing with multiple plugins, each with their own interfaces and documentation, significantly simplifying the learning process.
Unified Support: Relying on multiple plugins often means dealing with separate support channels, which can make it difficult to pinpoint issues and cause maintenance delays. With a one-stop solution like Kirki, you get unified support from a single source for any kind of problem, reducing hassle and downtime.
Add WordPress Post Filter With Kirki Today
Now you know how to add WordPress post filter functionality with no extra plugins — and how effortlessly it can be done with Kirki!
So what are you waiting for? Get the Kirki WordPress website builder today and reap the rewards of a truly one-stop solution for all your website building needs.

