Mastering how to optimize images for web and boost SEO and performance can be the key to running a successful website!
In this comprehensive guide, explore why image optimization matters and uncover everything you need to transform static visuals into fast-loading, SEO-friendly assets for an exceptional website experience!
Why You Should Optimize Images for Web
Image optimization is vital in improving your website’s performance, user experience, and overall appeal. Here’s how it can make all the difference:
Faster Loading Speed: Image optimization includes reducing file sizes, which ensures your website loads more quickly and keeps visitors from leaving before your content even appears.
Enhanced SEO: Optimized images enhance SEO, which improves ranking on search engines and consequently boosts organic traffic to your site.
Improved User Experience: Fast-loading visuals improve the user experience, leaving a positive and lasting impression on visitors.
Reduced Bounce Rate: Slow websites drive users away, but optimizing images makes for a faster-loading website, helping you reduce your site’s bounce rate significantly.
Elevated Visual Appeal: High-quality yet fast-loading images can easily elevate a website’s visual appeal, boost its credibility, and keep the audience engaged.
By optimizing your images, you can deliver a seamless and engaging experience for your global audience, enhancing both website speed and usability.
How to Optimize Images for Web
Now, onto the heart of the matter. Let’s explore the essential steps that go into ensuring your images are fast-loading, SEO-friendly, and visually captivating!
Use High-Quality Images

High-quality images are essential for crafting a polished, professional website design. While this might seem like a no-brainer, you’d be surprised how often this rule is overlooked! These visuals leave a lasting impression on your audience and play a key role in reinforcing your brand’s credibility.
Here are some web industry best practices to keep in mind:
Resolution: Use images with a high resolution for optimal digital display.
Clarity: Ensure visuals are crisp and free of blur or pixelation for a professional look.
Relevance: Stick to selecting images relevant to your website’s theme and purpose.
When sourcing high-quality images, the best approach is custom photography or design done by you or a hired professional. This gives you complete creative control to bring your vision to life while ensuring your website visuals are unique and aligned with your brand.
If creating custom visuals isn’t feasible, you can always turn to stock image platforms like Unsplash and Pexels to access high-quality images that suit your needs. Better yet, the Kirki WordPress website builder integrates directly with both platforms, giving you access to millions of royalty-free images right from within the builder.
Harness the Power of AI-Generated Images
Alternatively, you can harness the power of AI to source your images! With AI evolving rapidly and reshaping the digital landscape, it’s easier than ever to create unique and high-quality visuals tailored to your exact needs.
AI image generators can give you the creative control and originality you desire, without the cost or hassle of custom photography or design!
Know How to Choose the Best Image Format
Using just any high-quality image on your website can be a big mistake. When optimizing images, it’s essential to choose the right image format that best suits your content and purpose.
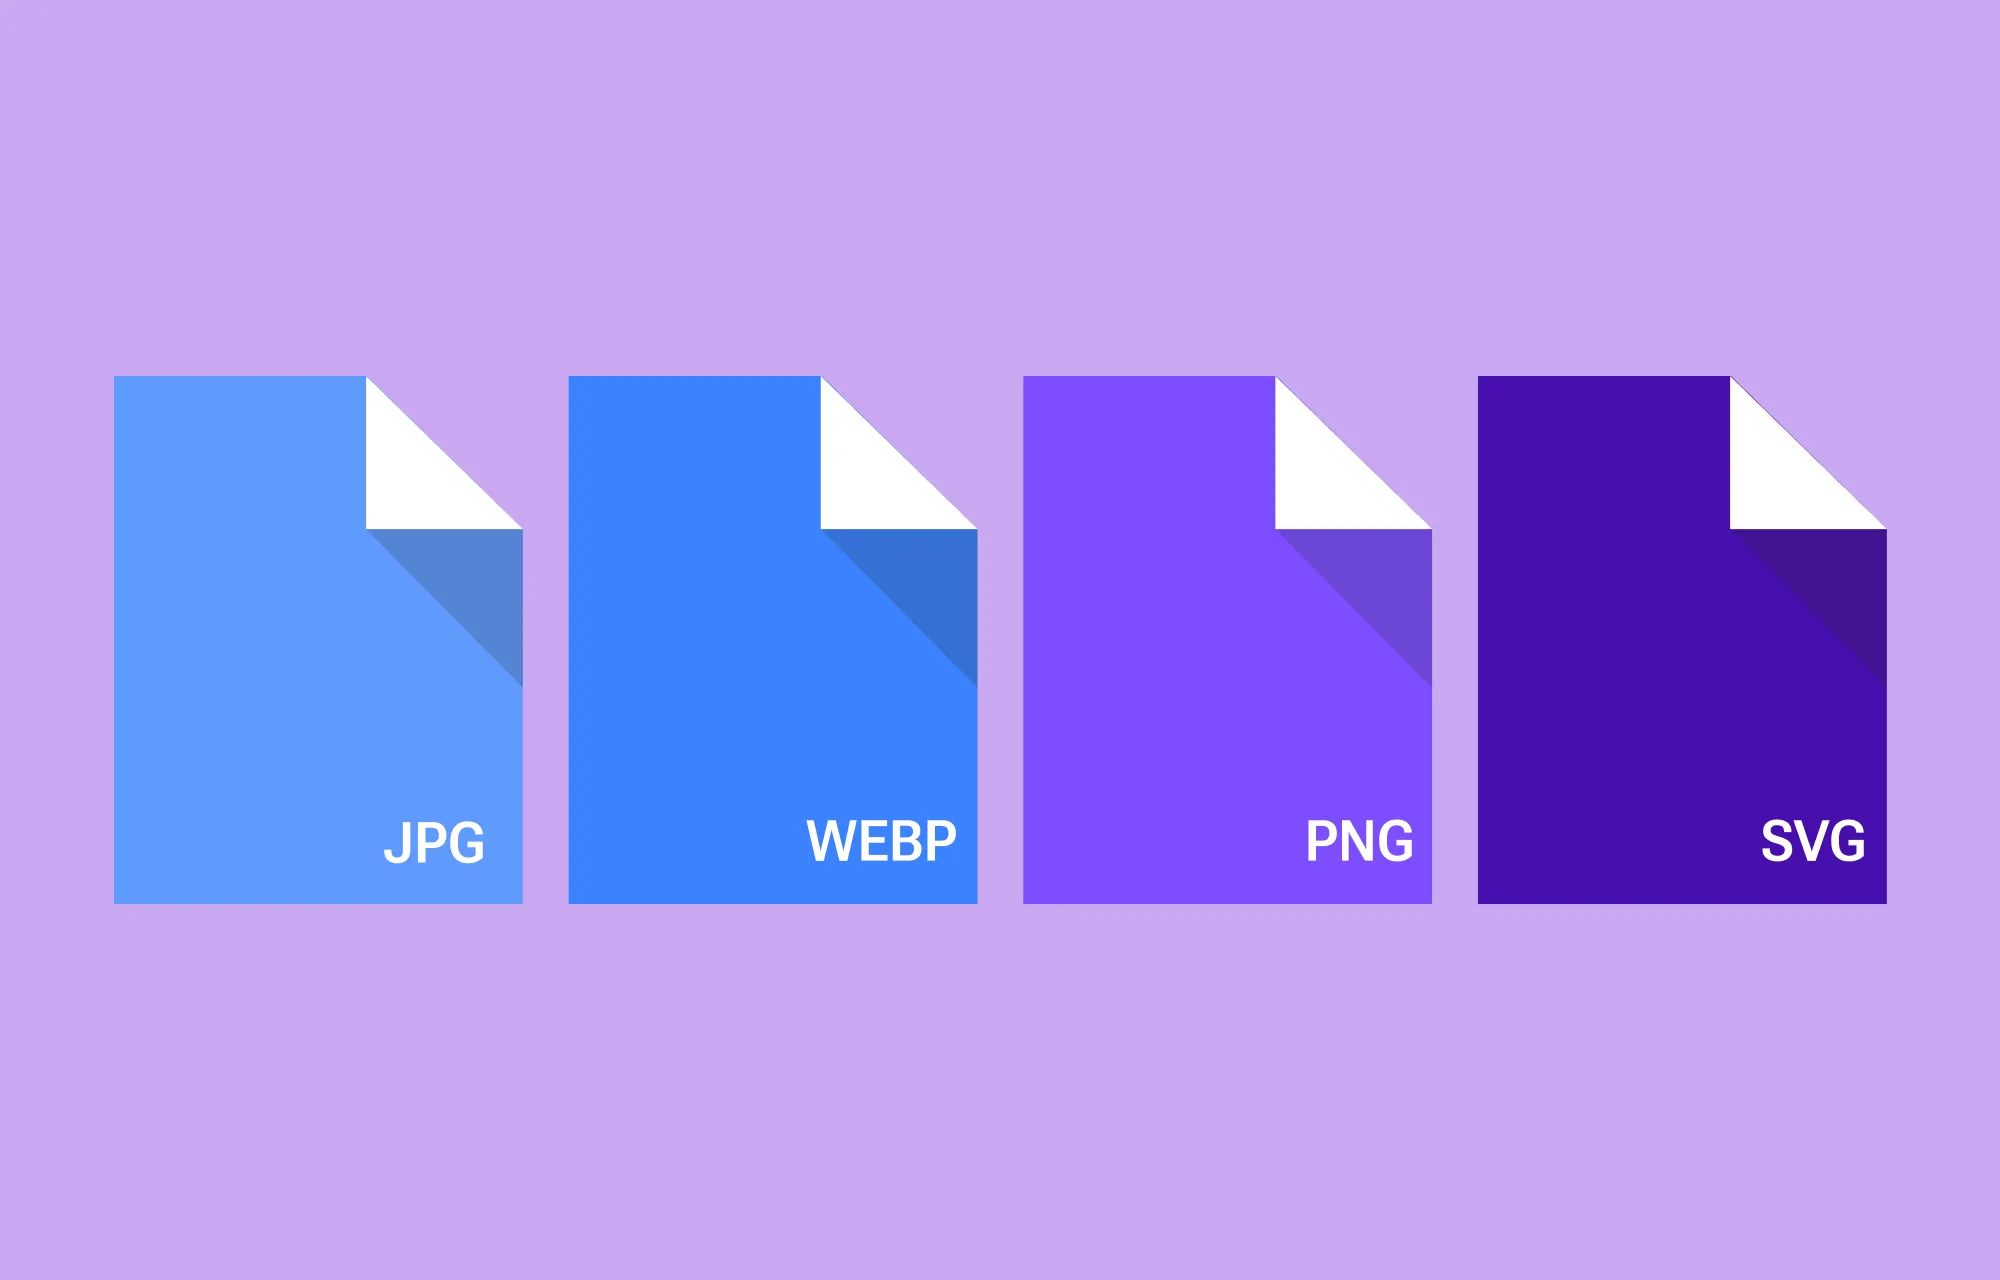
Image file formats impact both file size and quality, so selecting the most appropriate one can greatly enhance your site’s performance and visual appeal. Here’s a brief rundown of the standard web image formats to consider:
JPEG (JPG): Ideal for photos and images with many colors. Offers good compression without sacrificing quality.
PNG: Best for images with transparency or sharp edges such as logos and icons. Supports high quality but tends to have larger file sizes.
WEBP: A modern file format that offers excellent compression while maintaining high image quality, ideal for almost any scenario. Use a WebP converter to convert your images to this format.
SVG: A vector format perfect for logos and icons that is infinitely scalable without loss of quality and remains lightweight, making it ideal for responsive web design.
Resize Images to Boost Performance
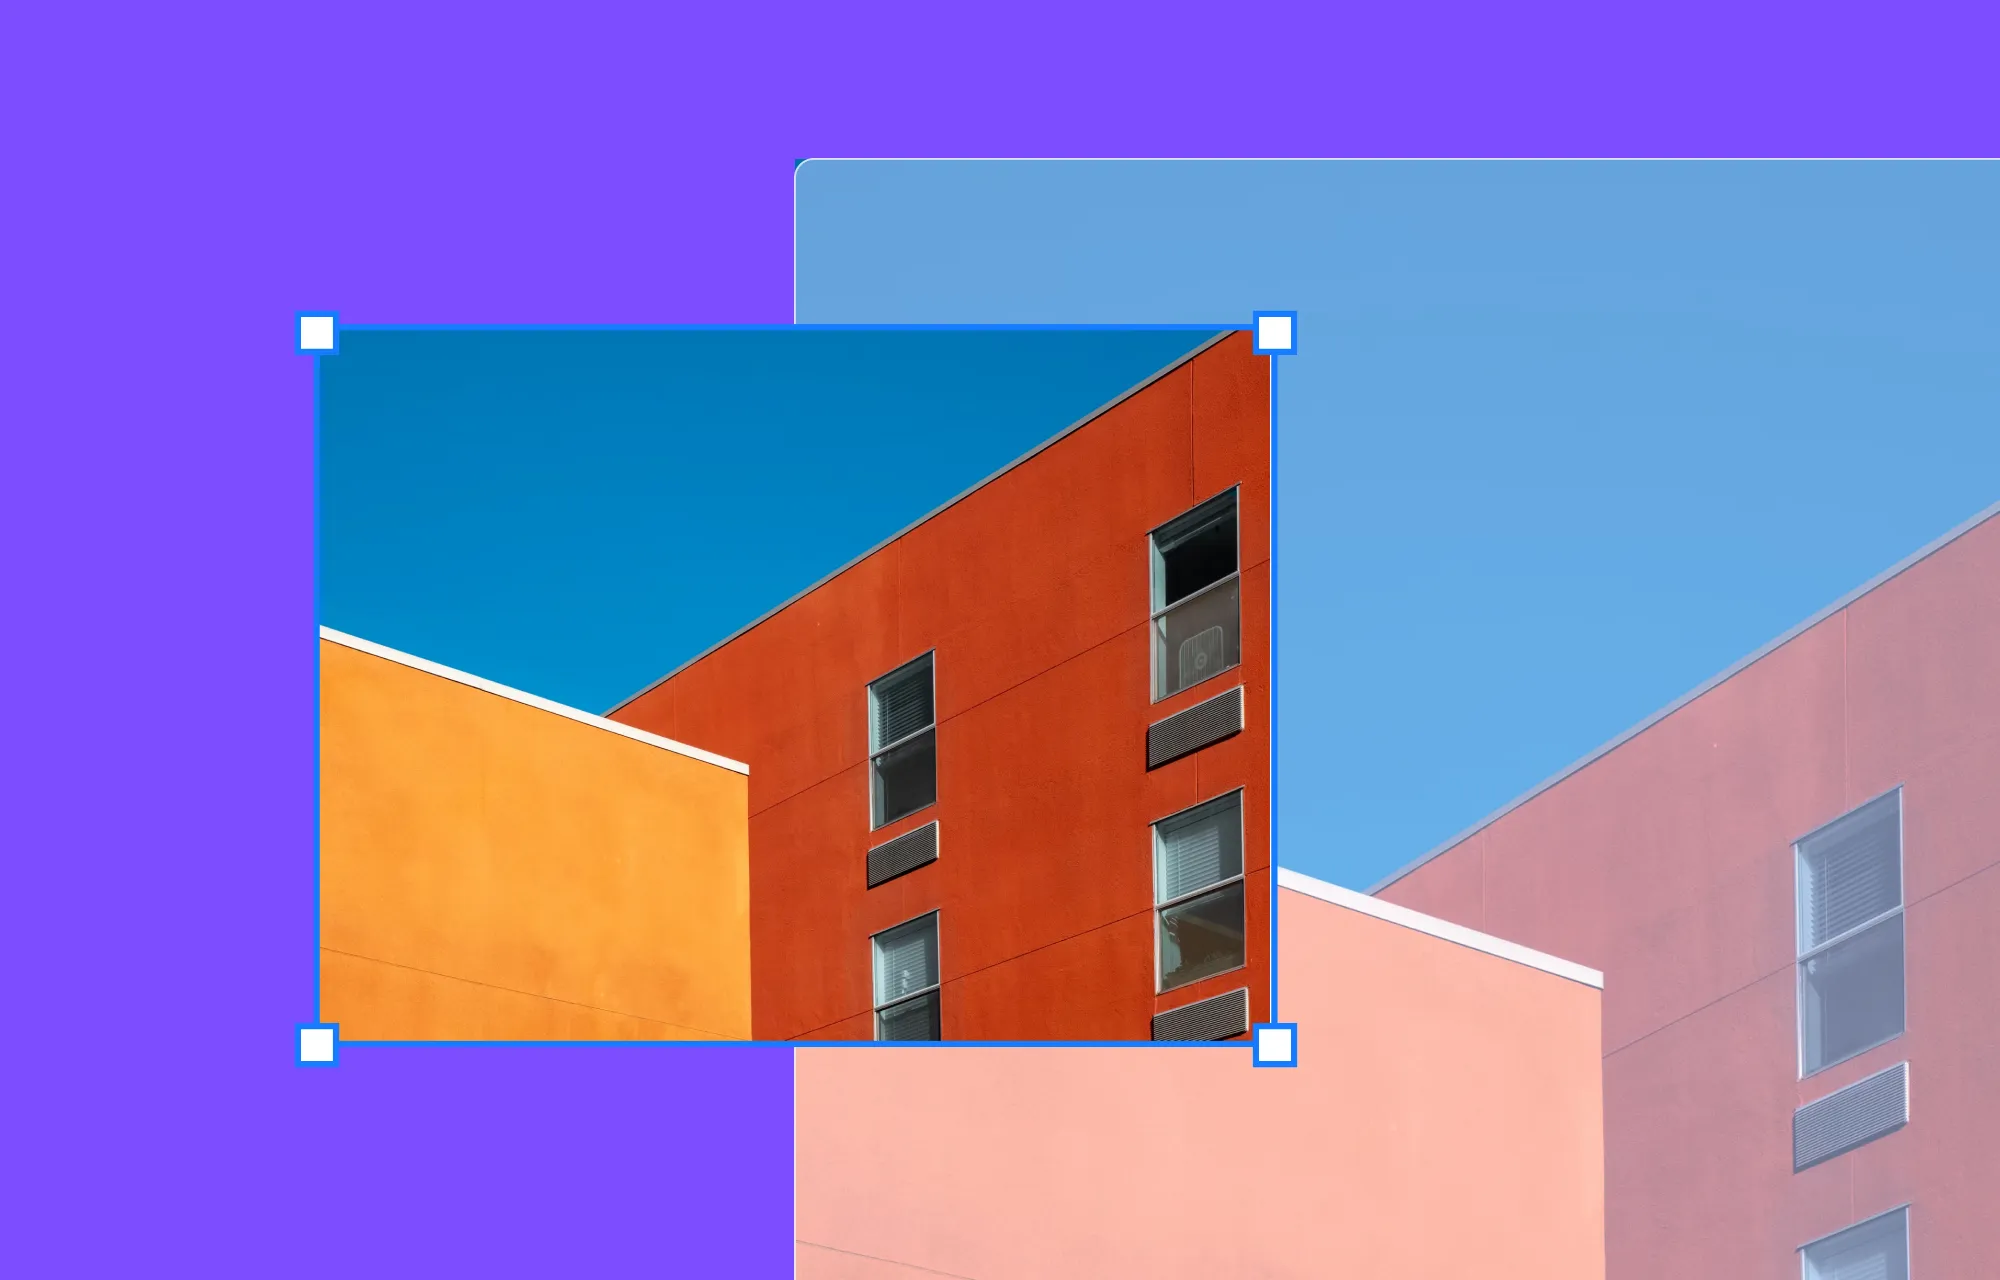
The next step in optimizing images for your website is resizing them. By adjusting their dimensions to match the space they’ll occupy on the page, you can reduce file size, speed up loading times, and ensure a smooth website experience.
Compress Images for Even Faster Load Times
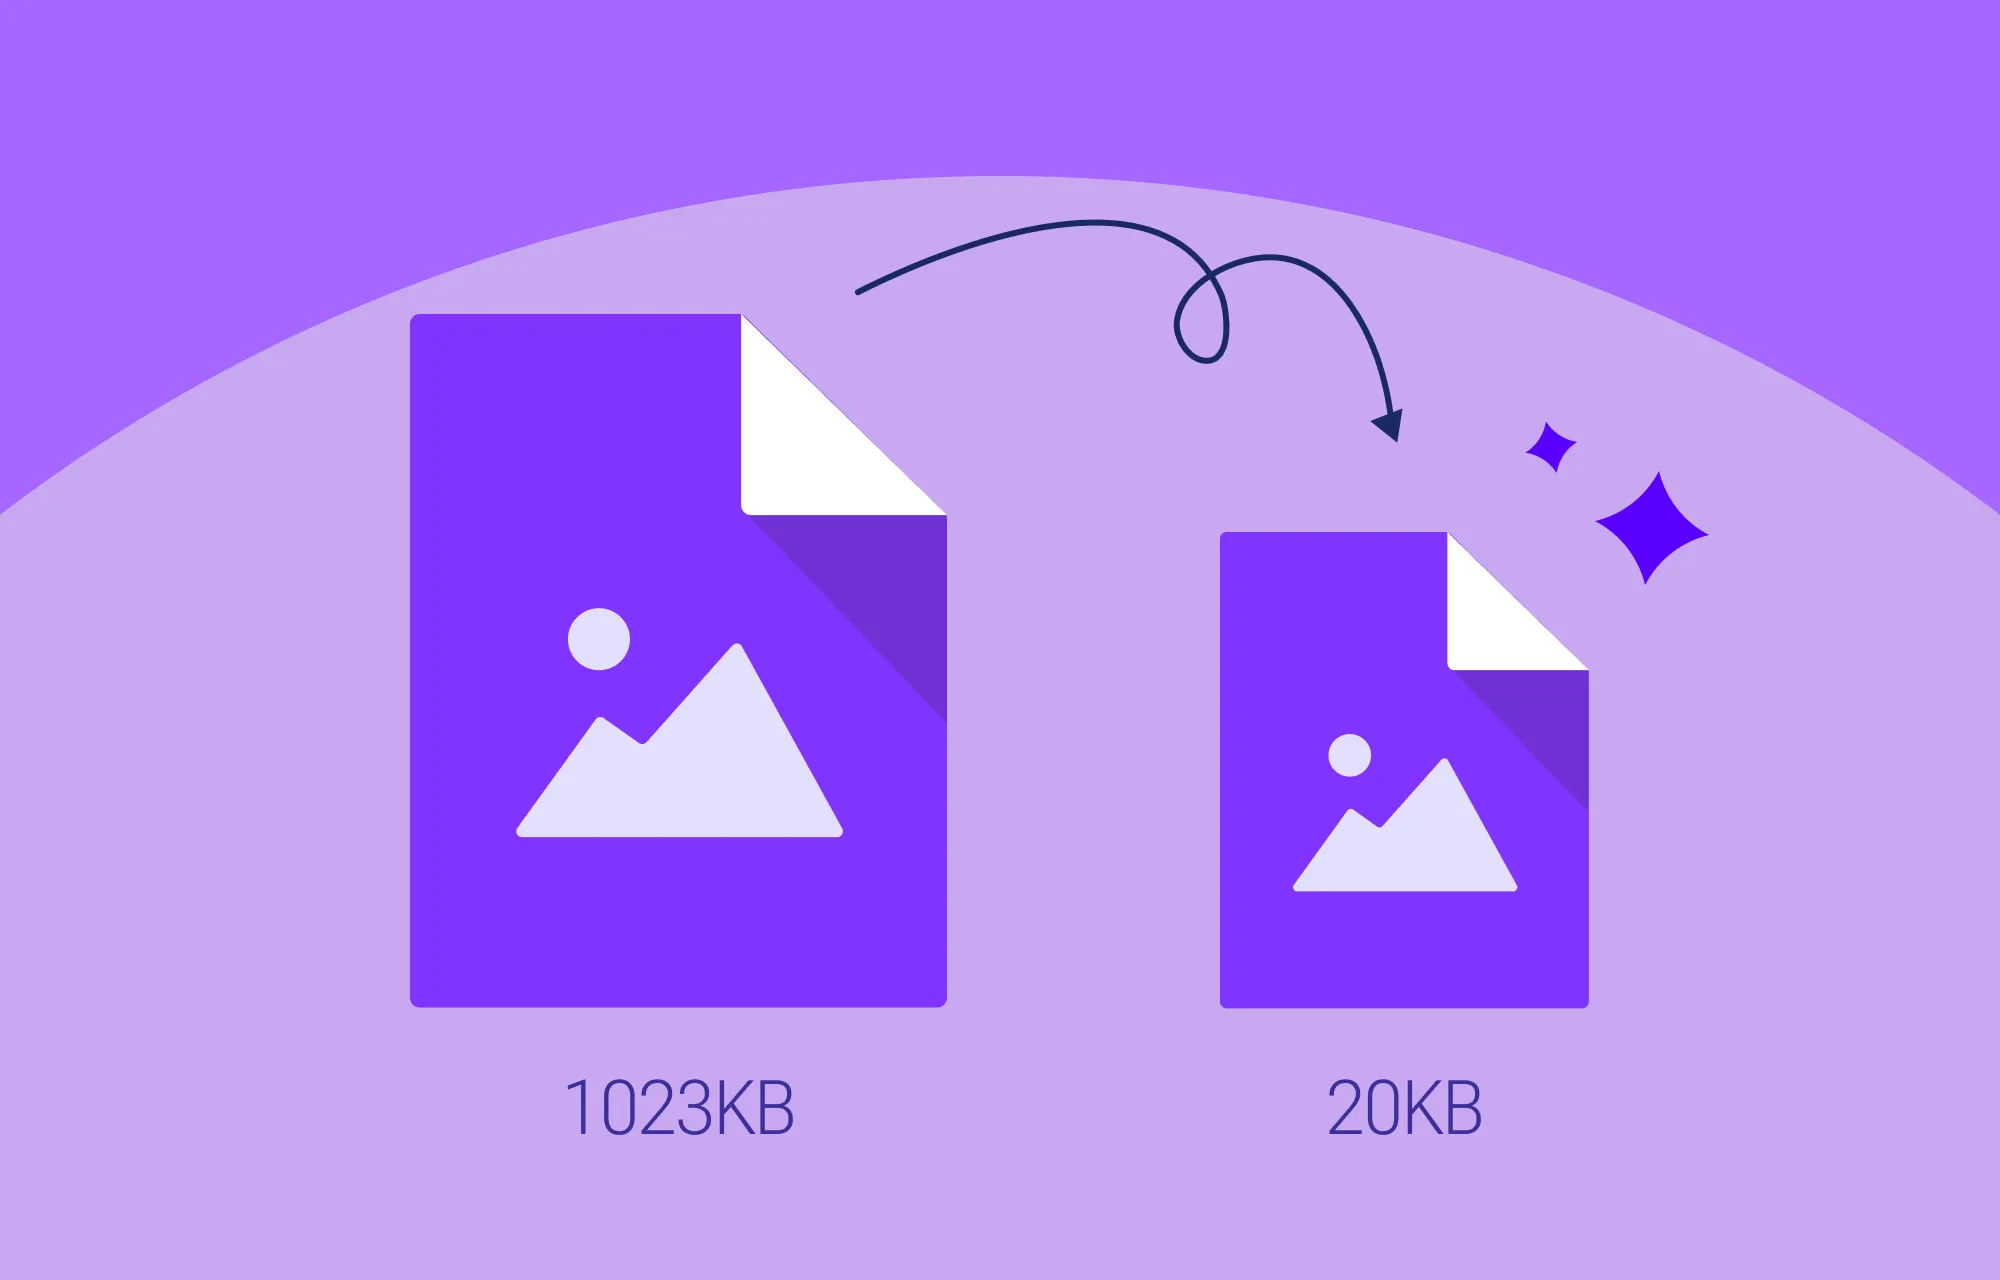
Once resized, it’s time to compress your images. Image compression reduces file sizes even further, leading to faster load times especially on mobile devices.
However, be careful not to overdo it. Use reliable compression tools to avoid sacrificing visual quality. This is especially important for static image types like JPEG, where excessive compression can result in a noticeable loss of clarity.
With Kirki’s built-in Image Optimization feature, you can compress images automatically right from within the builder without needing any third-party tools, and without affecting their visual quality.
Utilize Image Alt Text to Enhance Accessibility and SEO
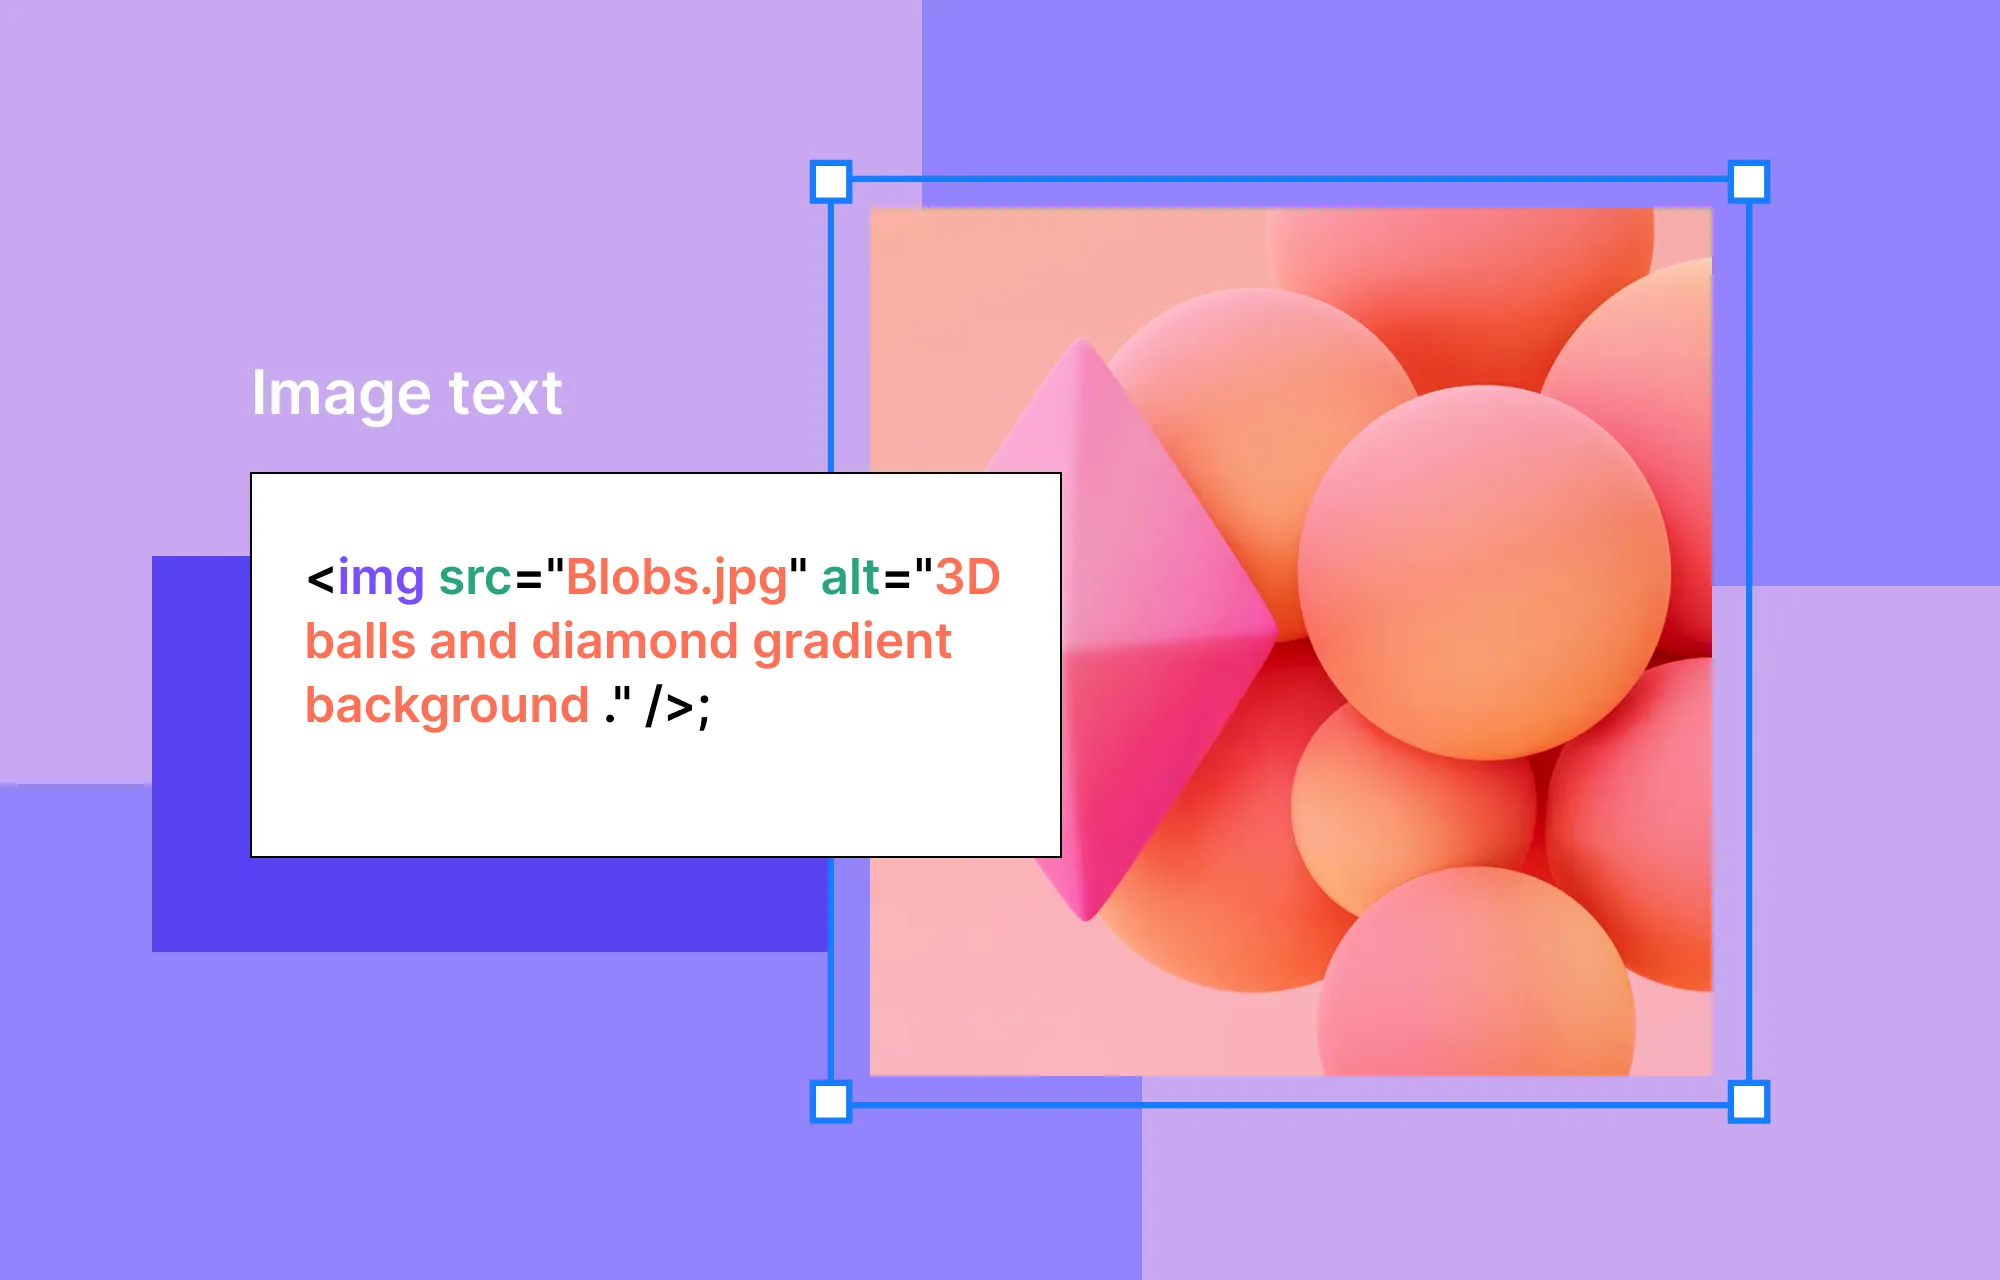
To optimize images for enhanced website SEO and accessibility, make sure to utilize image alt text.
Adding descriptive and relevant alt text can go a long way in improving a website’s user-friendliness, as users with visual impairments rely on screen readers to interpret image descriptions. Alt text also helps search engines better understand your visuals, which can boost your website’s SEO and improve its ranking in search results.
In Kirki, you can set alt text for any image directly from the Design tab when the image element is selected. When adding alt text, keep these best practices in mind:
- Include relevant keywords without keyword stuffing
- Keep the text to 125 characters or fewer for optimal SEO and accessibility
Improve SEO With Proper Image Naming Techniques
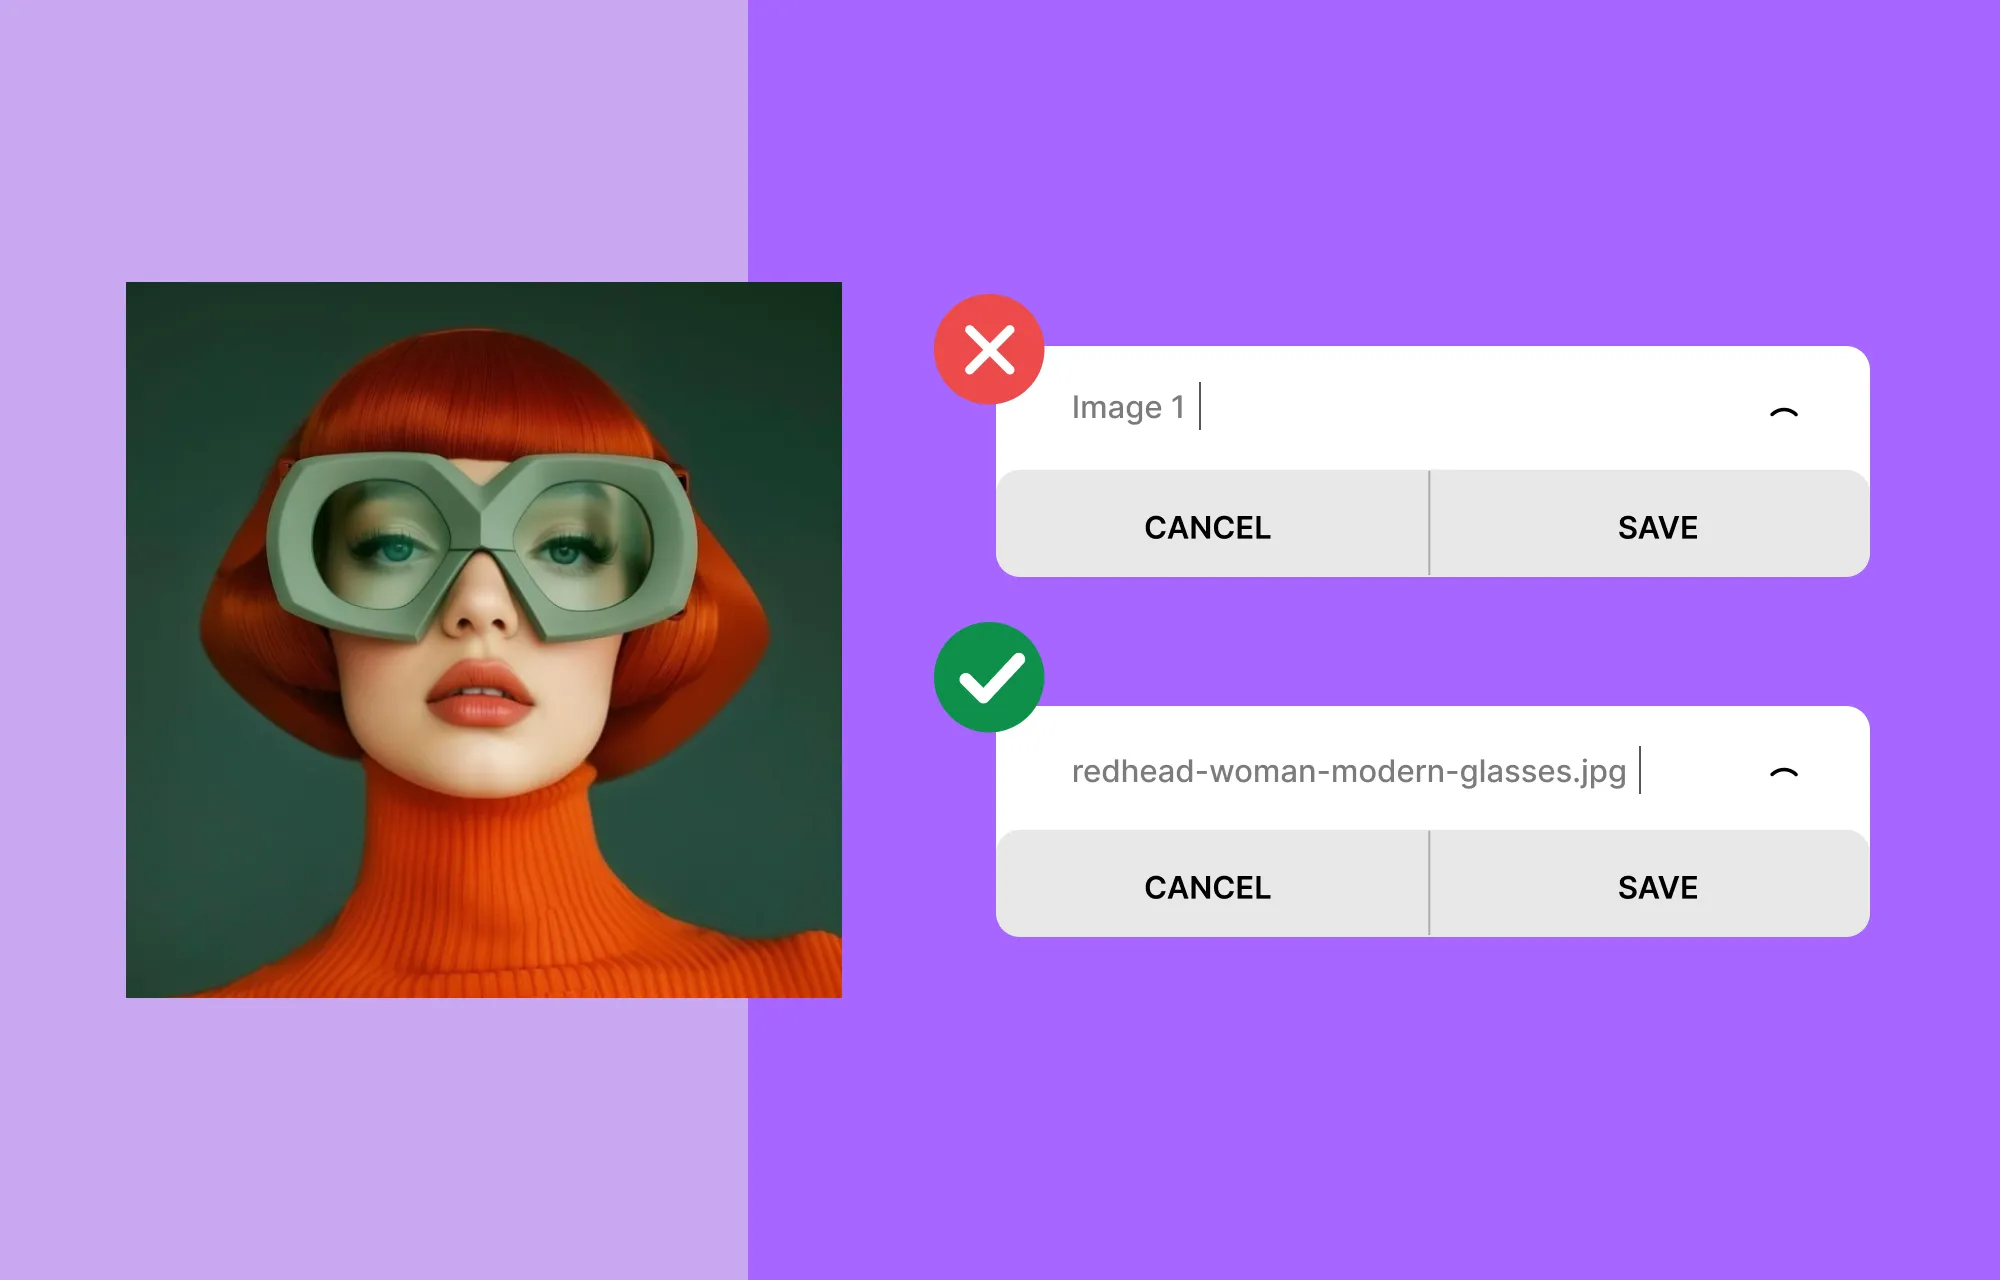
Don’t forget to give your images meaningful names that align with their content and targeted keywords. Avoid generic titles like image1 or image2.
Use hyphens to separate words rather than spaces, underscores, or other symbols, as hyphens are more readable for both users and search engines. Always use lowercase letters to avoid inconsistencies caused by case-sensitive platforms or browsers.
If you have multiple versions of the same image, use consistent version numbering. For example, an ideal image name would look something like this: how-to-optimize-images-for-web-v01.jpg
These simple steps not only streamline file management but also boost SEO by helping search engines better interpret your image content.
Keep Image Responsiveness in Check
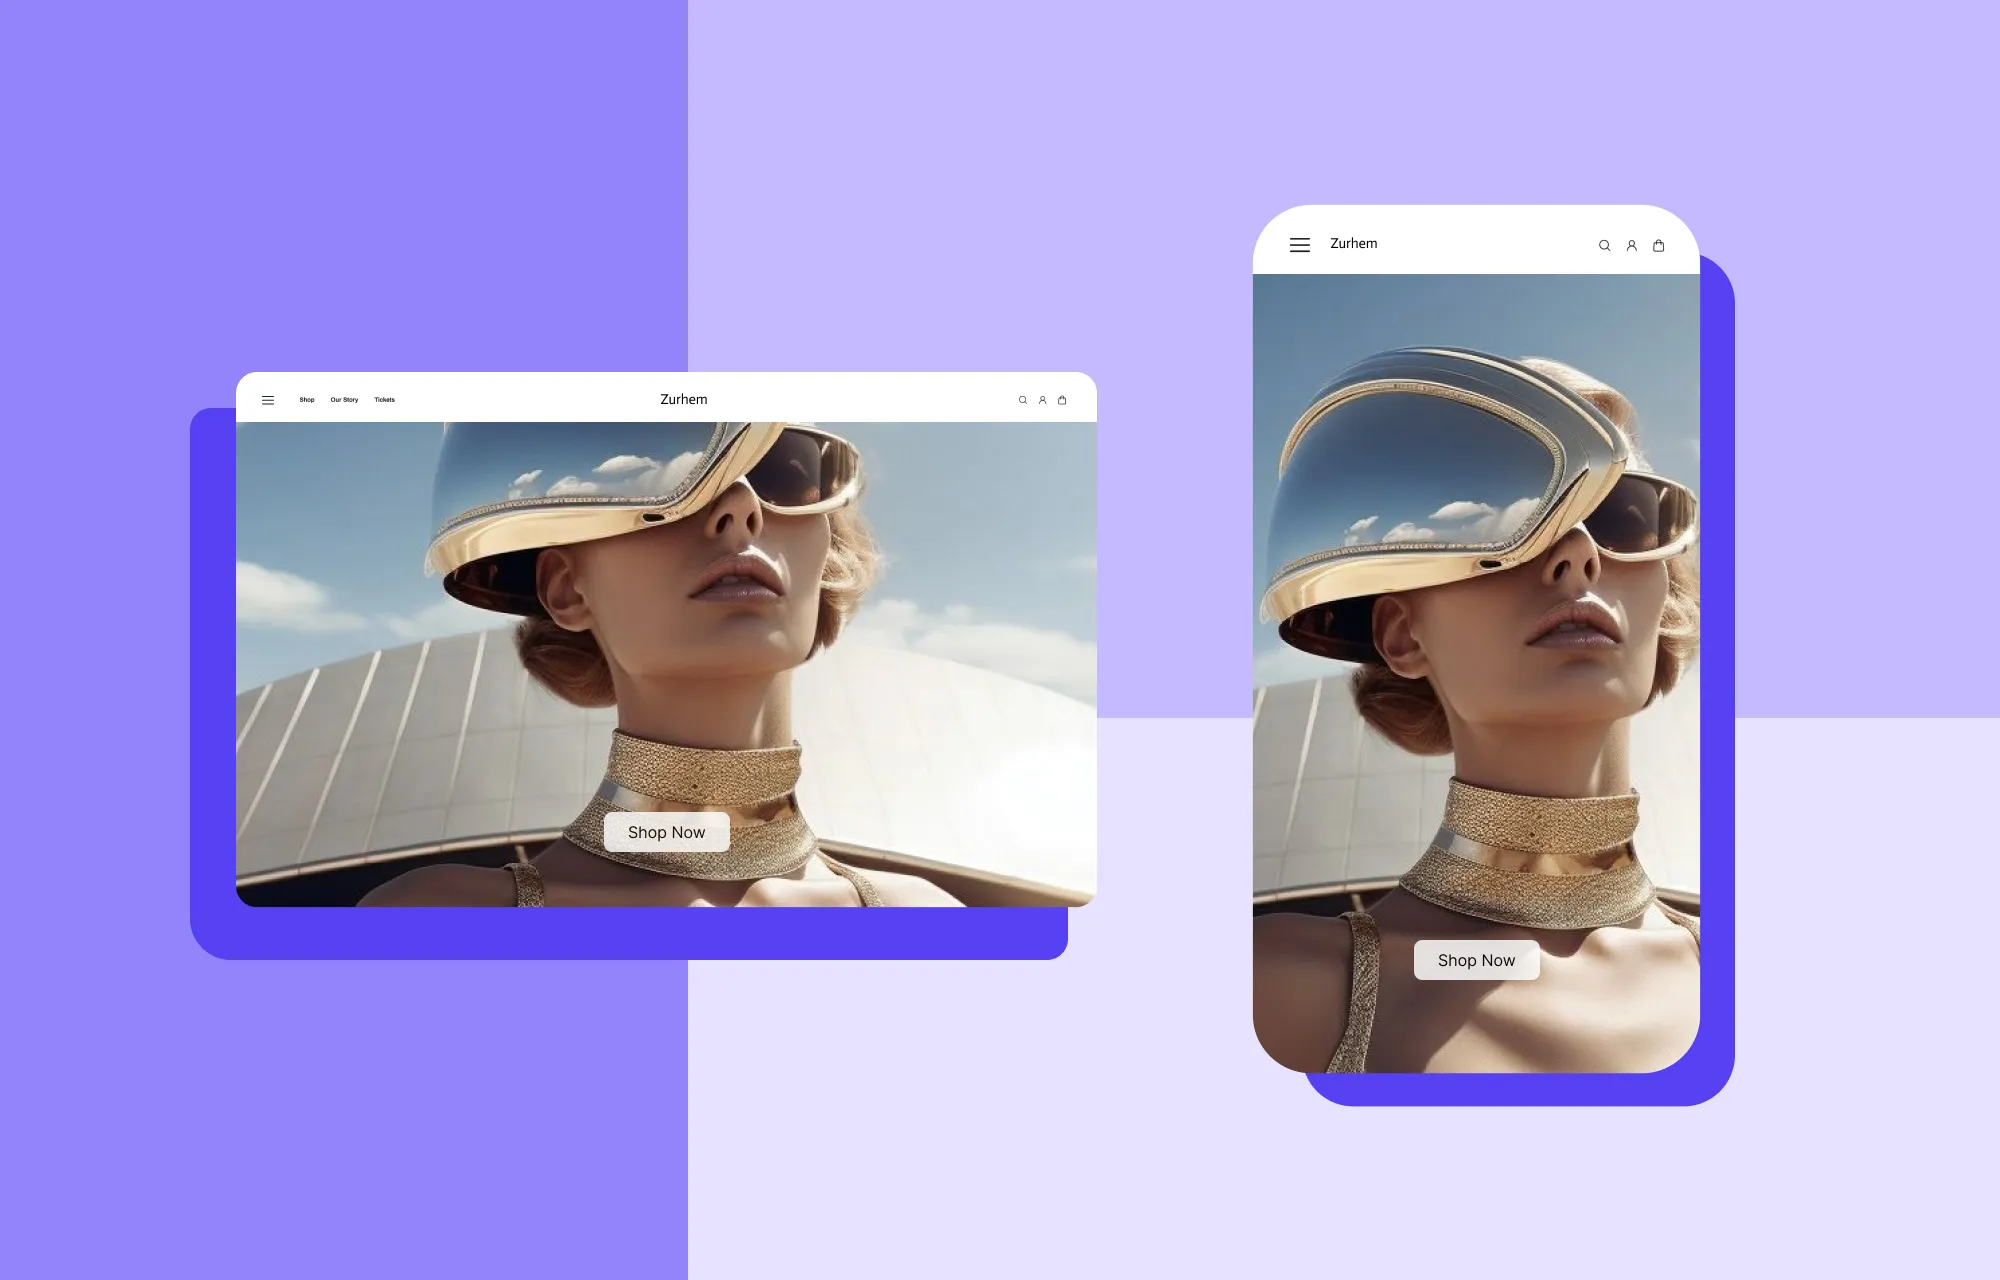
Last but not least in our quest to optimize images is keeping image responsiveness in check.
Ensuring your images are responsive guarantees a seamless website experience across all platforms. It wouldn’t do to have your website visuals looking distorted on different devices.
With Kirki’s infinite canvas, all your breakpoints, Desktop, Tablet, Landscape, and Mobile, are visible side by side simultaneously. You can check and adjust how your images look across every screen size at once and make precise, breakpoint-specific tweaks directly on the canvas without switching modes.
A Website Builder and Image Optimization Tool in One
Now you know how to optimize images for web and boost SEO and performance! Looking at these steps, it’s clear that implementing them can require a wide range of different tools.
Searching for and using multiple third-party tools can be time-consuming, costly, and often unreliable.
But what if there’s a single tool that combines image optimization and website building into one super solution?
That’s exactly what the Kirki WordPress website builder offers. It is a no-code tool that:
- Connects to third-party image libraries like Unsplash and Pexels for instant access to high-quality images
- Includes a native Image Editor with cropping and more
- Allows you to set Image Alt Text directly from the Design tab
- Displays all breakpoints side by side on the infinite canvas for seamless responsive design
How to Test Website Performance After Image Optimization
Once you’ve successfully optimized images for your website, it’s time to test its performance!
You can evaluate it using online tools like PageSpeed Insights, Pingdom, Lighthouse, and WebPageTest, which provide valuable insights into your website’s performance and highlight areas for further optimization.
Before making your site live, you can also use Kirki’s native quality assurance tool, the Audit, to automatically check for missing alt text, broken links, and other issues that could affect your site’s performance and SEO.
💡 Tip: Before making your site live, you can also make use of Kirki’s native quality assurance tool, Audit to check for missing alt text, links, etc automatically!
Image Optimization Now Simplified
And that’s a wrap on our comprehensive guide on how to optimize images for web and boost SEO and performance!
These steps are now easier than ever with Kirki, a WordPress website builder with image optimization tools integrated right within the platform.
So get Kirki today and simplify both image optimization and website building like never before!