These days, building a stunning website doesn’t take a coding whizz.
All you need is a solid strategy and the right one-stop tool, and you’ll be well on your way to launching the website of your dreams, exactly as you envisioned it, without writing a single line of code!
Ready to get started? Check out our ultimate beginner’s guide, where we show you the ropes on how to create a website visually using Kirki.
TL;DR
With the right strategy and website builder, creating a website is a breeze:
- Plan First: Define your website’s purpose, audience, and goals
- Pick a Website Builder: Go for an all-in-one platform that’s effortless and cost-effective
- Build Your Site: Set global styles, create essential pages, and design dynamically and responsively for all devices
- Optimize and Launch: Fine-tune SEO, boost performance, and go live
Craft Your Website Blueprint
Before you dive into your design, lay the groundwork for your website by defining its purpose, target audience, and what you want to achieve.
Is it a freelancer portfolio, an online store, a blog, or a business site? Then pinpoint who you’re building for, learn their age, interests, and needs. Finally, set clear short-term and long-term goals.
These details will help shape your website’s layout, features, and overall design.
Select the Best Website Builder
Once you’ve got the planning out of the way, it’s time to pick the right platform and website builder, which can make all the difference when it comes to success.
There are plenty of options out there, from traditional website building using complex code to no-code solutions including SaaS and CMS platforms. But if you’re looking for an option that balances flexibility, control, and cost-effectiveness, WordPress is your answer.
With that said, WordPress alone isn’t enough. You need the right website builder to pair it with, one that doesn’t cause plugin bloat, slow down your site, or overstretch your budget.
Look for a WordPress website builder that’s truly all-in-one, letting you design, manage, and launch your site without piling on extra plugins and costs.
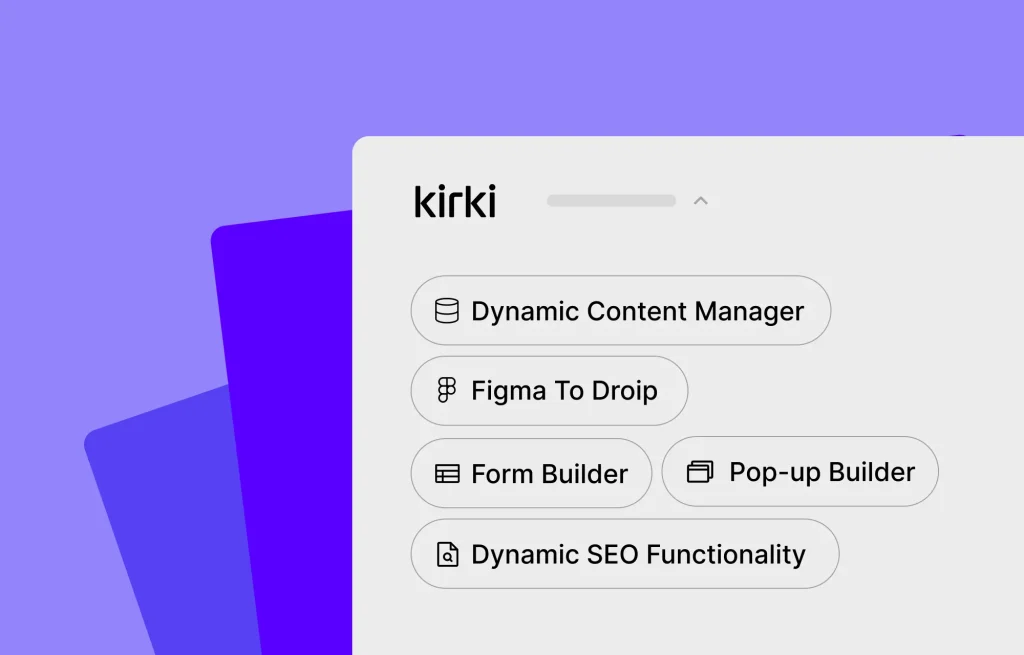
The Kirki WordPress website builder offers exactly that, with a powerful visual editor, ready-made templates and components, a built-in CMS, Figma to Kirki handoff, real-time collaboration, an infinite canvas with side-by-side responsive editing, and much more.
Create a Website With Kirki
You’ve got your plan and the right website builder. Now it’s time to bring it all together. Here’s how to create a WordPress website using Kirki!
Step 1: Choose How to Start Building
Kirki offers several flexible entry points to get started:
Pick a Ready-Made WordPress Theme

Kirki comes with an ever-growing library of fully functional, dynamic, and responsive WordPress themes, all designed to serve a wide range of niches. These themes are perfect if you’re looking to save time and need a solid starting point. Browse and install any of them directly from within Kirki at no extra cost.
Import Your Design Instantly From Figma
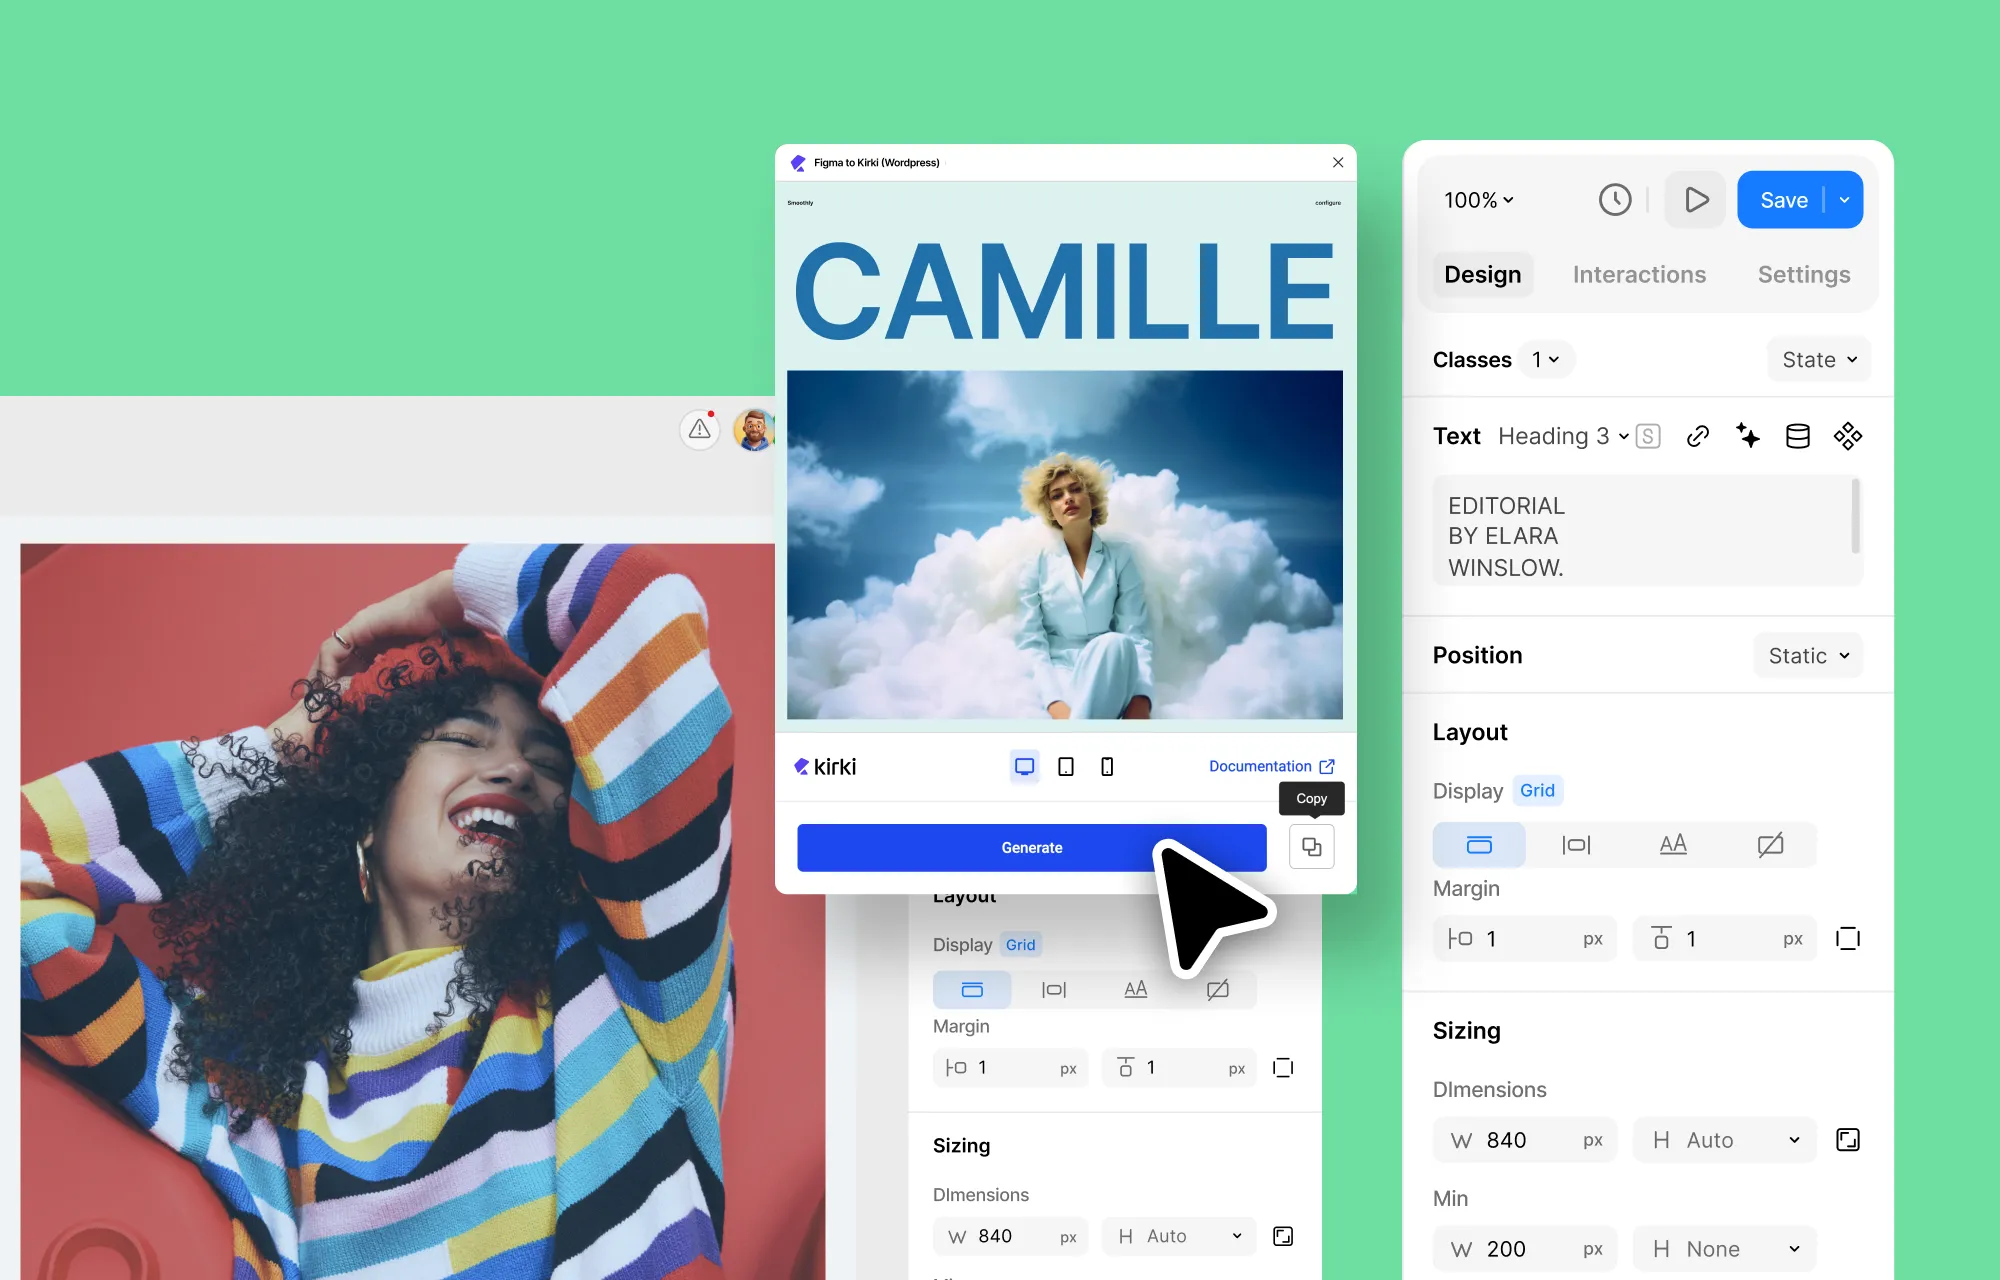
Already have a website design ready in Figma? With Kirki’s built-in Figma to Kirki handoff tool, you can go from design to development instantly with pixel-perfect accuracy and auto-responsiveness, minus the lengthy manual conversion.
Use Pre-built Pages, Sections, or Components
If you want more flexibility without a completely blank canvas, start with Kirki’s pre-built pages, wireframes, sections, or components from the Insert panel. These are great stepping stones without committing to a complete website layout.
Build From Scratch
Or start with a blank canvas and build your website from the ground up using Kirki’s full element library. When structuring your website, use Flex and Grid elements to ensure your layout is both user-friendly and responsive.
💡 Tip: When structuring your website, make sure it is both user-friendly and responsive using elements like Grid and Flex.
For media, Kirki’s built-in Media Manager lets you upload, manage, and edit files directly within the builder. You also get access to the Icon Library and Clip Path and Shape Editor all in one place.
Step 2: Define Global Styles Using Variables
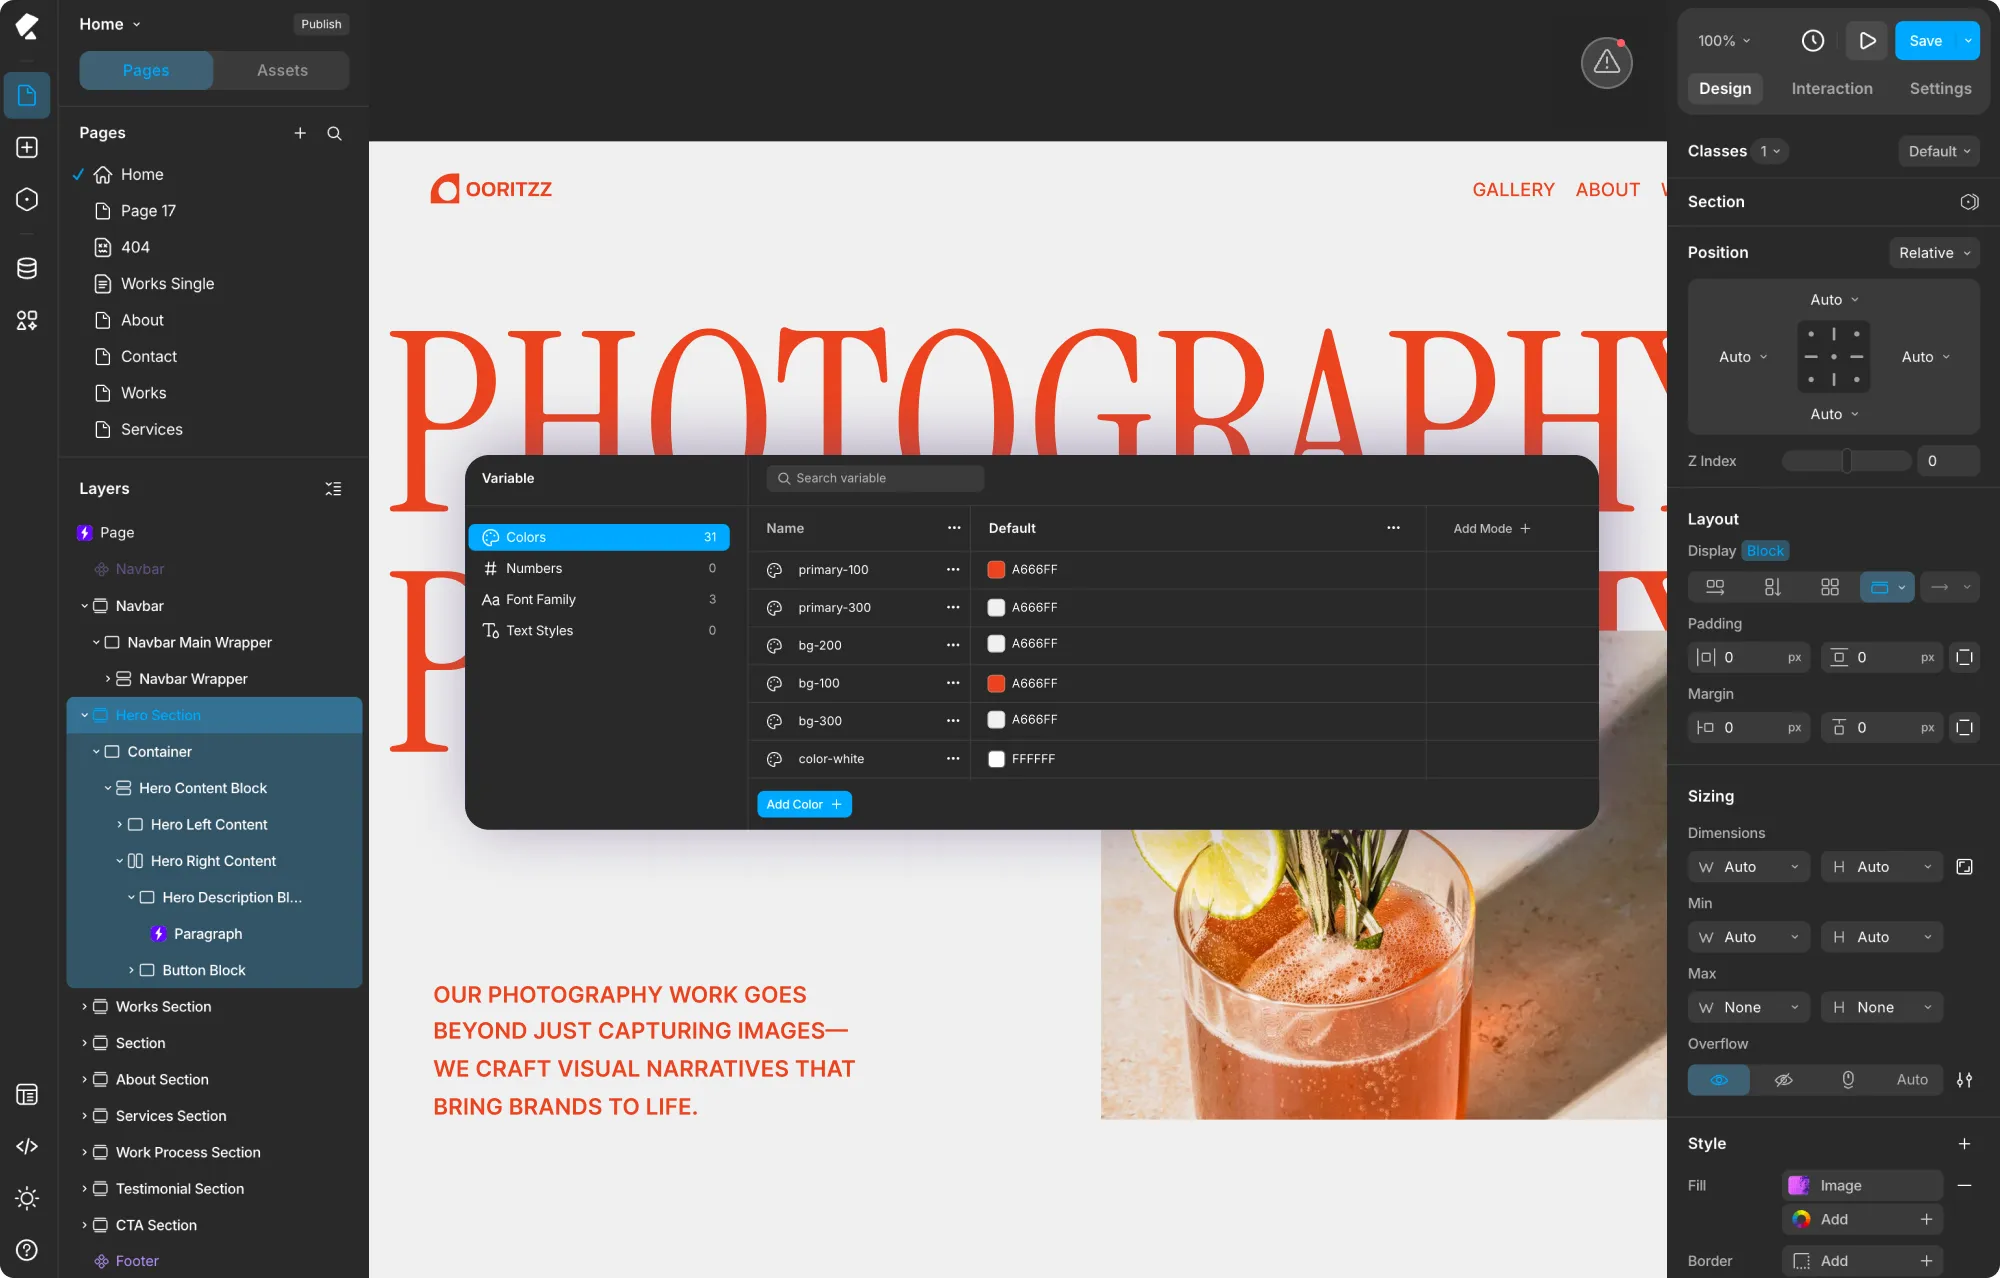
Once you’ve chosen your starting point, define your global styles using Variables in Kirki.
Variables include style attributes like Colors, Numbers, Font Families, and Text Styles that you save and apply globally throughout your site. They streamline the design process, ensure design cohesion, and help solidify your brand identity.
To define Variables, click the Variable icon in the left sidebar to open the Variable panel. Select a category (Colors, Numbers, Font Family, or Text Styles) and click the Add button at the bottom. Give each Variable a name and define its value.
You can also define Variable Modes, which are alternate sets of values for things like dark mode or seasonal themes. Click Add Mode + at the top of the Variable panel to create a new mode column and redefine the values for each Variable within it.
Once defined, apply Variables anywhere in the site by clicking the Variable icon next to any relevant field in the Design tab.
For more, check out our article on styling websites using global styles with Kirki!
Step 3: Create Reusable Components
A website typically has recurring sections that appear throughout, such as headers, footers, and buttons. In Kirki, design them once and save them as reusable Components.
To create a Component, select any element or group of elements on the canvas, right-click, and choose Create component. Give it a name and click Create. Your Component will appear in the Assets tab ready to be reused anywhere on your site.
To set a Component as your site’s header or footer, click the “…” next to it in the Assets tab, select Set As, and choose Header or Footer. Kirki will automatically display it across all pages.
Step 4: Build Your Website Navigation
Navigation is one of the most important aspects of any website. In Kirki, you have several ways to add it:
Use a Pre-built Navigation Open the Insert panel from the left sidebar and click Navigation. You’ll find a range of pre-built Headers and Footers in both Light and Dark styles. Pick one that fits your design, drop it onto the canvas, and customize it to your needs.
Customize the Navigation Select the navigation element on the canvas and use the Design tab to adjust styling. Click on menu links, logos, and buttons to edit their content and appearance directly.
Set as a Component Once your navigation looks exactly right, save it as a Component and set it as your site’s header so it appears automatically across every page.
Step 5: Create Your Essential Pages
With global styles and navigation ready, it’s time to create your essential pages.
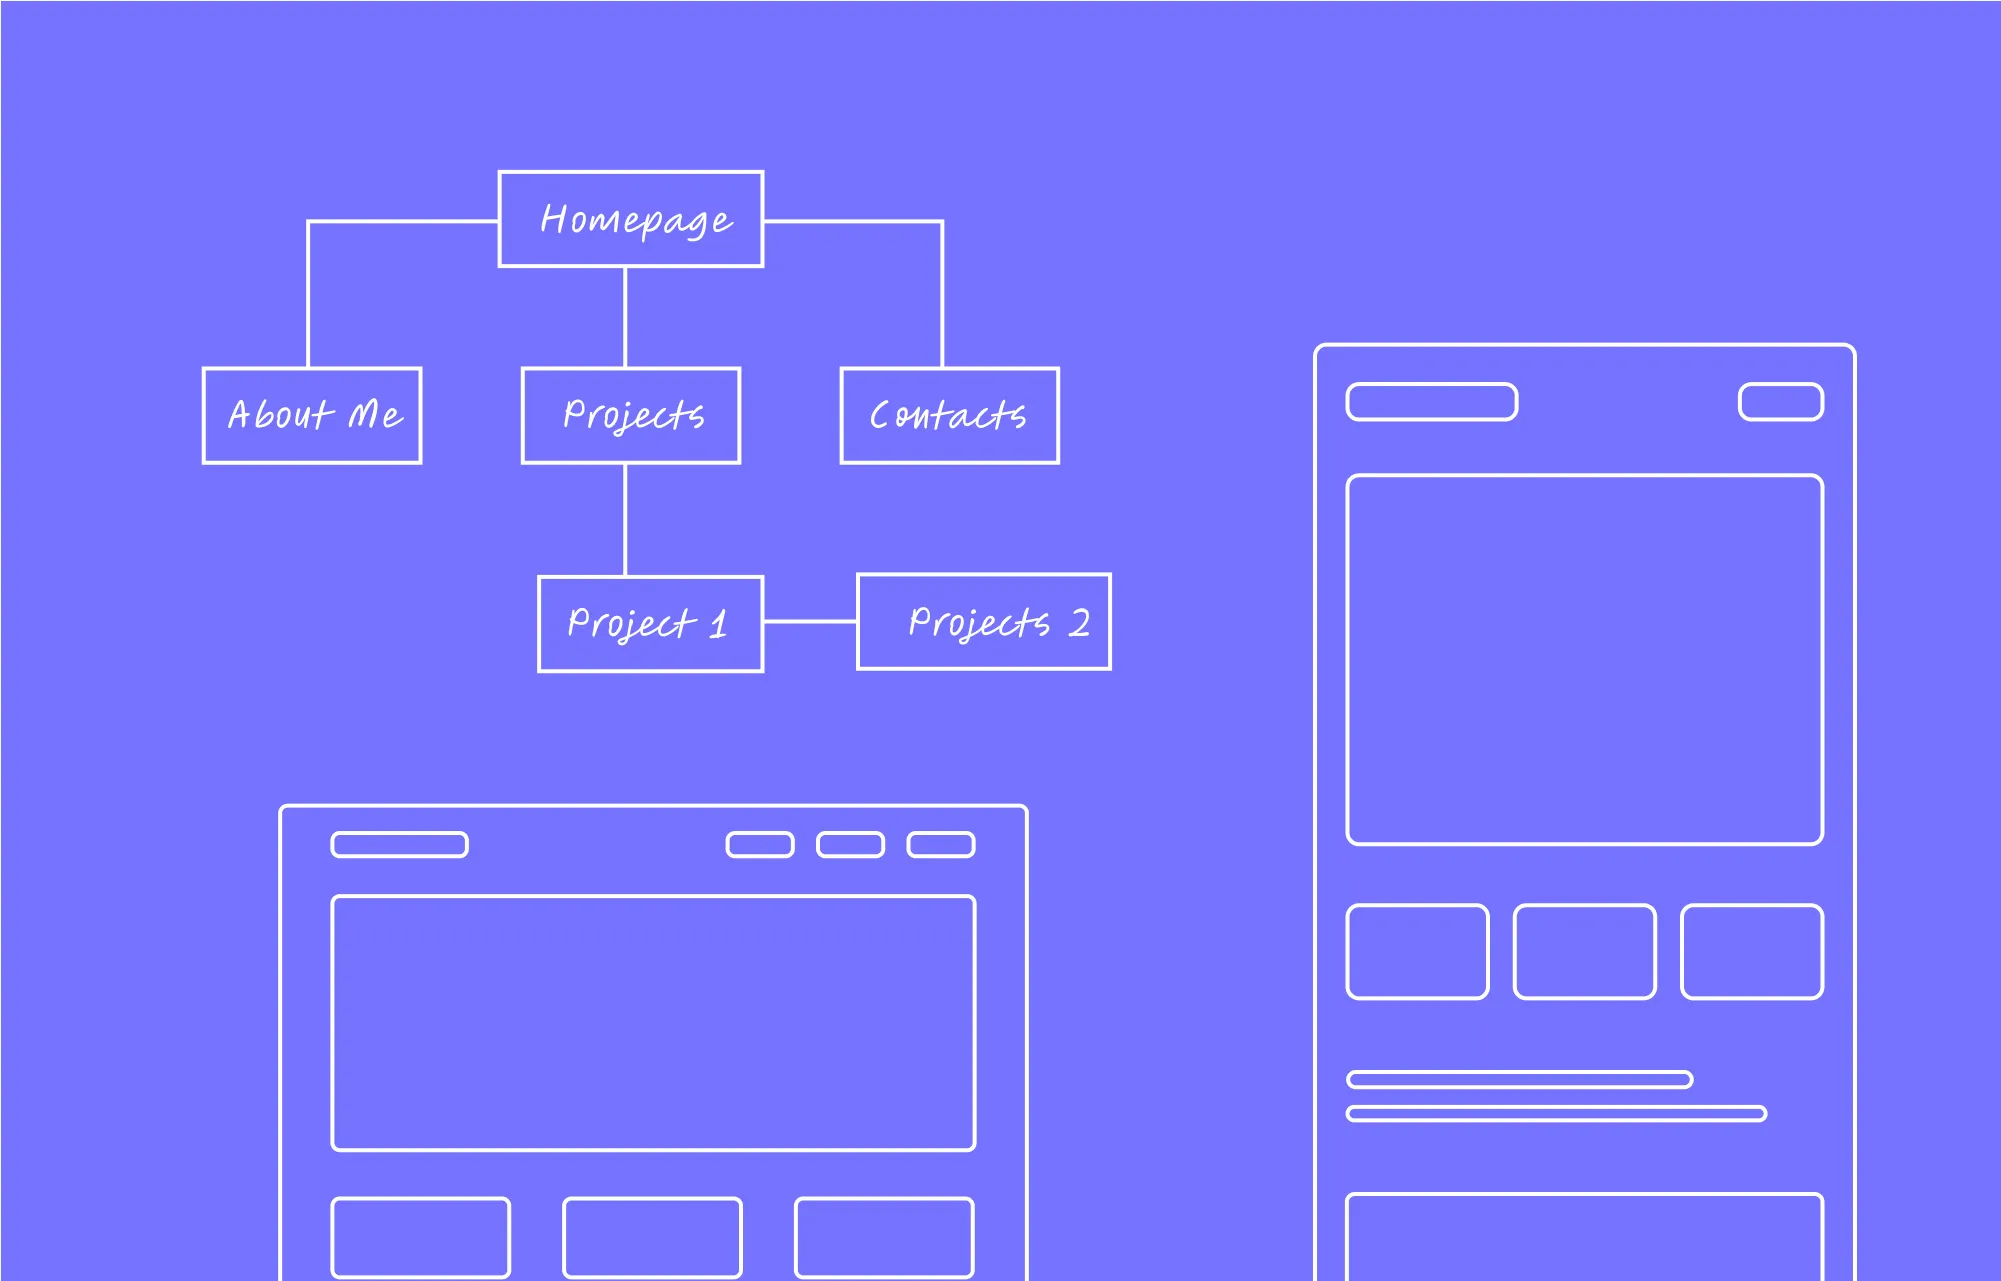
Common pages most websites need include: Homepage, Services, Projects, About, Contact, Pricing, Legal pages (Privacy Policy, Terms & Conditions), and Utility pages (404, Login, Registration).
To create a new page in Kirki, go to the Pages panel in the left sidebar and click “+”. Select New Page and give it a name. Design it freely using the canvas.
For Utility pages like 404, Login, and Registration, click “+” in the Pages panel, hover over Utility Page, and select the one you want to add instantly.
Tip: Once pages are created, add their links to your navigation menu to make your website fully functional.
Step 6: Define and Display Dynamic Content
Key pages like Services, Projects, and Portfolio often showcase repeatable content. For content that expands and evolves, dynamic display is the way to go.
With Kirki’s built-in CMS, you can define custom content types, input your data, and display it dynamically through collection lists and single-page templates — all without extra plugins like ACF.
Open the CMS panel from the left sidebar, click “+” to create a new collection, add your custom fields, and click Create Collection. Then add your items and display them on your pages using Collection elements from the Insert panel > Contents > Collections.
Step 7: Add Interactions and Animations
Now it’s time to bring your website to life with interactions and animations.
In Kirki, open the Interaction tab on the right panel. Click Add trigger + to choose your trigger type. Then add a response by clicking “+” and choosing from:
Library: Browse and apply preset animations including Fade, Bounce, Slide, Flip, and more for quick effects.
Text Animation: Select from Blur, Flip, Shoot, Scale, Rotate, Shake, and Stagger presets specifically for text elements, with controls for Apply To (Character, Words, Element), Wait, Scale, Blur, Skew, and Offset.
Set New: Open the visual timeline to build fully custom, layered interactions by selecting target elements and adding property-based actions like Move, Size, Rotate, Opacity, Background Color, and more.
For page-level interactions, select Page in the Layers panel first, then open the Interaction tab to access page-level triggers like While page is scrolling, Page Load, and Page Scrolled.
Step 8: Make Your Website Responsive
With your layout and content set, ensure your site looks great on all devices using Kirki’s infinite canvas.
All breakpoints — Desktop, Tablet, Landscape, and Mobile — are visible side by side simultaneously on the canvas. Simply click on the breakpoint view you want to refine and make your adjustments using the Design tab. Changes cascade automatically from larger to smaller breakpoints, reducing repetition and speeding up your responsive workflow.
To add a custom breakpoint, click the “+” icon on any breakpoint view on the canvas, enter a name and width in the Add Breakpoint modal, and click Done.
To hide an element on a specific breakpoint, select it on that breakpoint view, go to the Design tab, and set Layout > Display to None.
Step 9: Optimize Website SEO
With Kirki’s built-in SEO options, setting up your pages for search engines is straightforward.
Right-click any page in the Pages panel and select Page Settings. Navigate to the SEO tab and add your Title, Meta Description, Cover Image, and Open Graph information. Click Save when done.
Tip: Optimize your page URL from the General tab > Slug to further improve SEO.
If you have OpenAI connected via the Apps panel, you can click the sparkle icon next to any SEO text field to generate SEO content automatically using AI.
For dynamic collection templates, set up dynamic SEO field tags so each item’s detail page automatically gets its own unique SEO title and description.
Step 10: Design Forms and Pop-ups to Capture Leads
No website is complete without high-converting forms and pop-ups.
Building a Form Open the Insert panel and navigate to Base Elements > Forms. Add a Form Block to your canvas and configure it from the Design tab. Add your form elements (Input, Textarea, Select, Checkbox, Radio, Submit), set up Email notifications or Webhooks for lead capture, and enable reCAPTCHA for spam protection via the Apps panel.
All submitted data is stored automatically and viewable in Kirki’s Submissions panel in the dashboard.
Tip: Save time by browsing pre-built form layouts from the Insert panel!
Building a Pop-up In the Pages panel, click “+” and select Pop-up. Design it on the canvas just like any other page. Configure its triggers, position, and Visibility Conditions from the Settings tab on the right panel to control when, where, and who sees it.
Bonus: Make Your Website Multilingual
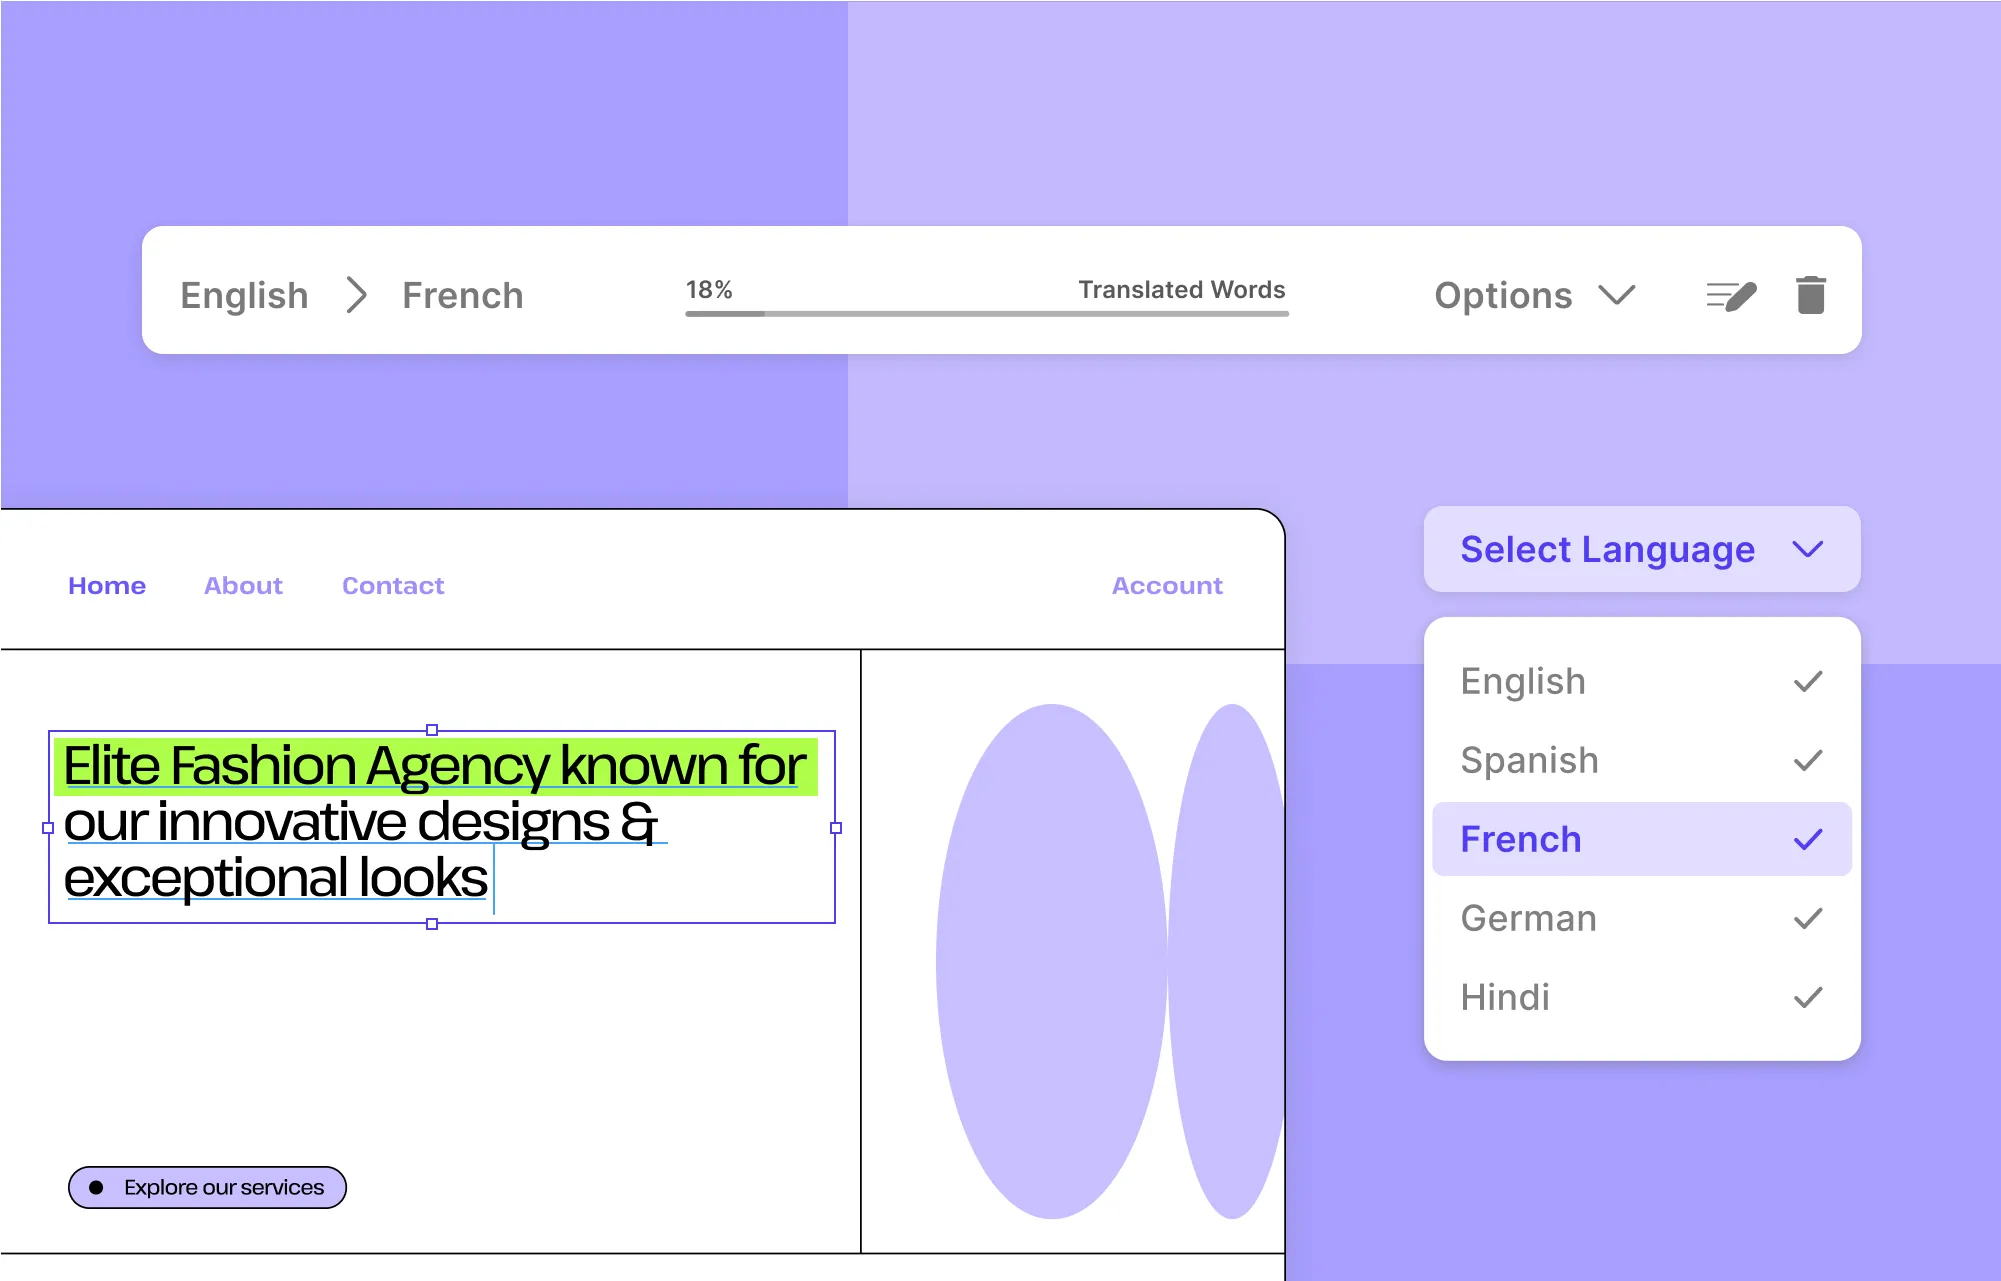
Want to reach a broader, global audience? Make your Kirki website multilingual using Weglot, a popular multilingual solution available directly from Kirki’s Apps panel.
Connect Weglot from the Apps panel, configure your languages, and your site will be automatically translated for visitors in different regions.
Step 11: Test Your Website Before Launch

Before going live, test and optimize your website thoroughly.
Run a Website Audit Click the Audit icon in the Kirki editor toolbar to automatically scan your site for issues like missing alt text, broken links, missing Open Graph images, and more. Click any listed issue to jump directly to that section and fix it instantly.
Enhance Performance Kirki is built for speed out of the box with clean, bloat-free code, no third-party JavaScript library dependency, and automatic CSS and JS compression. Boost performance further by enabling Image Optimization (converts images to WebP) and Lazy Loading for videos from the Settings panel in the Kirki dashboard.
Test Speed and Responsiveness Use tools like Google PageSpeed Insights, Pingdom, and Lighthouse to get detailed performance reports and identify areas for further improvement.
Step 12: Go From Staging to Live
You’ve likely built your website on a staging environment. Now it’s time to go live!
With Kirki’s built-in Export and Import feature, moving from staging to live is simple. Go to Kirki > Settings > Data & Sharing on your staging site, click Export, download your project file, then import it on your live site using the same Settings panel.
Once live, publish each page by right-clicking it in the Pages panel and updating its settings. Do the same for all pop-ups.
Check out our dedicated guide on how to move a WordPress site from staging to live with Kirki for more details!
Build Your WordPress Website With Kirki Today
And that wraps up our in-depth beginner’s guide on how to create a website in WordPress with no code!
From planning your WordPress website to seamlessly moving from staging to live, we’ve covered everything you need to know to get started.
So are you ready to build your dream website? Jump in and start creating with Kirki today!