
Using Webflow to build and host your website, but starting to feel boxed in? Or maybe you love its design freedom but aren’t thrilled about the hosting limitations or the price tag that comes with it?
If you’re looking for more control, flexibility, and scalability, WordPress opens the door to all of that and more. The only catch is the complexity behind switching platforms.
That’s why this guide exists! Below, you’ll find a clear, step-by-step breakdown on how to migrate from Webflow to WordPress without the stress or the mishaps.
Why Move From Webflow to WordPress
Webflow is undeniably powerful, but even with its strengths, there are plenty of reasons you might start looking beyond it, such as:
- Needing greater functionality: Webflow gives you great visual control, but falls short when you need to extend your website’s functionality, as its app and widget selection is limited compared to WordPress’s massive plugin ecosystem.
- Avoiding platform lock-in: Webflow also makes it hard to fully “own” your website. Self-hosting isn’t straightforward, and if you rely on its built-in CMS, moving your site elsewhere means losing your dynamic features, effectively locking you into Webflow’s ecosystem or leaving you with a static website. And even after exporting, any update (no matter how small) has to be made inside Webflow first, then manually re-exported and reuploaded.
- Outgrowing Webflow’s pricing model: Webflow can start as an affordable option, but as your site grows, so does your bill. Expanding becomes less and less feasible as advanced features, CMS items, and increased traffic, among other things, are gated behind a paywall.
So, while Webflow is a strong platform, its limitations can become more noticeable as you expand. And although migrating from Webflow to WordPress may seem like extra work, making the switch when your site is still manageable can be the right call in the long run.
Pre-Migration Steps
Now that you know why you should move from Webflow to WordPress, let’s walk through the key pre-migration steps you need to take:
[Optional] Backup Your Webflow Site
Migrating from Webflow to WordPress won’t affect the version of your site inside Webflow, as you’re only exporting a copy. Still, it’s always wise to be cautious; backing up your Webflow site beforehand gives you a safety net to fall back on, just in case.
Make an Inventory
It’s also a good idea to make an inventory of your site and all the content it contains. It may feel like a hassle, but it will make things much easier when you’re double-checking that everything has been successfully migrated.
Get Hosting & Install WordPress
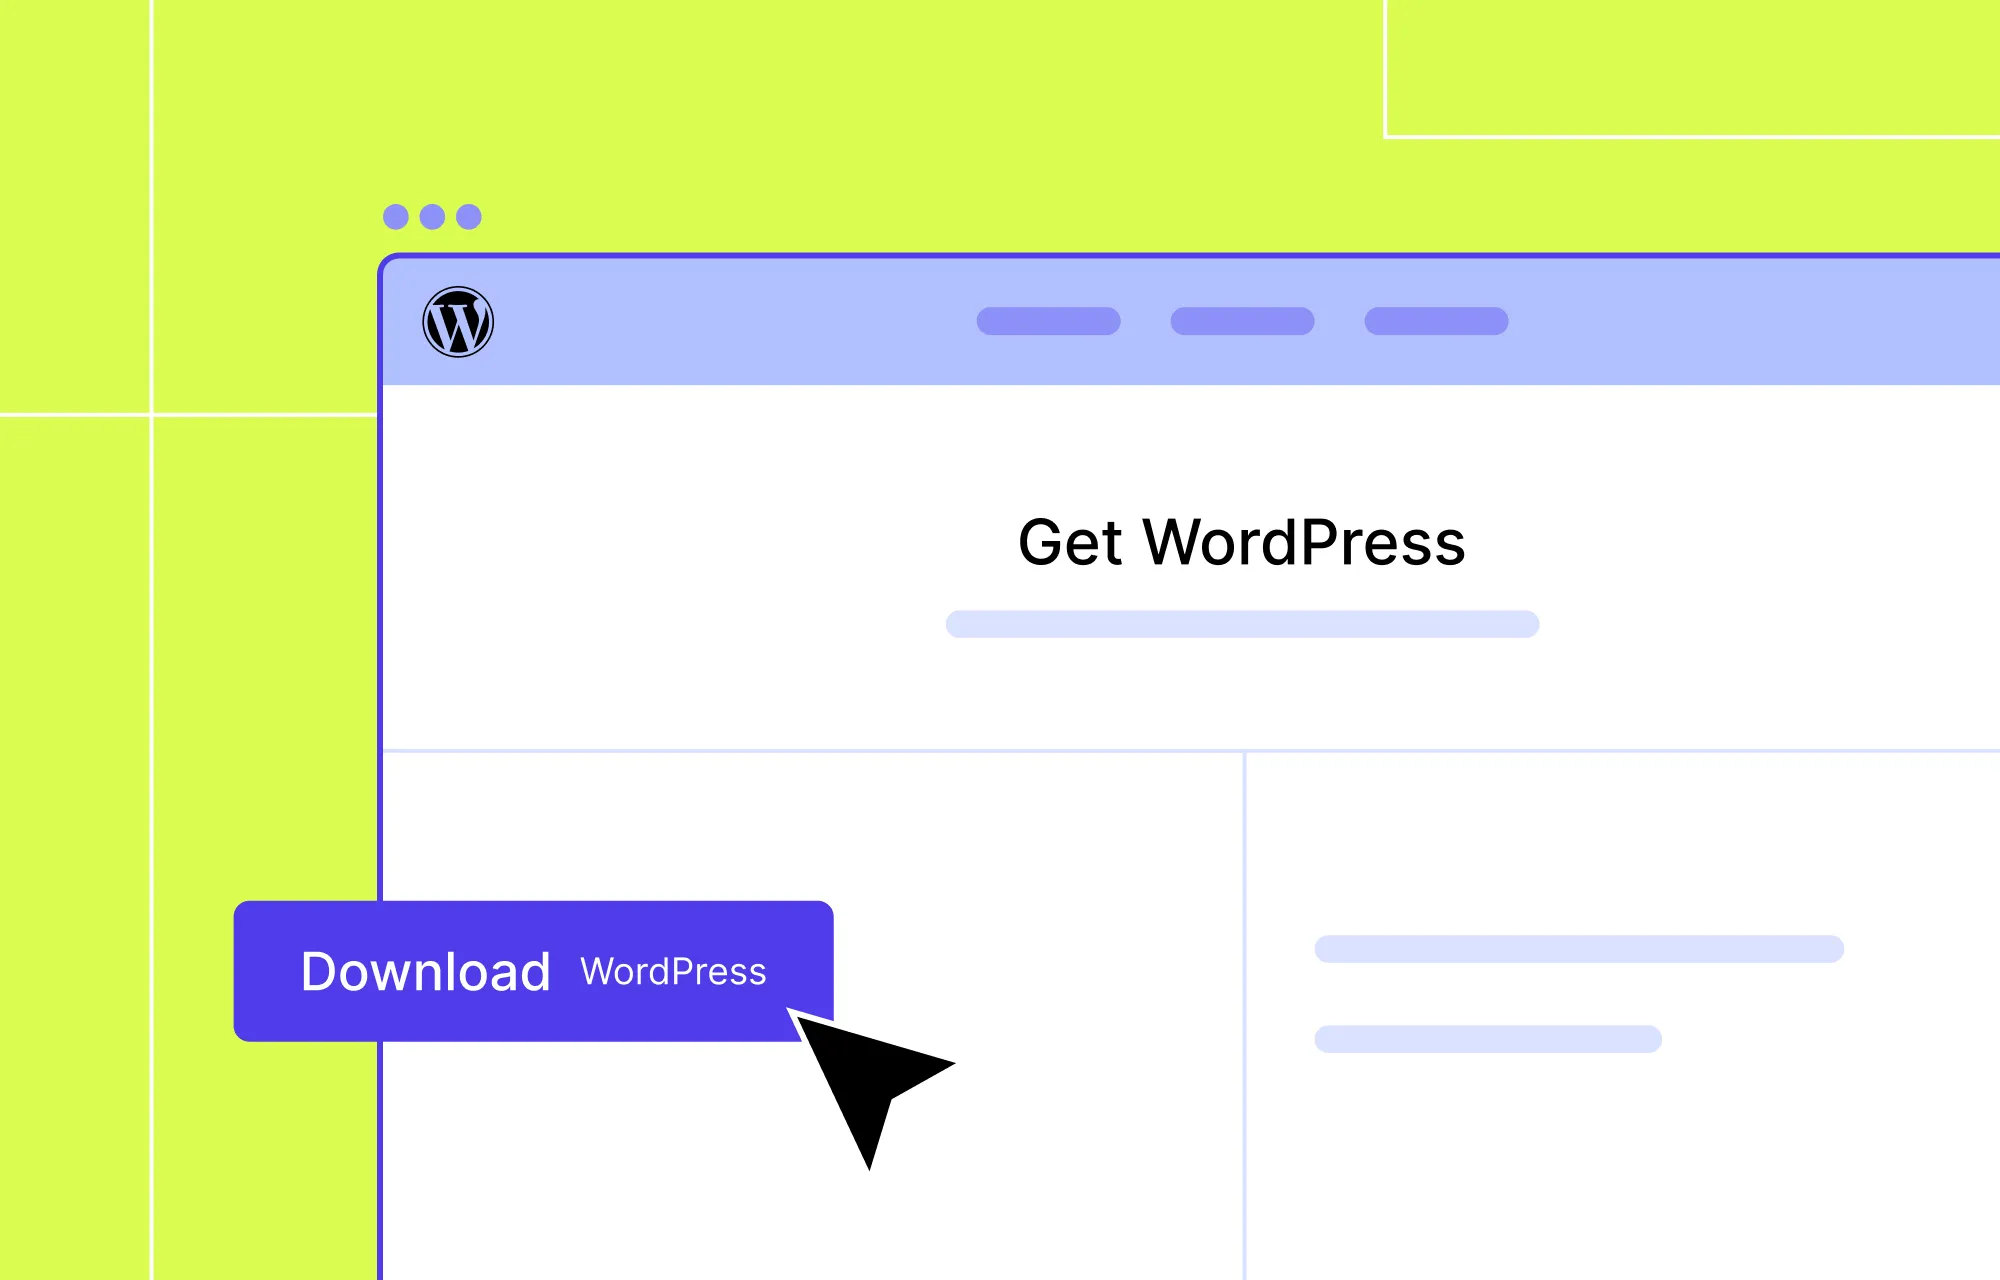
Next, it’s time to set up your WordPress website.
When choosing WordPress, you have two options: WordPress.com and WordPress.org.
If you choose WordPress.com, hosting, domain, and site maintenance are all handled for you. However, it can be quite restrictive when it comes to custom domains, access to all themes, etc, unless you upgrade to higher-tiered paid plans, which can get quite expensive.
This can be especially limiting if your goal is to migrate a Webflow site to WordPress as seamlessly and cost-effectively as possible.
On the flip side, if you choose WordPress.org, you’ll need to set up your own domain and hosting, but you’ll also gain greater flexibility and control, which is ideal when migrating from a more restrictive platform like Webflow.
To get your hosting, there are numerous providers to choose from, such as Bluehost, Hostinger, and more. But no matter which option you choose, be sure to select it wisely, as hosting can directly impact the success and longevity of your website.
Pick the Right Website Builder as Your Webflow Alternative
As mentioned earlier, migrating from Webflow to WordPress involves creating a copy of your Webflow site and bringing it to a WordPress environment.
But what happens after you import it?
Usually, if you export a Webflow site and self-host it, every single update (even tiny text changes) has to be done inside Webflow, exported again, and reuploaded manually. That’s slow, tedious, and completely defeats the purpose of moving to WordPress.
To avoid that cycle, you need a WordPress website builder that replaces the Webflow editor entirely, so that you can run, maintain, and grow your site from one place.
So what tool can give you WordPress flexibility while still keeping the same visual design freedom you’re used to in Webglow?
The answer is Kirki.
Kirki is the ideal Webflow alternative for WordPress.
It’s a powerful drag and drop builder with an intuitive visual editor, unlimited creative freedom, granular control, and all the modern design capabilities you can expect, including:
- Instant Figma to WordPress Handoff
- Dynamic Content Management
- Real-time Collaboration & Co-editing
- Extensive Free WordPress Theme Library
- Form Builder & Form Data Manager
- Popup Builder
- Interaction and Animation Builder
- And more
With an all-in-one solution like Kirki, you get the full flexibility of WordPress and the seamless, familiar visual workflow of Webflow, but without its limitations.
And unlike many tools out there, Kirki gives you access to its full set of capabilities across every plan. There are no hidden costs or paywalls after the initial purchase. So no matter which plan you choose or how much your site grows, you always have everything you need to build, customize, and scale your website.
To get started with Kirki, check out our in-depth guide on how to build a WordPress website from scratch.
How to Migrate From Webflow to WordPress
Once your WordPress website and website builder are all set up, it’s finally time for you to migrate your site from Webflow to WordPress.
Export Your Content From Webflow
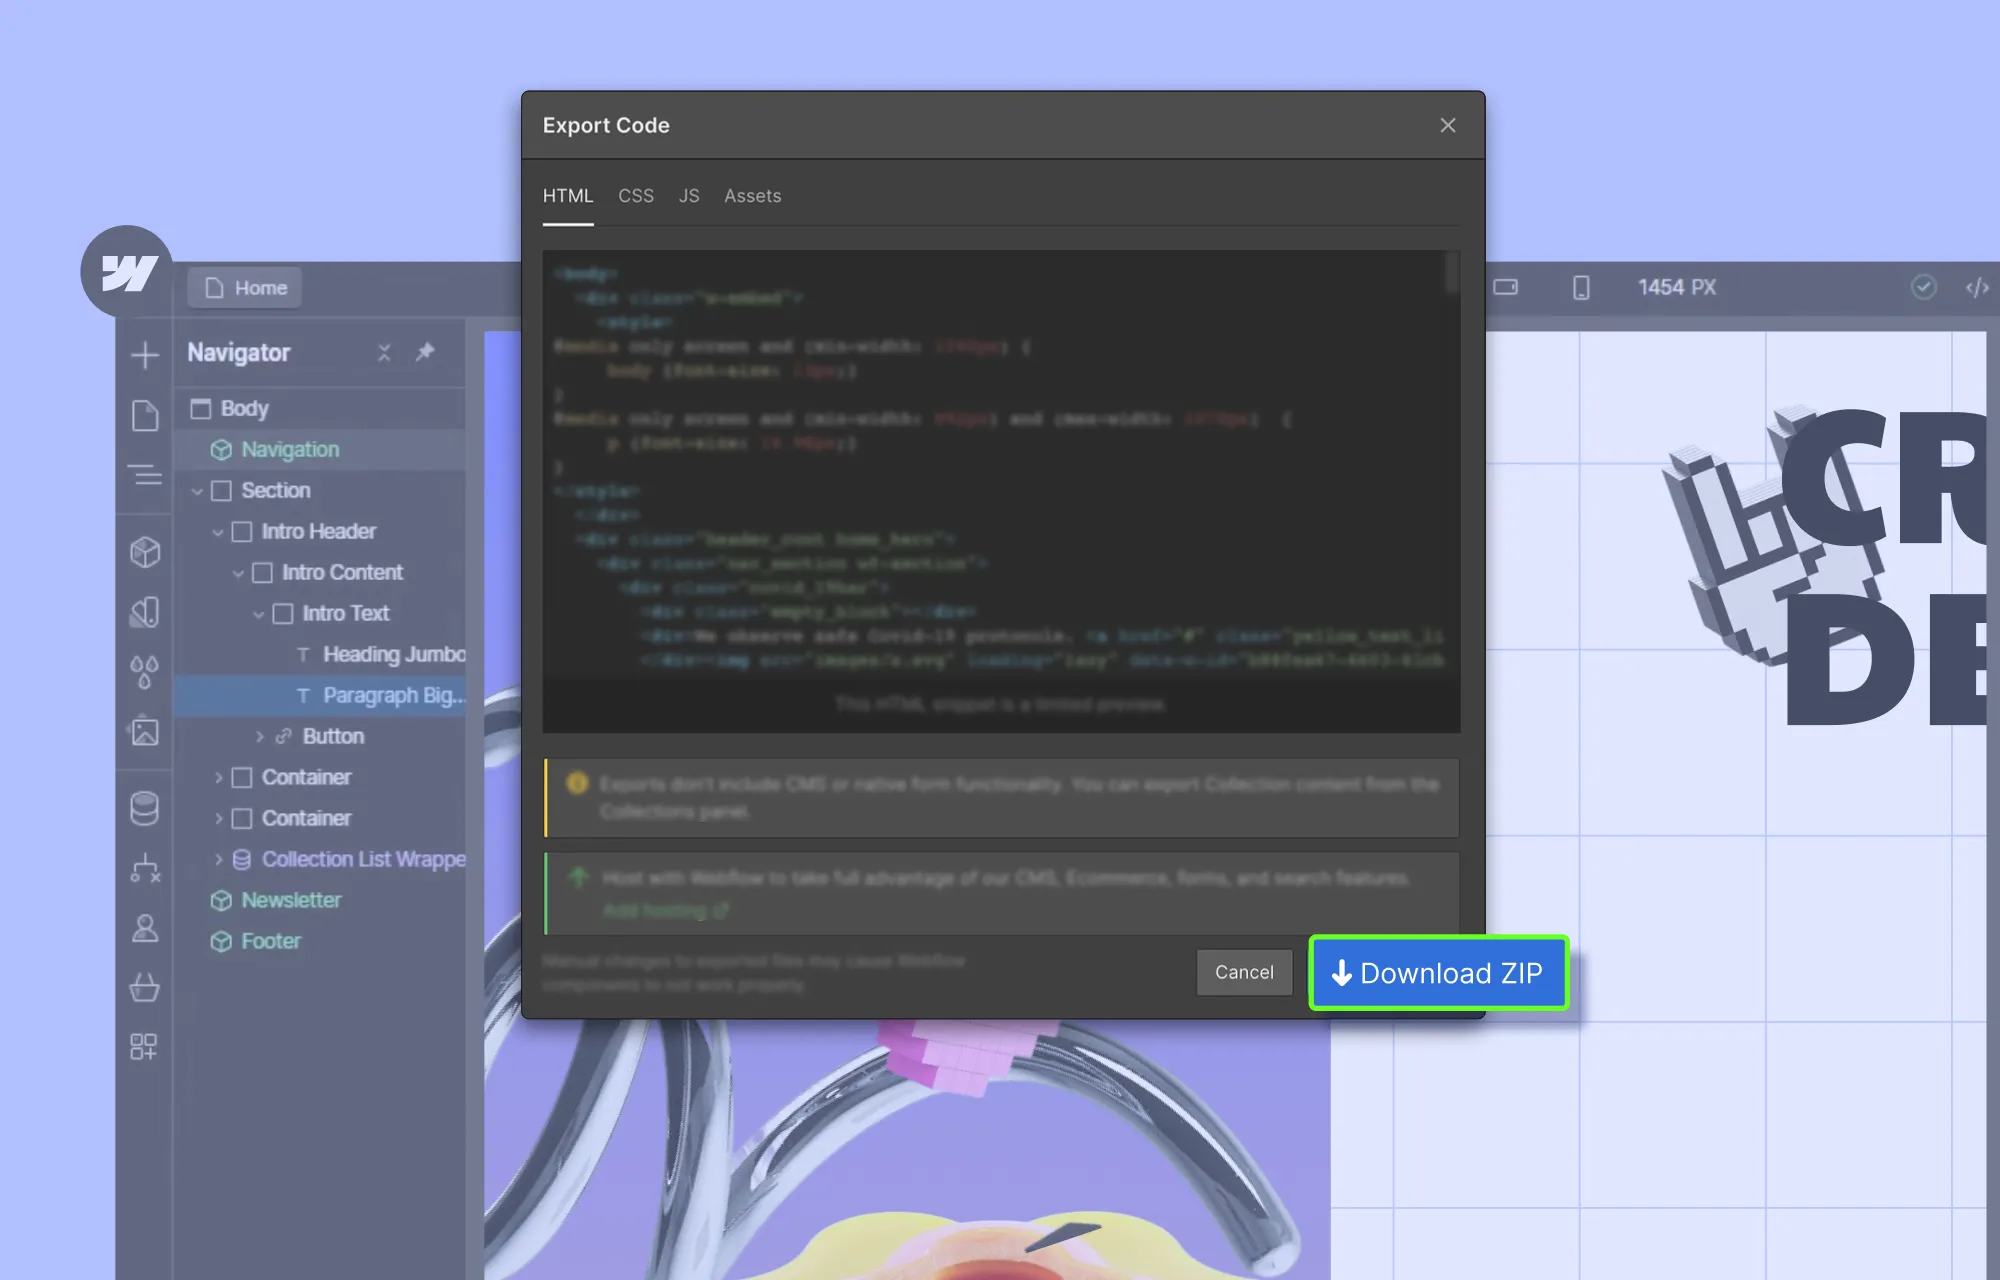
The first step in migrating from Webflow to WordPress is exporting your content:
- Step 1: Open your Webflow project and make sure you’re in Design Mode.
- Step 2: Click on the Webflow icon in the top-right corner to access the Export Code panel.
- Step 3: Hit the Download Zip button to save your exported content to your local device.
Note: This Webflow export will not include CMS or native form functionality. It only provides a fully static version of your site’s pages, styles, and assets.
Import Your Content to WordPress Using Kirki
Next, it’s time to bring your Webflow content to the WordPress environment:
Step 1: Open the Kirki editor on your WordPress website.
Step 2: From the Pages panel in the left sidebar, click “+” to create a new page. Then open the Insert panel, navigate to Base Elements, and add the Custom Code element to your canvas.
Step 3: Click the Custom Code element to open the Custom Code modal. Select the Code tab. Unzip your exported Webflow files, open the HTML file of the page you want to import, copy its content, and paste it into the code editor.
Step 4: Next, bring over your styles and scripts. From your exported files, find the relevant CSS and JS code for that page and paste them into the same code editor. Make sure to:
- Wrap your CSS code with HTML style tags
- Wrap your JS code with HTML script tags
Tip: To simplify things and save time, feed the HTML, CSS, and JS files into an AI generator and have it sort and organize everything page by page before pasting.
Step 5: Once you’ve pasted all the relevant code for that page, click Migrate.
And that’s it! Using this method, you can migrate all your pages complete with their content, styling, and animations. Repeat for each page you want to bring over.
Visually Tweak Your Imported Pages
Now, normally, once you export a Webflow site, any changes, no matter how big or small, require editing in Webflow, then manual re-exporting and re-importing.
But with Kirki in WordPress, that’s no longer the case.
By clicking the Migrate button (instead of Embed) in the Custom Code editor, your Webflow content is converted into fully editable Kirki elements.
Now you can visually customize everything in Kirki. Tweak layouts instantly, update content, adjust styling, and more, all without the need for Webflow and manual re-export & re-import.
- To update text: Simply double-click any text element on the canvas and type
- To adjust styling: Select the element and use the options in the Design tab
- To completely redesign: Use Kirki’s free WordPress themes, import from Figma, or build from scratch using pre-built sections and elements
Create & Display Dynamic Custom Content
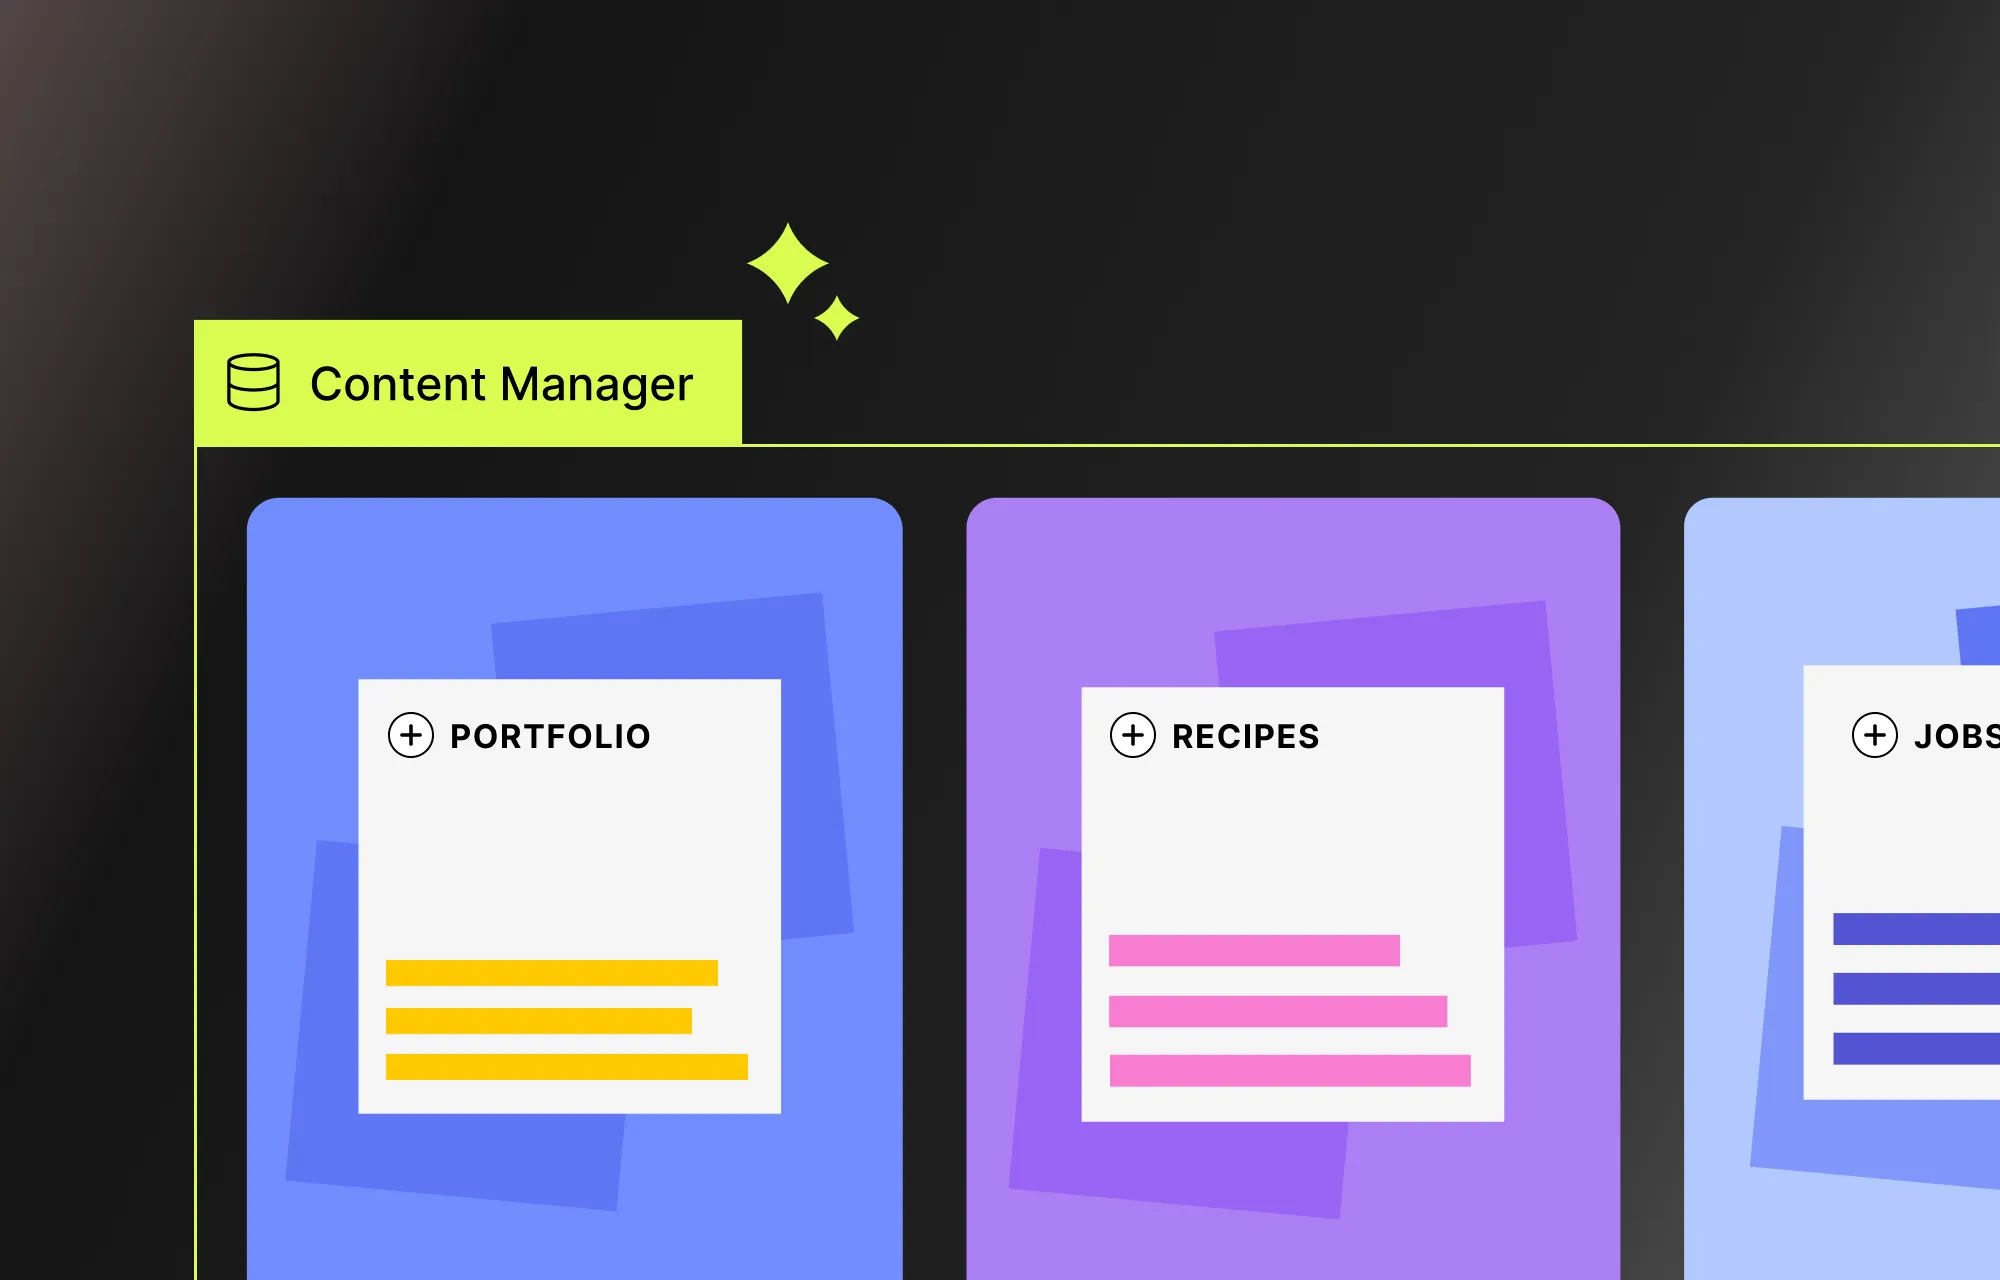
One of the biggest setbacks when migrating from Webflow is losing its built-in dynamic content capabilities.
But with Kirki and WordPress, all is not lost.
Using Kirki’s native CMS, you can visually create custom content types, add your content, define collection relationships, and display everything dynamically through collection lists and single-page templates — all without third-party plugins.
Configure Your WordPress Site
Before making your site live, you need to configure some essential WordPress website settings, such as:
- Site Title & Tagline: From the WordPress website’s backend settings, set your title and tagline to make it more understandable for users and search engines.
- Time Zone & Language: From the same settings, set basic things like your Time Zone, Language, Date Format, etc, for your website.
- Membership: Enable this option if you want users to be able to register on your website.
- Permalinks: Set SEO-friendly URLs from Settings > Permalinks. The “post name” option is a recommended choice.
Finally, secure your website by using strong passwords for all accounts, enabling SSL to encrypt data and authentication, and performing regular backups.
Point Your Domain to WordPress
You’ve successfully migrated your content from Webflow to WordPress and configured all your settings! Now the final step is to take your original domain (the one pointing to your Webflow site) and point it to your WordPress site instead.
This will allow visitors to use the same address to visit your website and avoid the hassle of updating links, broken redirects, or losing traffic along the way.
To point your domain to your WordPress website:
Step 1: Log in to your domain registrar and locate your DNS settings.
Step 2: Update either the:
- Name Servers: Replace the original name server with the one provided by your new WordPress hosting.
- IP: Or, you can update the record, i.e, point your domain directly to your WordPress host’s IP address.
💡 Note: Keep in mind that DNS changes can take anywhere from a few minutes to 24–48 hours to take effect worldwide.
Step 3: Next, update the WordPress site URL from WP Admin > Settings.
Step 4: Finally, visit your domain to test whether it’s pointing to your WordPress website.
Start Fresh With WordPress Today!
That’s our guide on how to migrate from Webflow to WordPress done!
Keeping your website modern, dynamic, and fully under your control and out of Webflow’s isn’t rocket science.
You just need the right tools, like Kirki, to not only efficiently recreate your site but also unlock greater capabilities, control, and scalability.
So why wait? Start fresh with WordPress and Kirki today!

I appreciate the real-world examples you included — they made the concept click.
Amazing Droip