Layers represent the individual elements that make up a web page, stacked on top of one another. This allows you to easily access and manage all the elements used to create the page.
By utilizing layers, you can customize every aspect of your page at any time, providing a streamlined and efficient way to work within the editor.
How to Use Layers
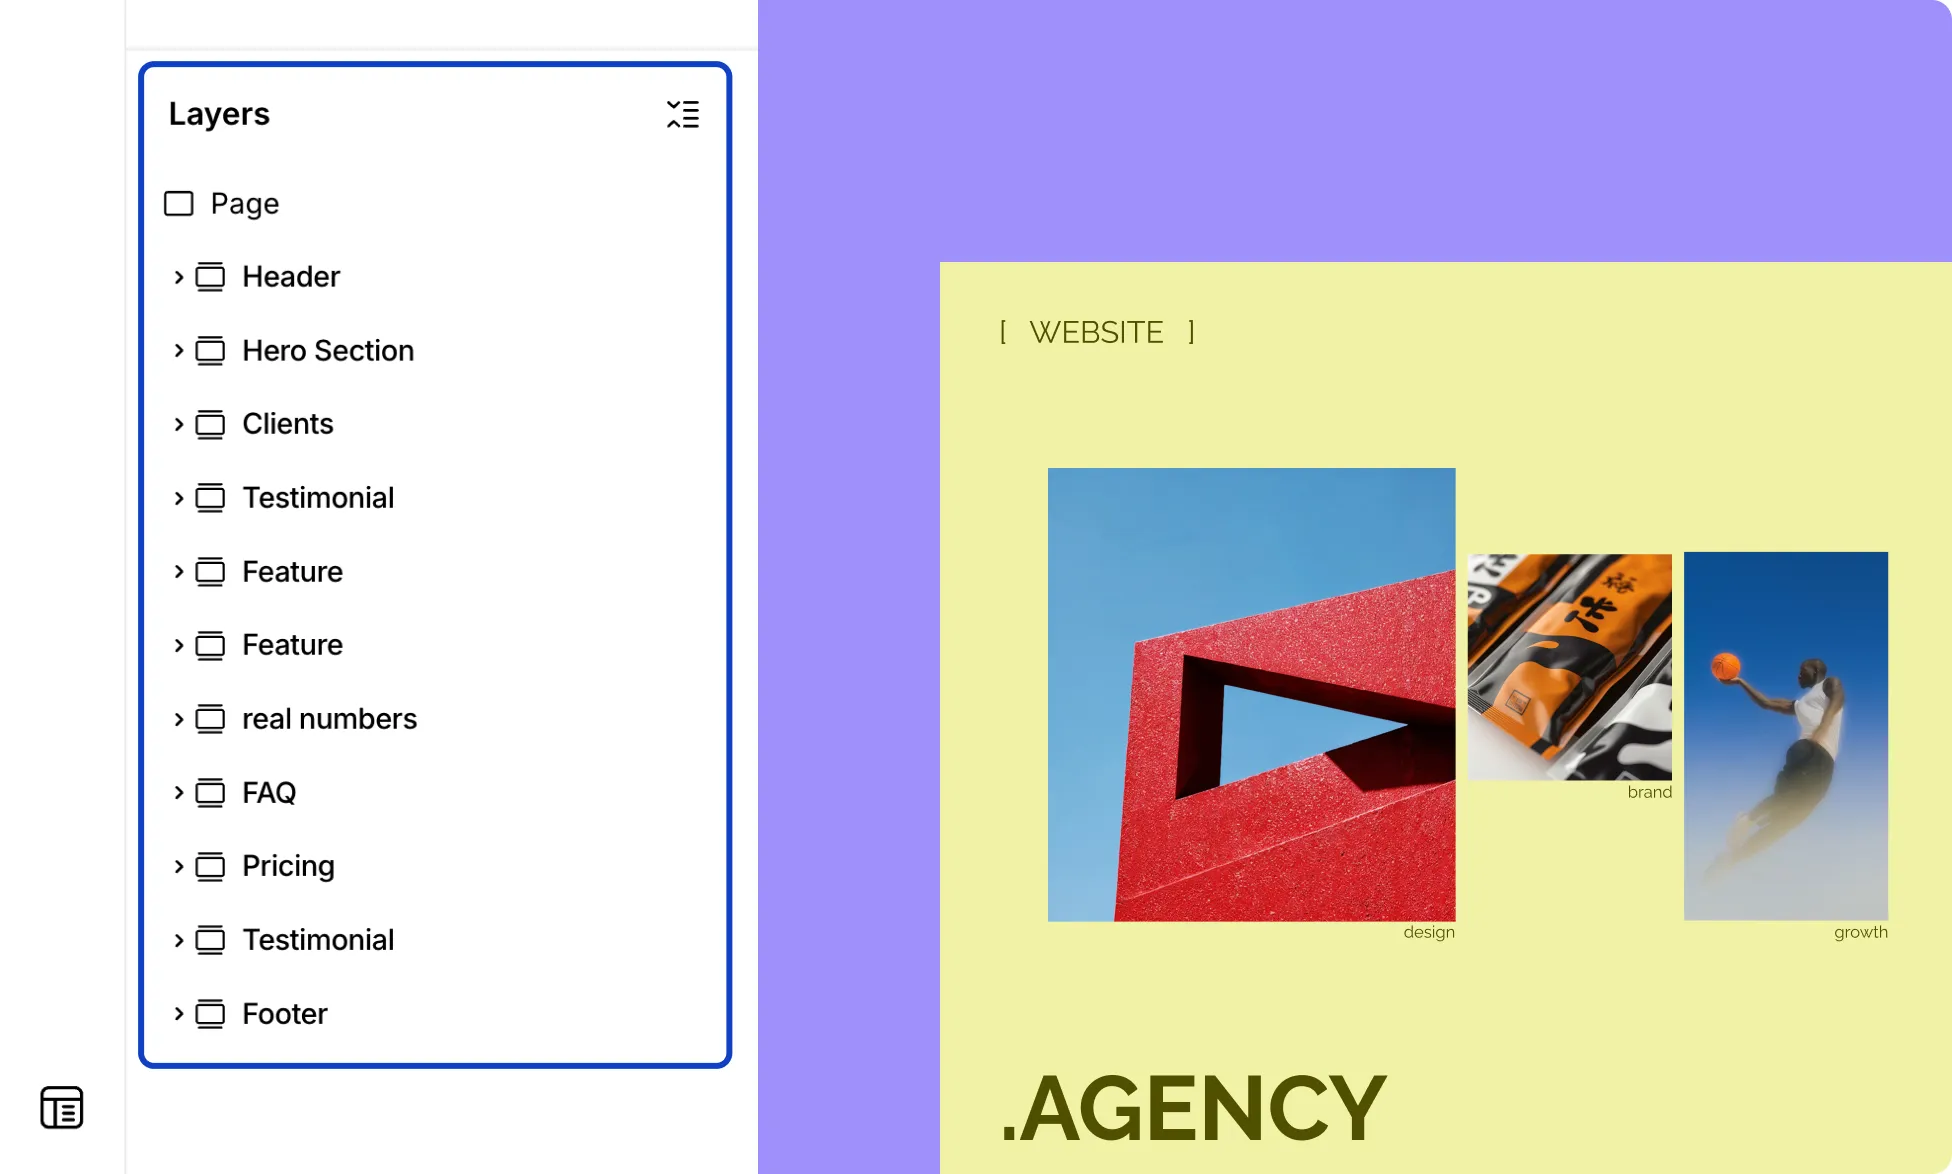
- From the Pages panel on the Left Sidebar, scroll down to Layers.
- Click a layer to select it on the canvas – helpful when elements overlap and are hard to select directly.
- Drag and drop layers to reorder the (static) structure and nest them within structural elements.
- Double-click a layer to rename it, or click the ellipsis (…) icon beside it for more options.
- Right-click any layer to access the same context menu you’d get by right-clicking an element on the canvas.
How to Expand / Collapse All Layers
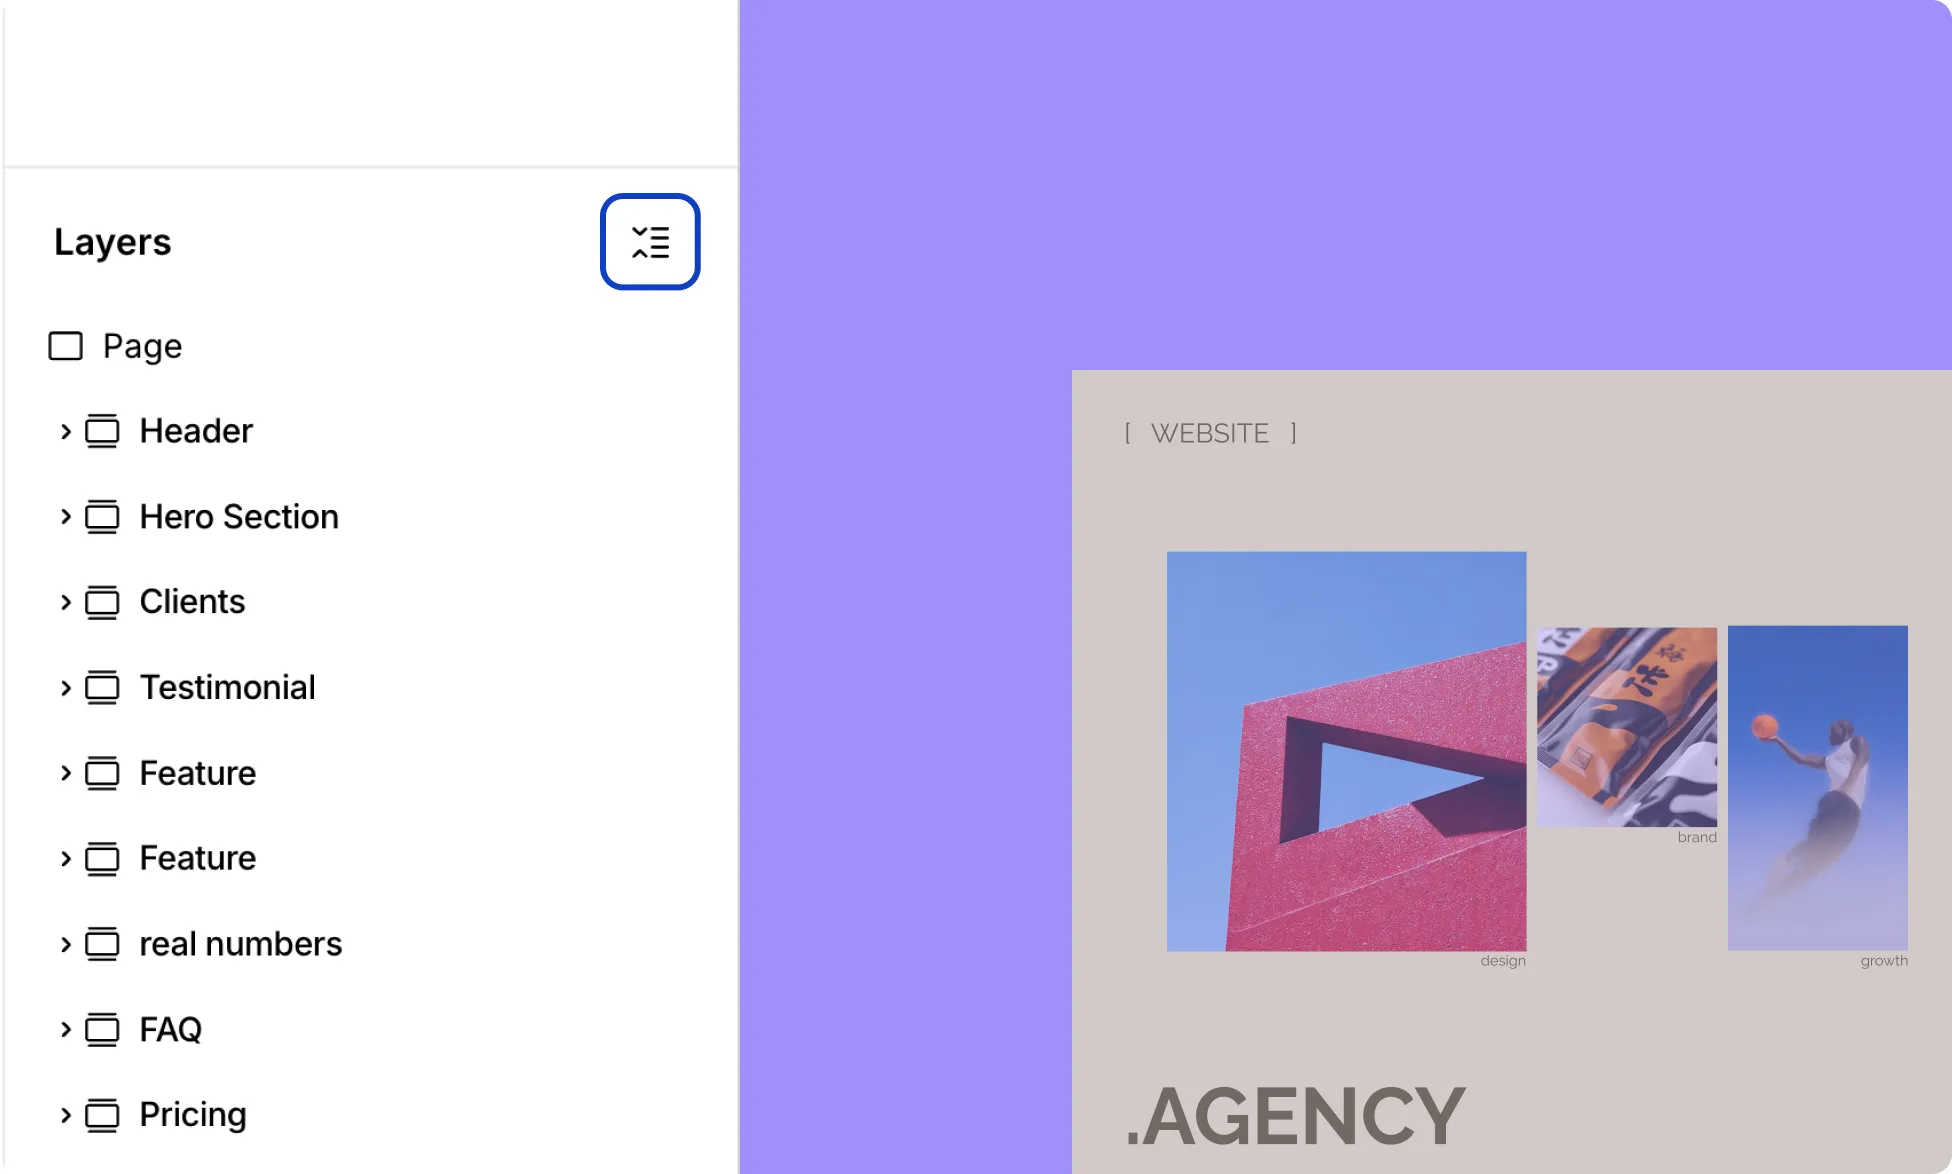
Click the Expand / Collapse icon at the top right corner of the Layers section to expand or collapse all nested layers on your page at once.
Manage Elements From Layers
How to Show or Hide an Element
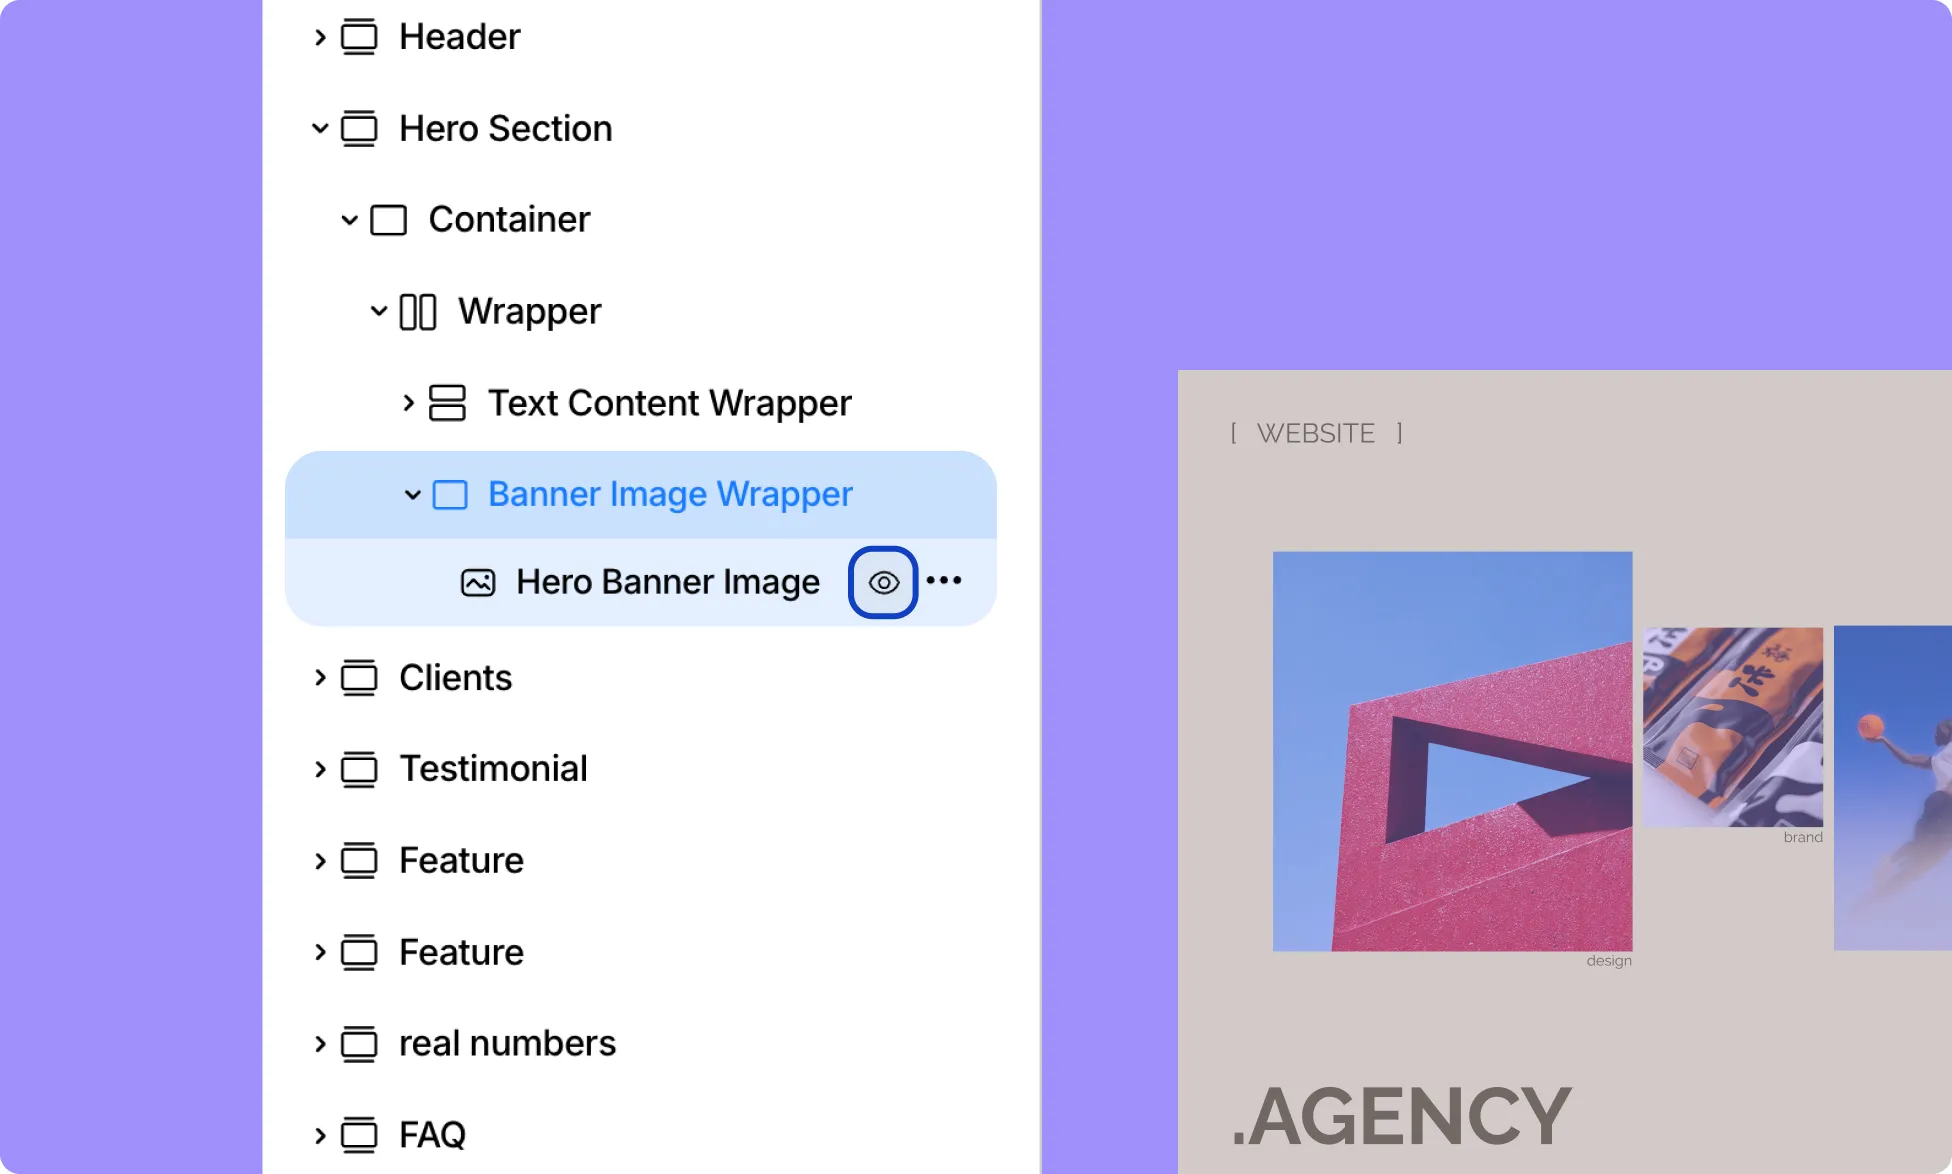
Click the eye icon beside a layer to toggle its visibility on the page.
How to Rename an Element
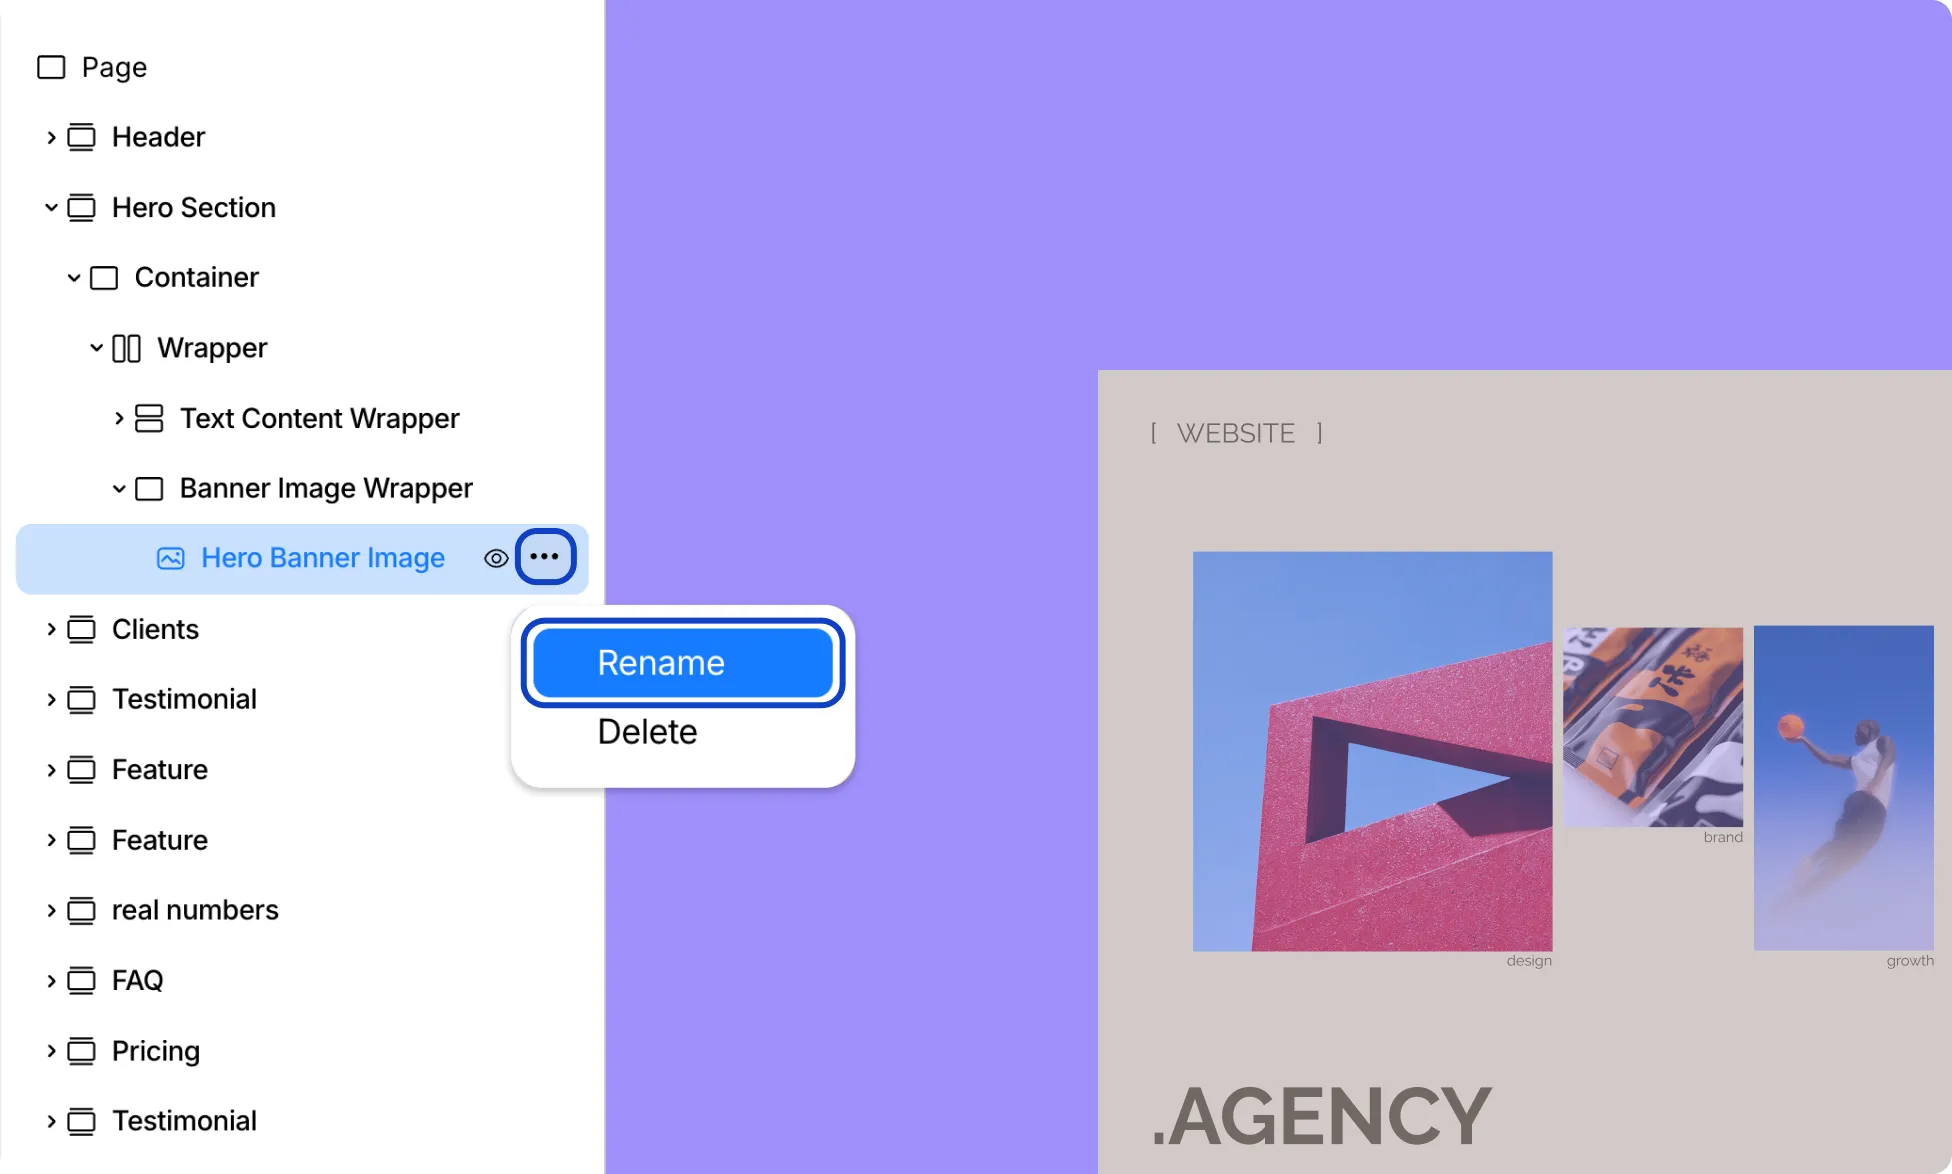
Double-click a layer or click the ellipsis (…) icon next to it and select Rename to give it a different name.
How to Expand a Wrapper Element
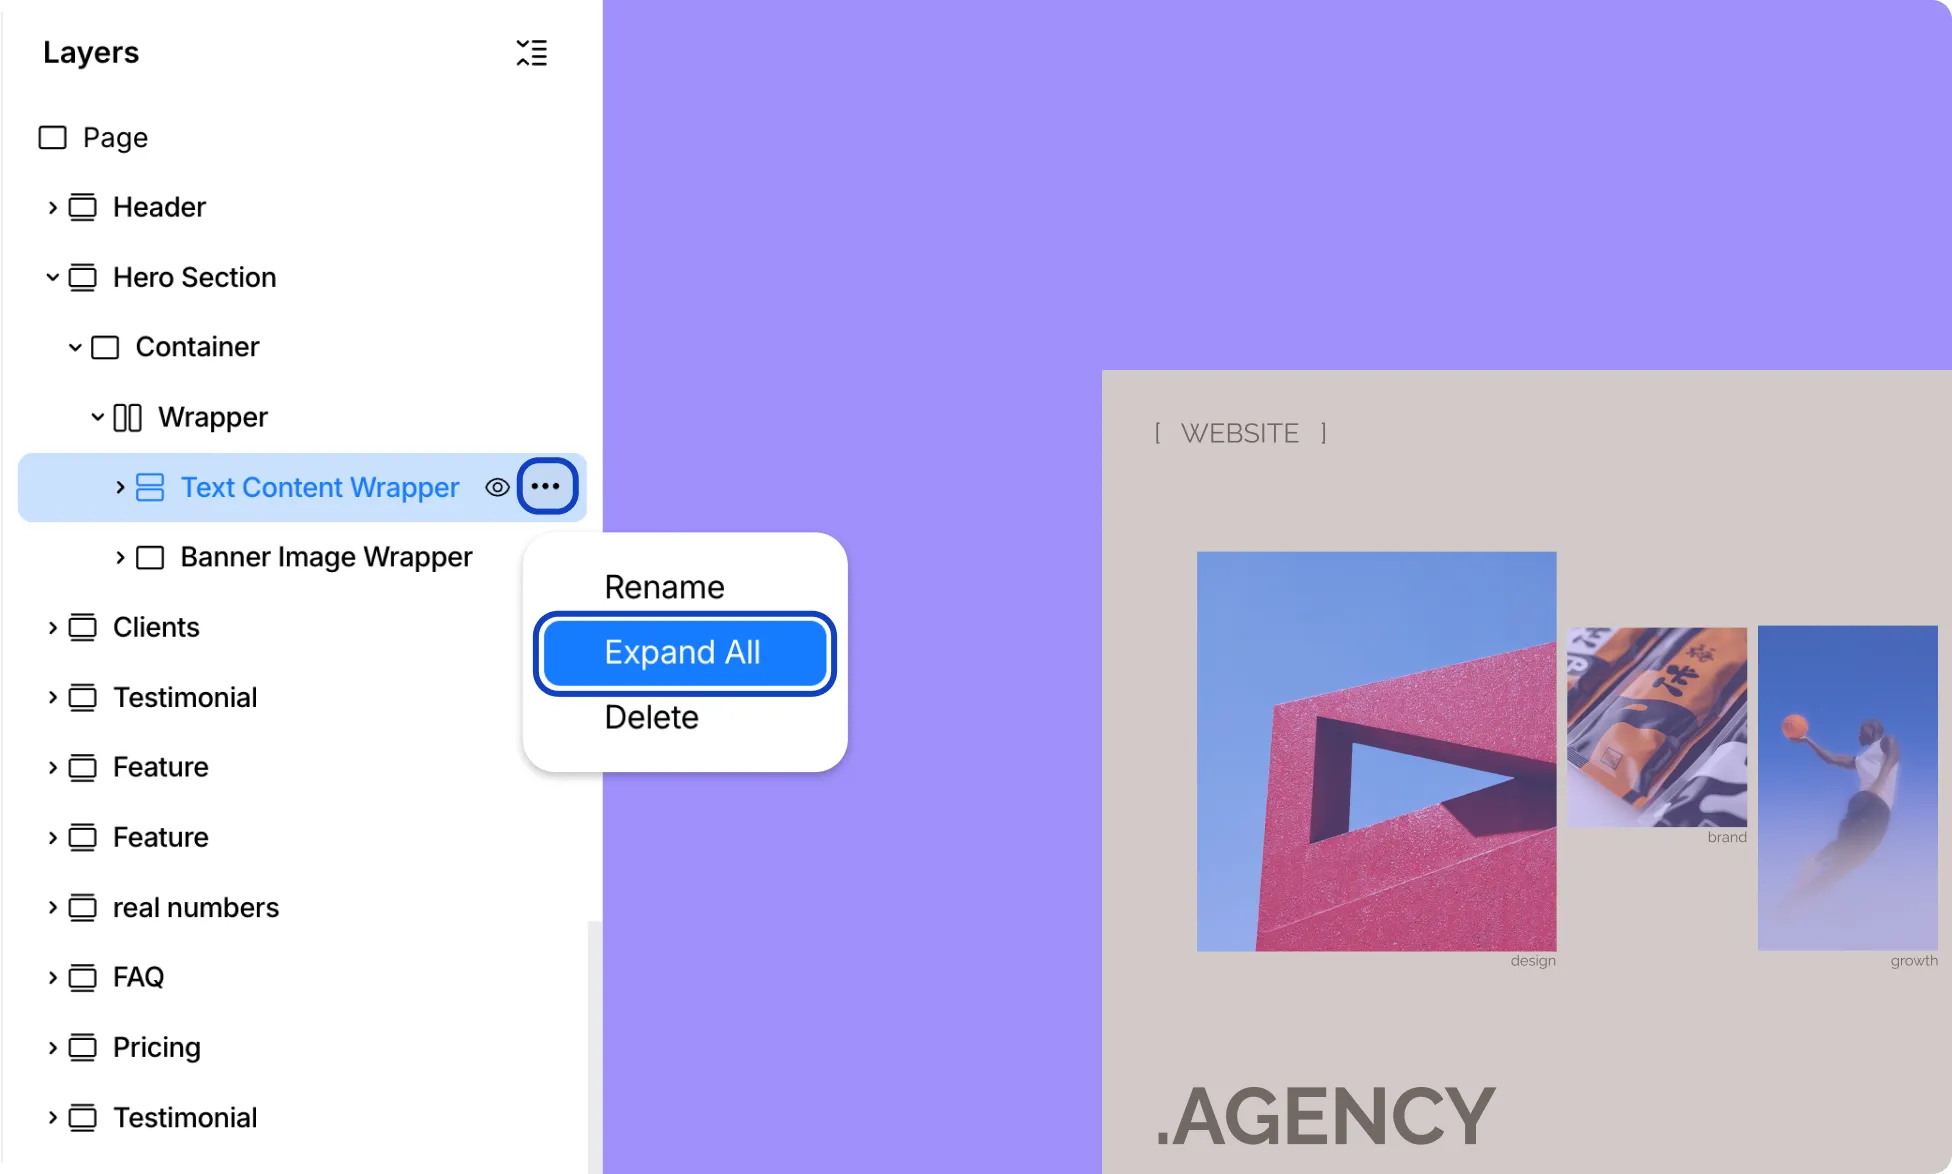
Click the ellipsis (…) icon next to a layer and select Expand All to open every nested layer inside it at once.
How to Delete an Element
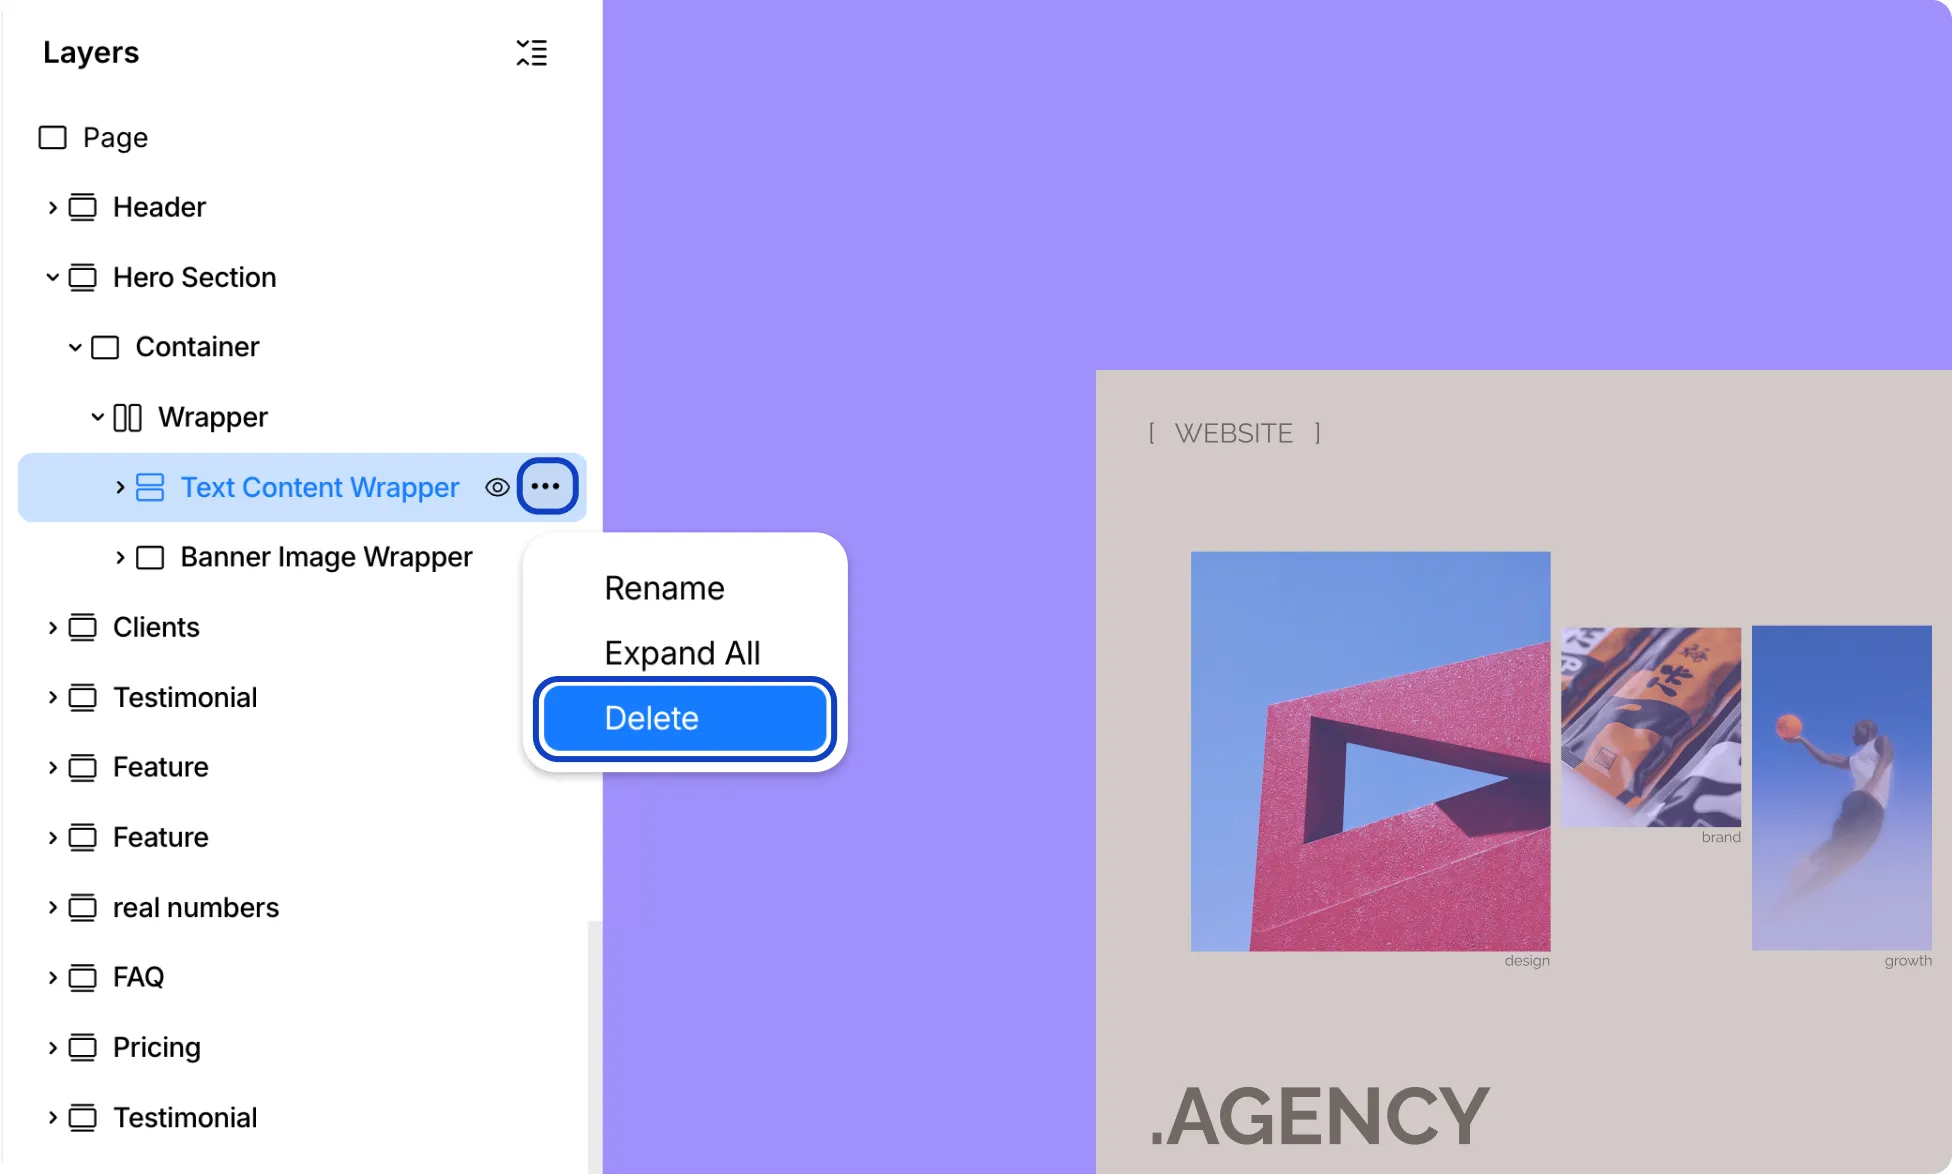
Click the ellipsis (…) icon next to a layer and select Delete to remove it from the page.
Quick Actions For Elements
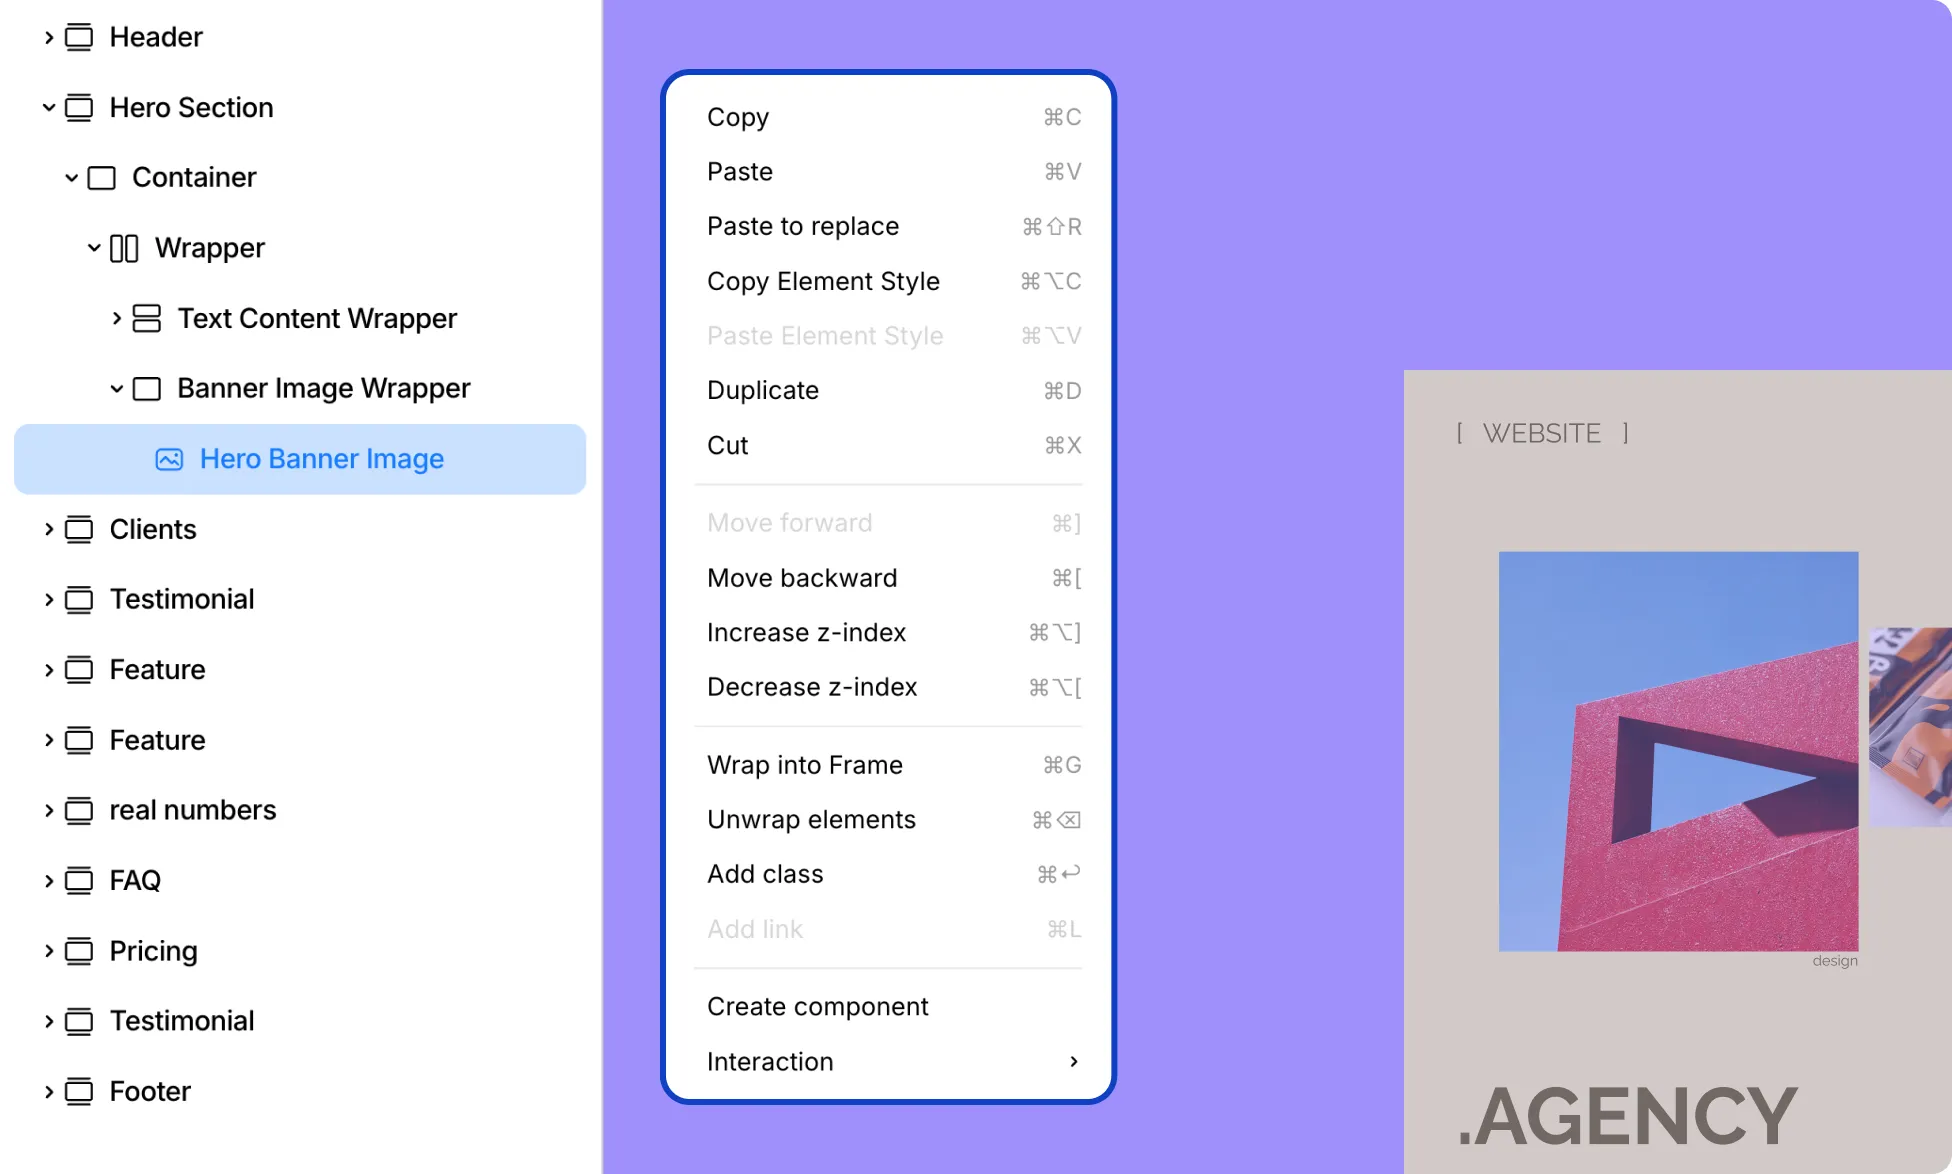
Right-click on an element from the Layers section or on the canvas to access these quick actions.
How to Copy an Element
Select Copy to copy it to your clipboard.
How to Paste an Element
Select Paste to paste a copied element.
How to Paste to Replace an Element
Select Paste to Replace to replace it with the one on your clipboard.
How to Copy an Element’s Style
Select Copy Element Style to copy only its styling, without copying the element itself.
How to Paste an Element’s Style
Select Paste Element Style to apply a copied style to it.
How to Duplicate an Element
Select Duplicate to create a copy directly next to the original.
How to Cut an Element
Select Cut to remove it and copy it to your clipboard.
How to Move an Element Forward or Backward
Select Move Forward or Move Backward to shift its position within its parent.
How to Increase or Decrease Z-Index
Select Increase Z-Index or Decrease Z-Index to move it in front of or behind overlapping elements.
Learn more about Z-Index.
How to Wrap an Element into a Frame
Select Wrap into Frame to nest it inside a new frame.
How to Unwrap Elements
Select Unwrap Elements to remove the frame while keeping its contents on the page.
How to Add a Link
Select Add Link to turn it into a clickable link.
How to Create a Component
Select Create Component to convert it into a reusable component.
How to Access Interaction Settings
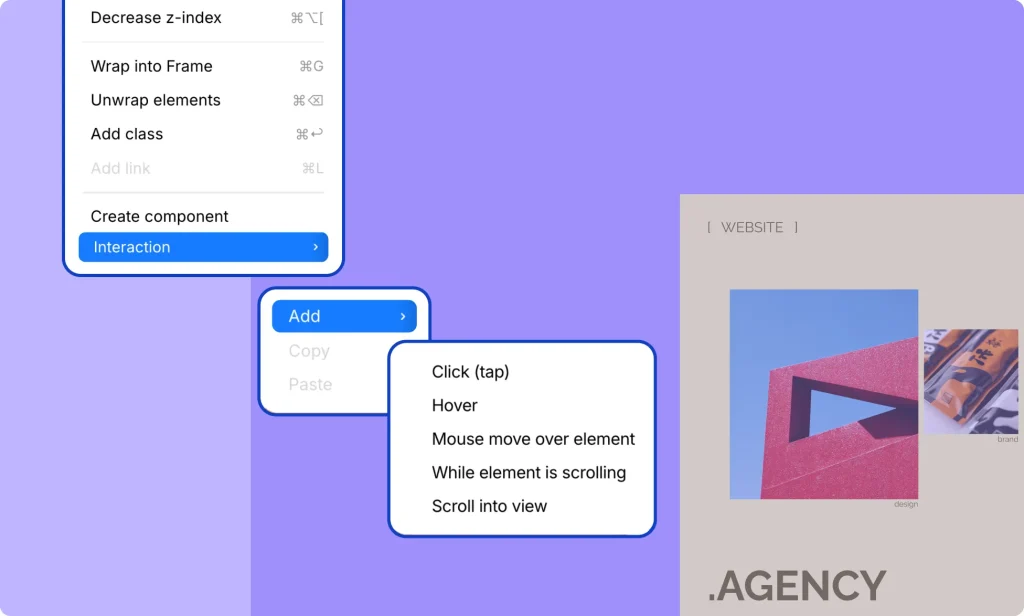
Hover over Interaction to open a submenu with additional interaction options:
How to Add an Interaction
Hover over Add, then choose from the available triggers:
- Click
- Hover
- Mouse Move Over Element
- While Element is Scrolling
- Scroll into View
How to Copy an Interaction
Select Copy to copy its interaction settings.
How to Paste an Interaction
Select Paste to apply a copied interaction to it.
Learn more about Interactions.