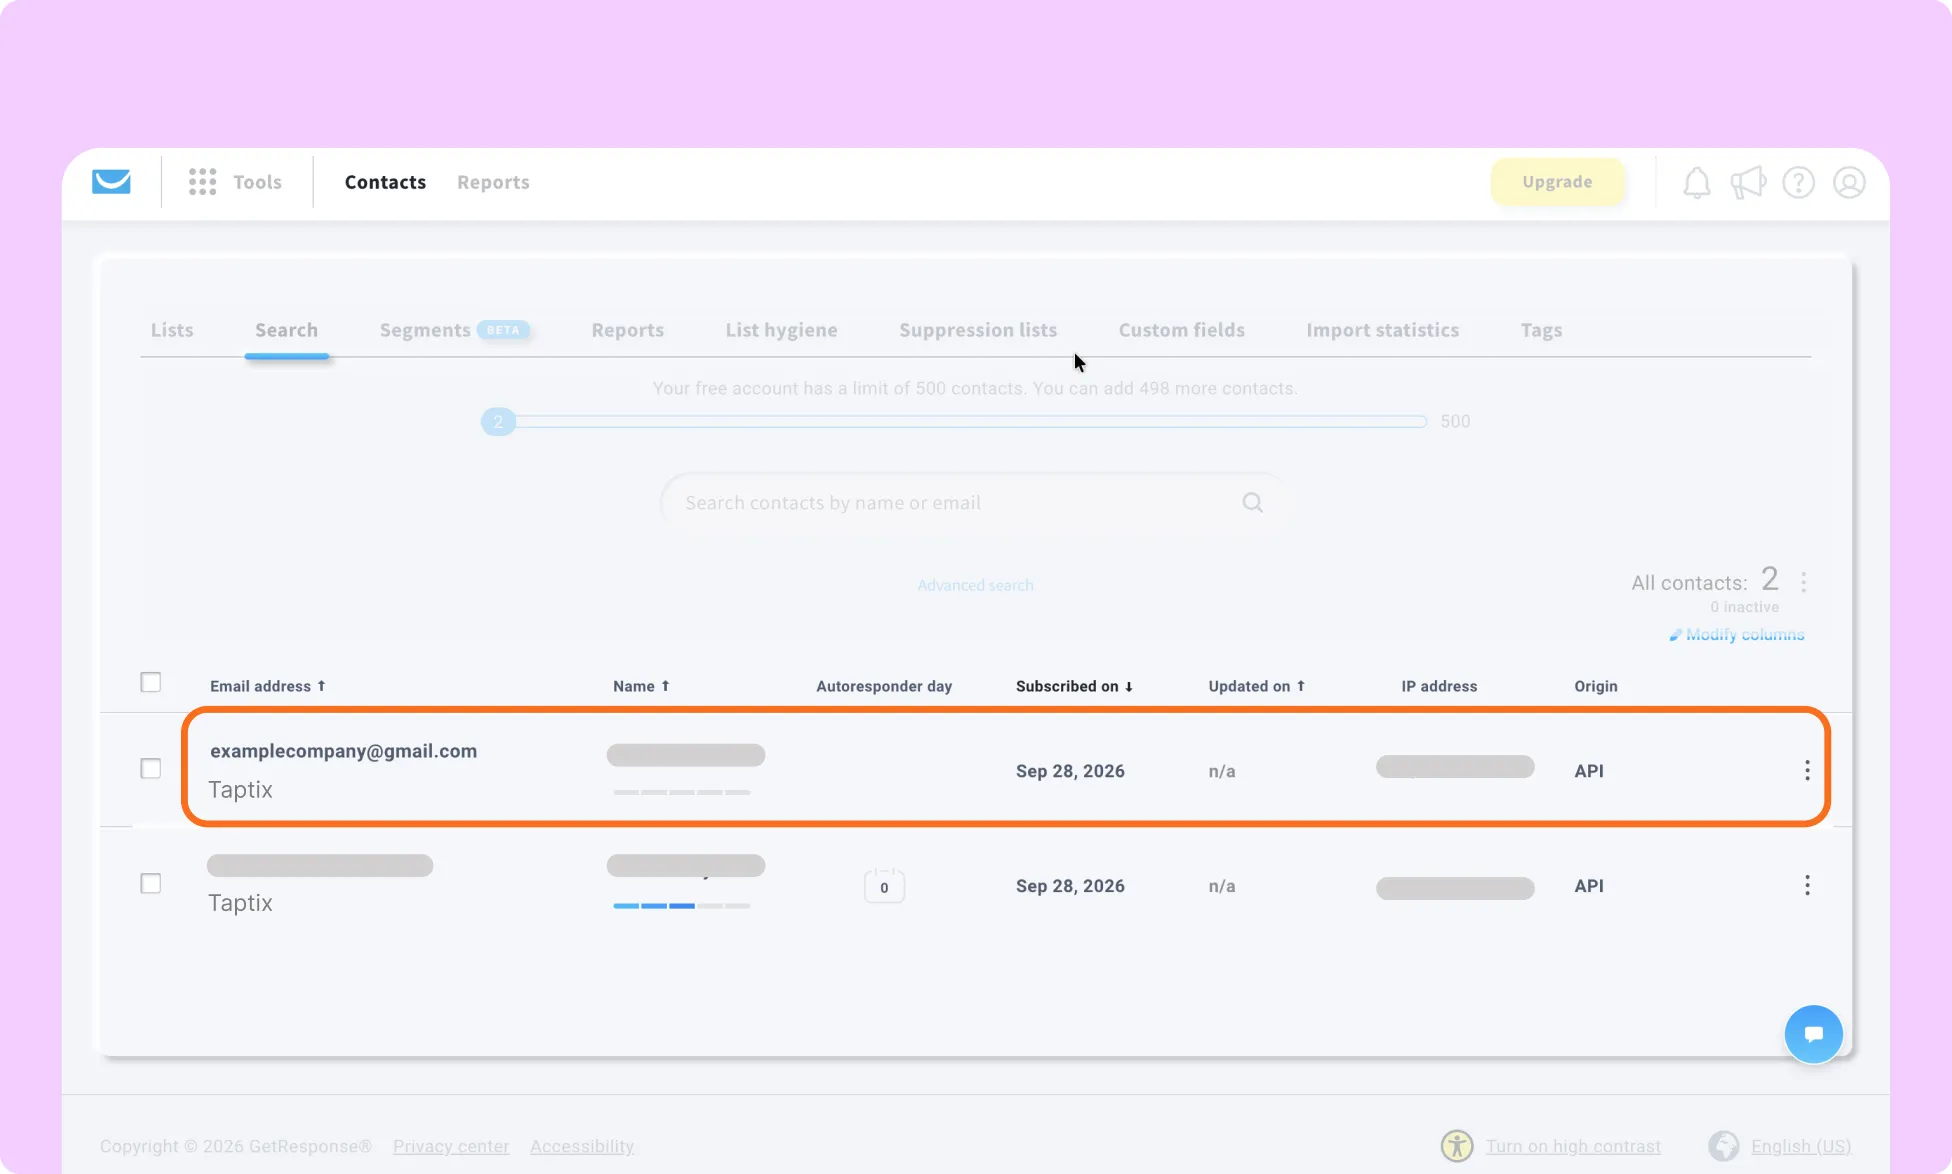
The GetResponse integration connects your Kirki forms with GetResponse, an email marketing and marketing automation platform. It automatically sends new form submissions to a selected GetResponse list, called a Campaign in GetResponse.
What Is the GetResponse App
The Kirki GetResponse integration allows you to automatically add new form submissions to a selected GetResponse Campaign/List without manually entering subscriber information.
This is useful when you want visitors who sign up on your website to immediately become subscribers and be added to your email marketing workflow.
What You Need Before Connecting GetResponse
Before connecting GetResponse to Kirki, make sure you have:
- An active GetResponse account.
- At least one List/Campaign created in GetResponse to receive contacts.
- Access to Tools → Integrations and API in your GetResponse account.
To connect GetResponse to Kirki, generate an API key in GetResponse, install the GetResponse app in Kirki, and paste the key into its settings. New signups are added to that list automatically.
How to Get Your GetResponse API Key
- Log in to your GetResponse account.
- Click the Tools icon in the top menu.
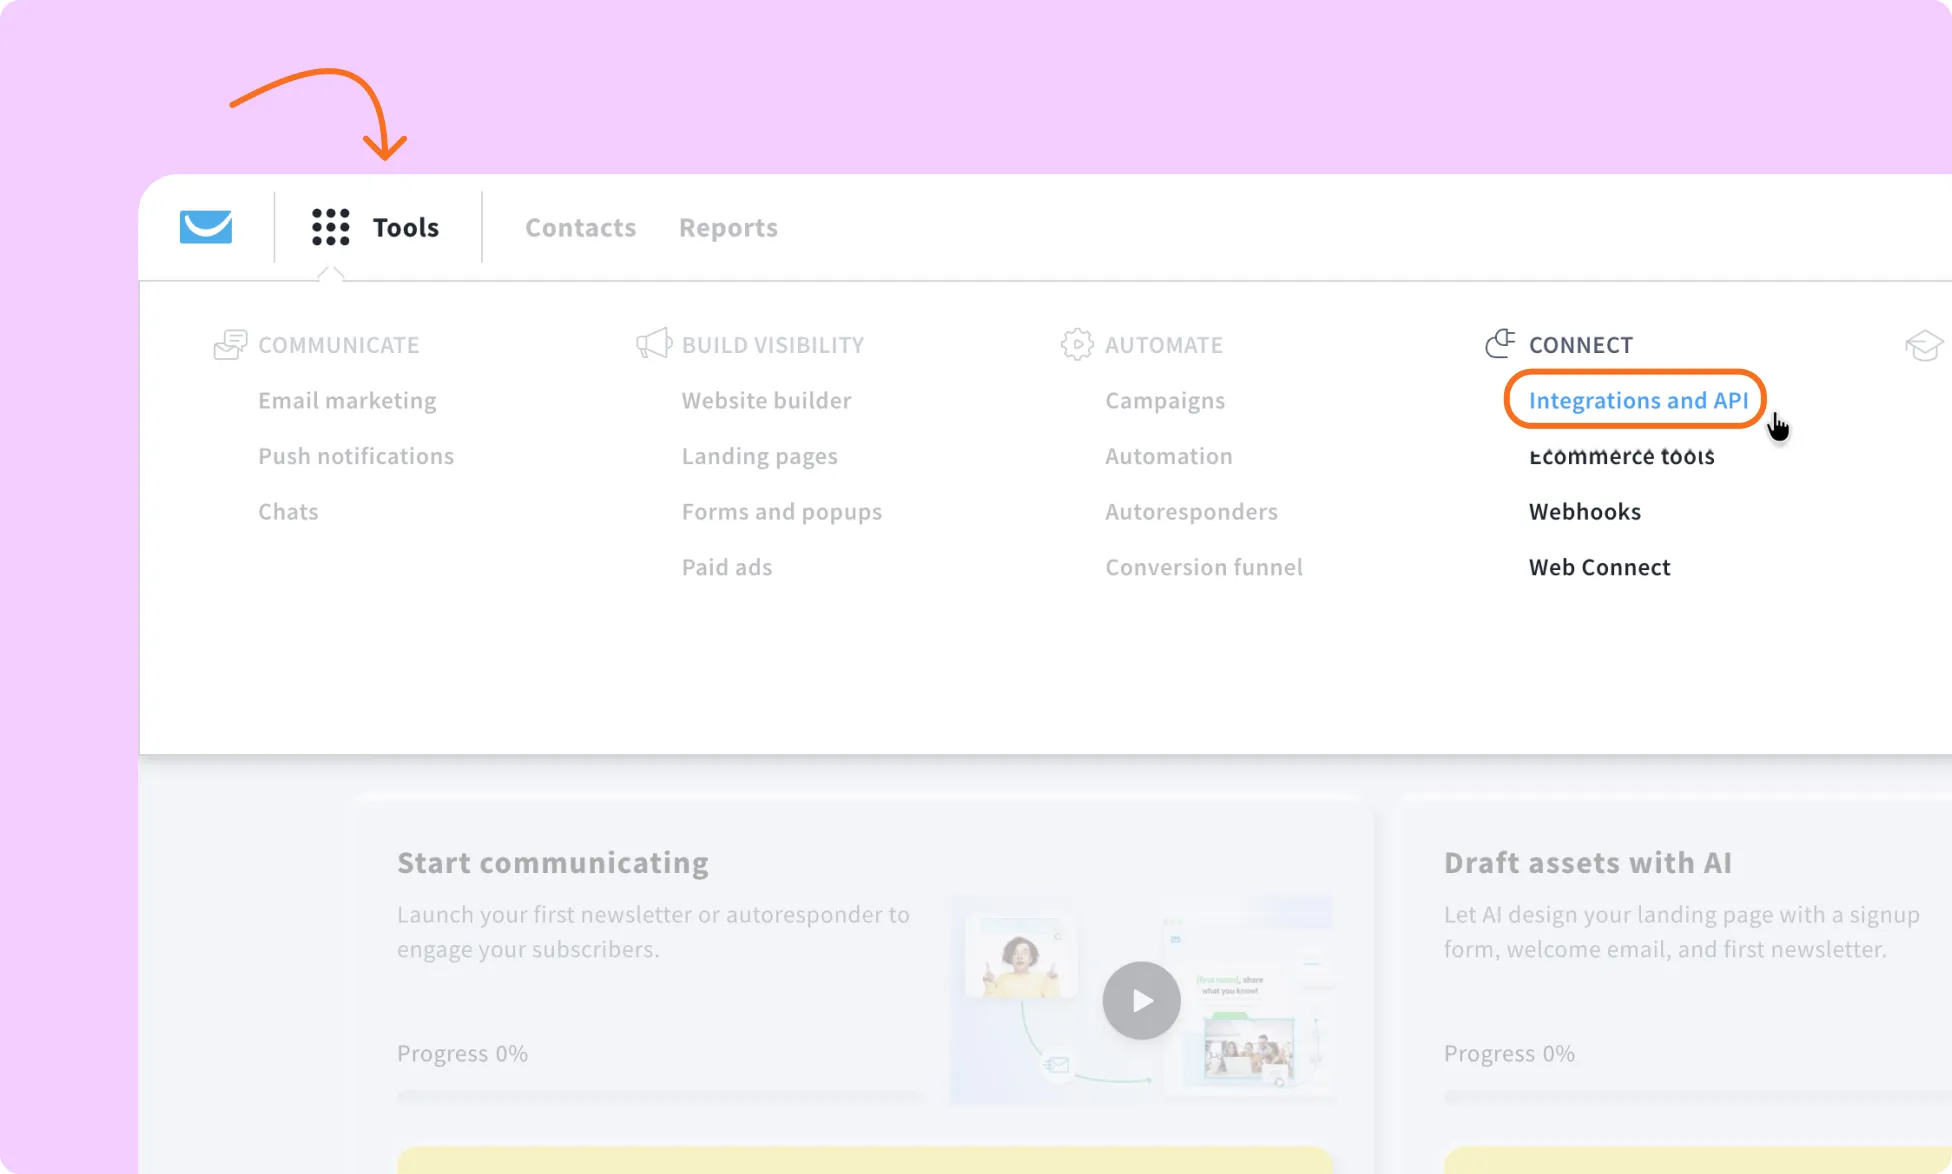
- Select Integrations and API.
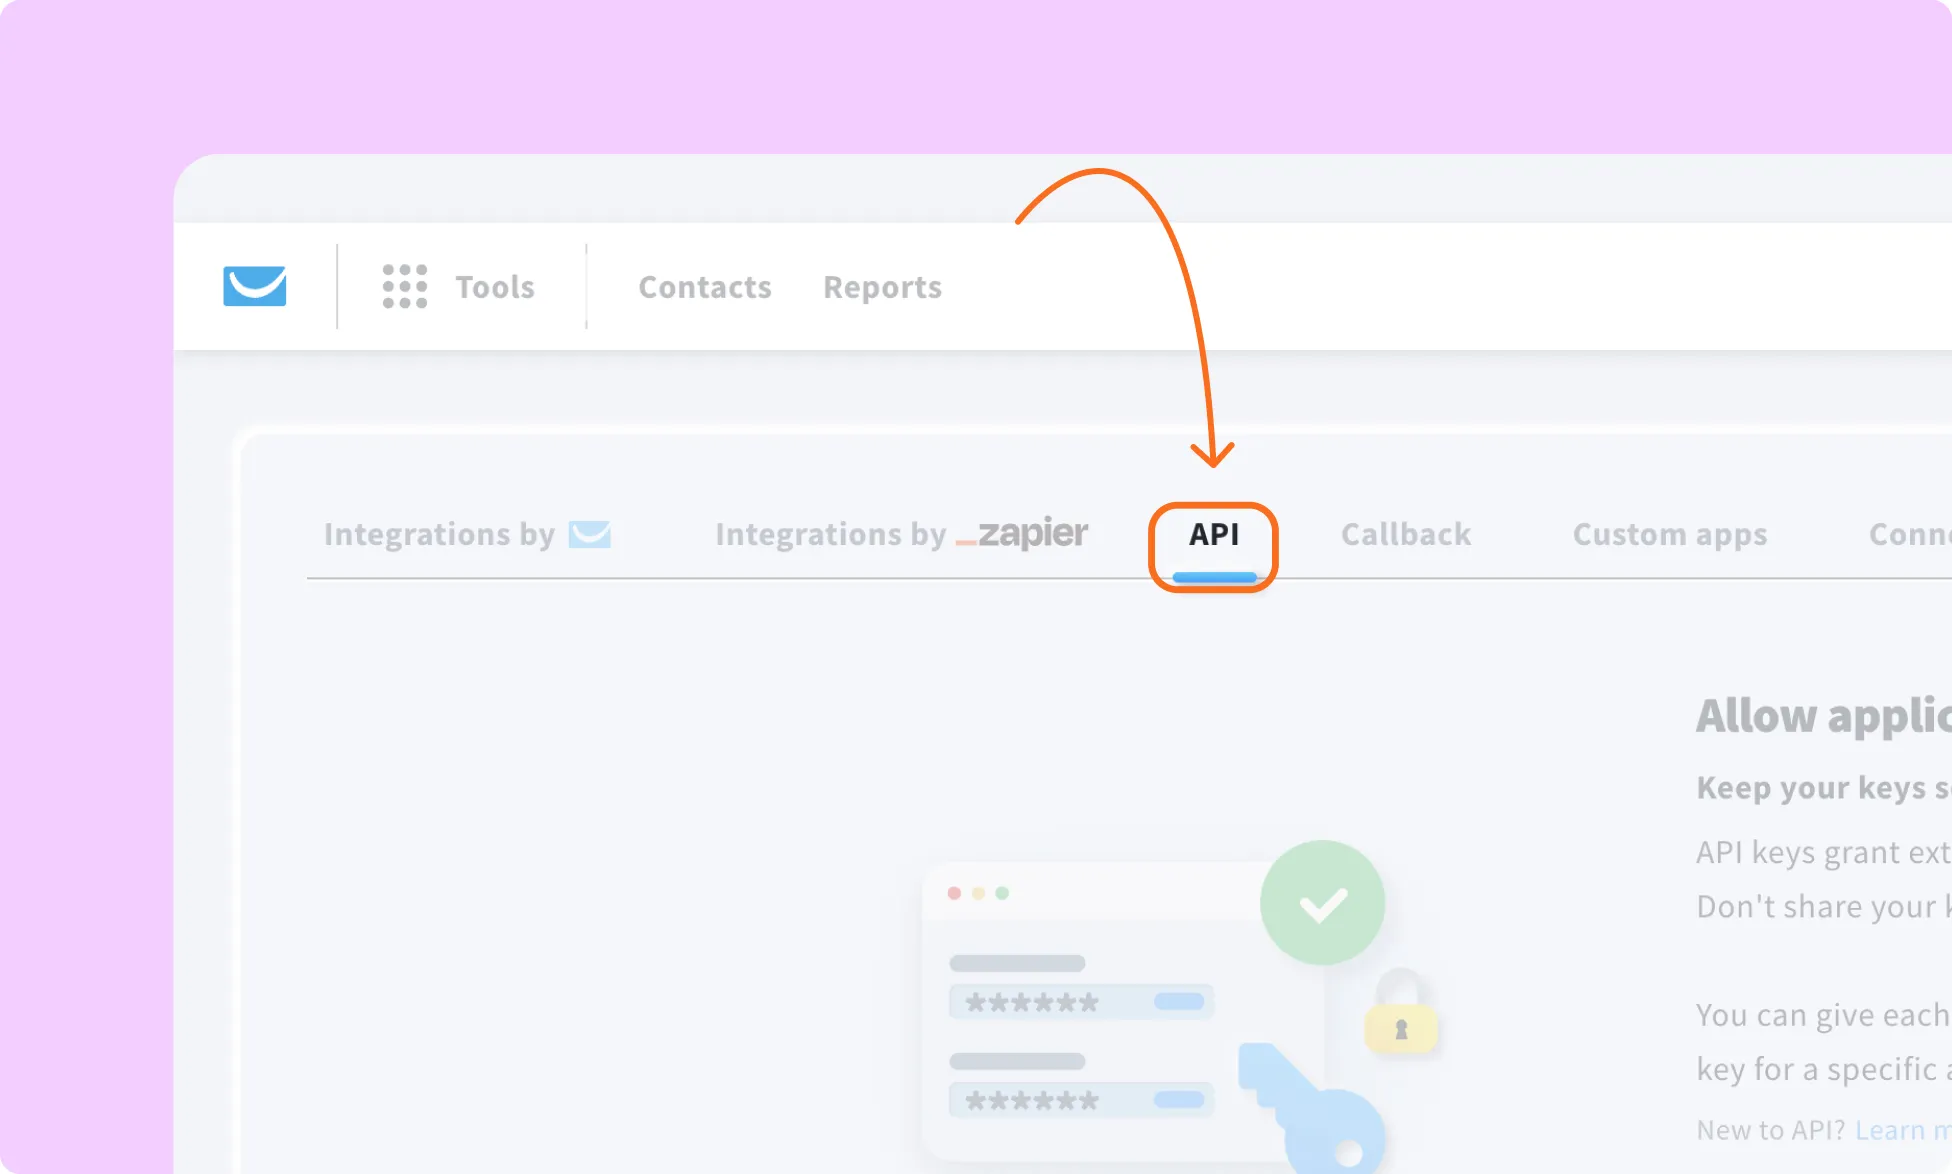
- Open the API tab.
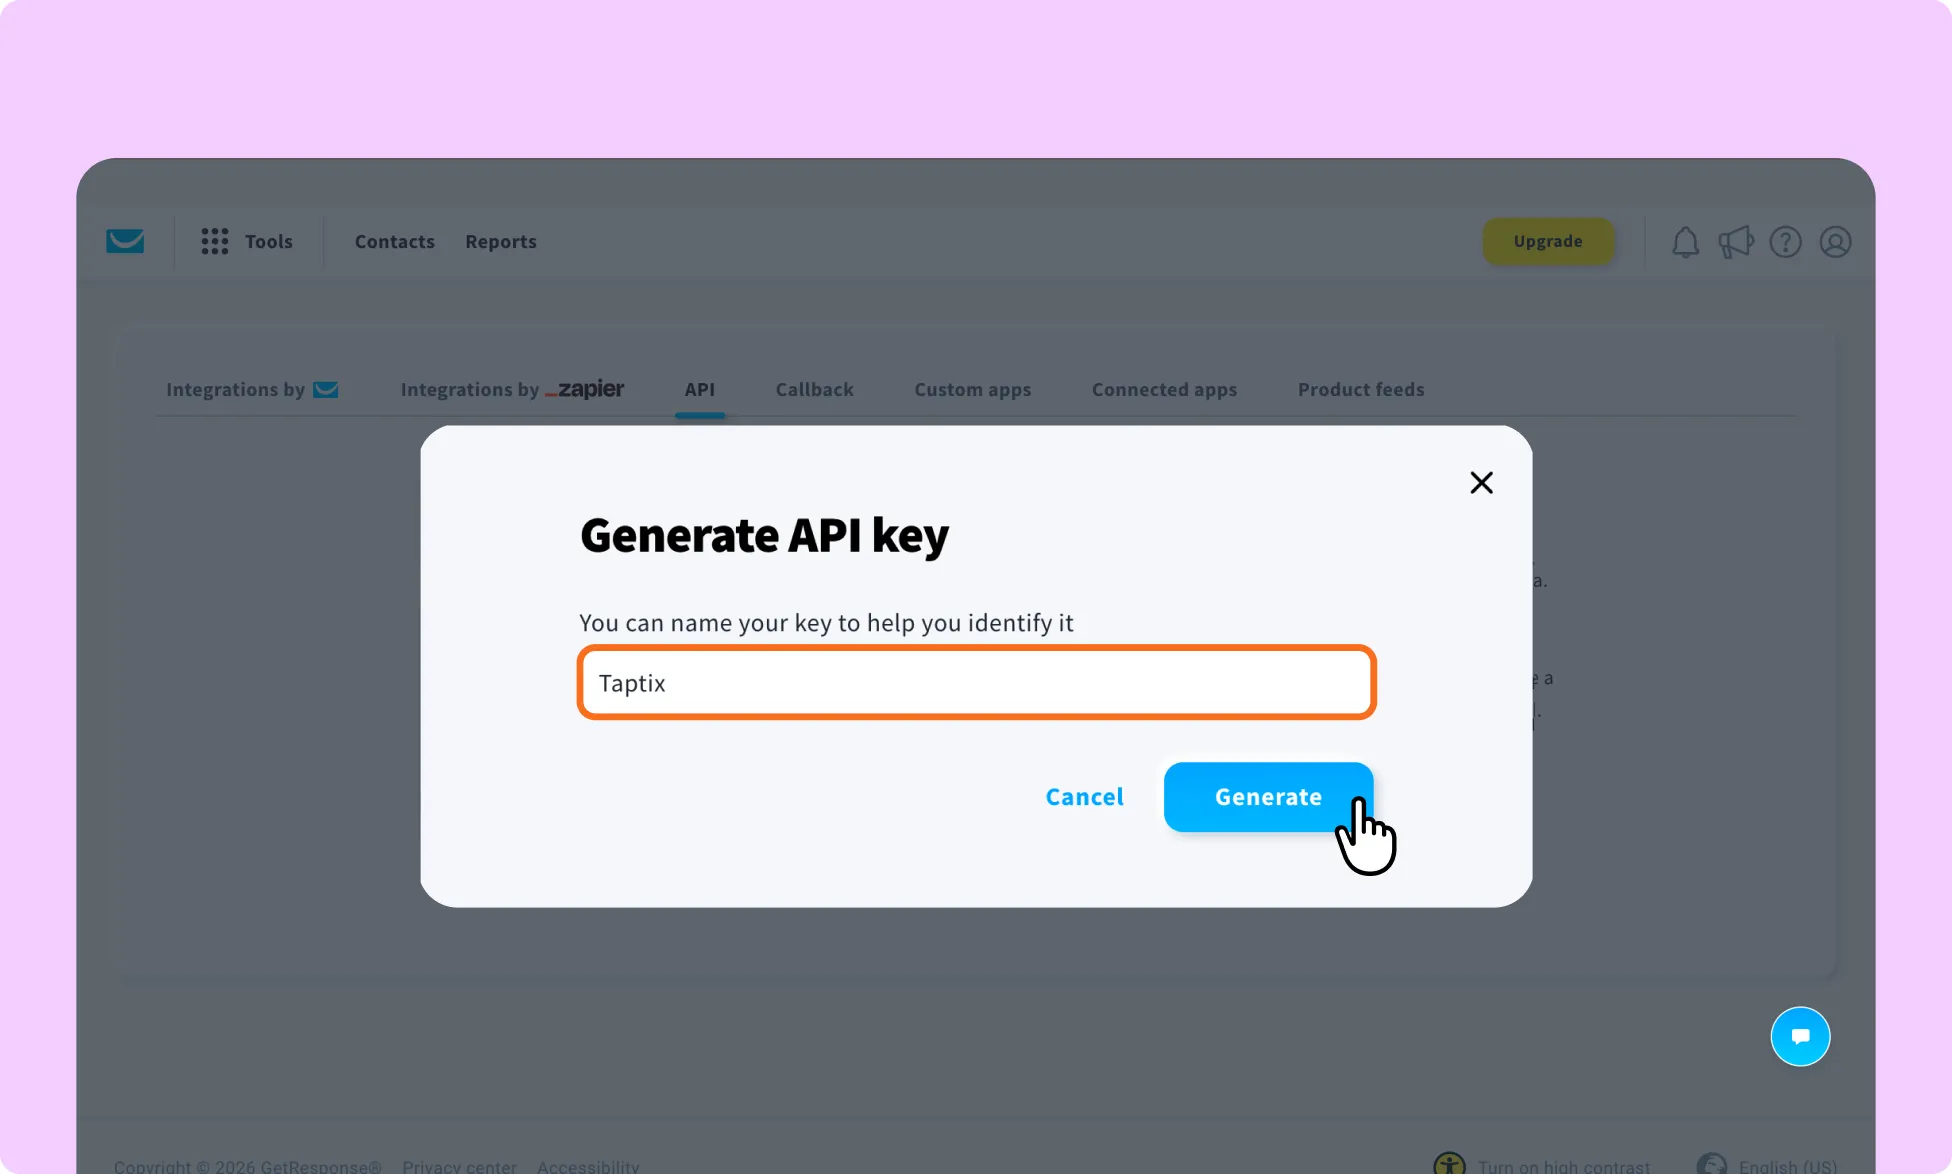
- Click Generate API key.
- Give the API key a name so you can identify its purpose later.
- Copy the API key and store it securely.
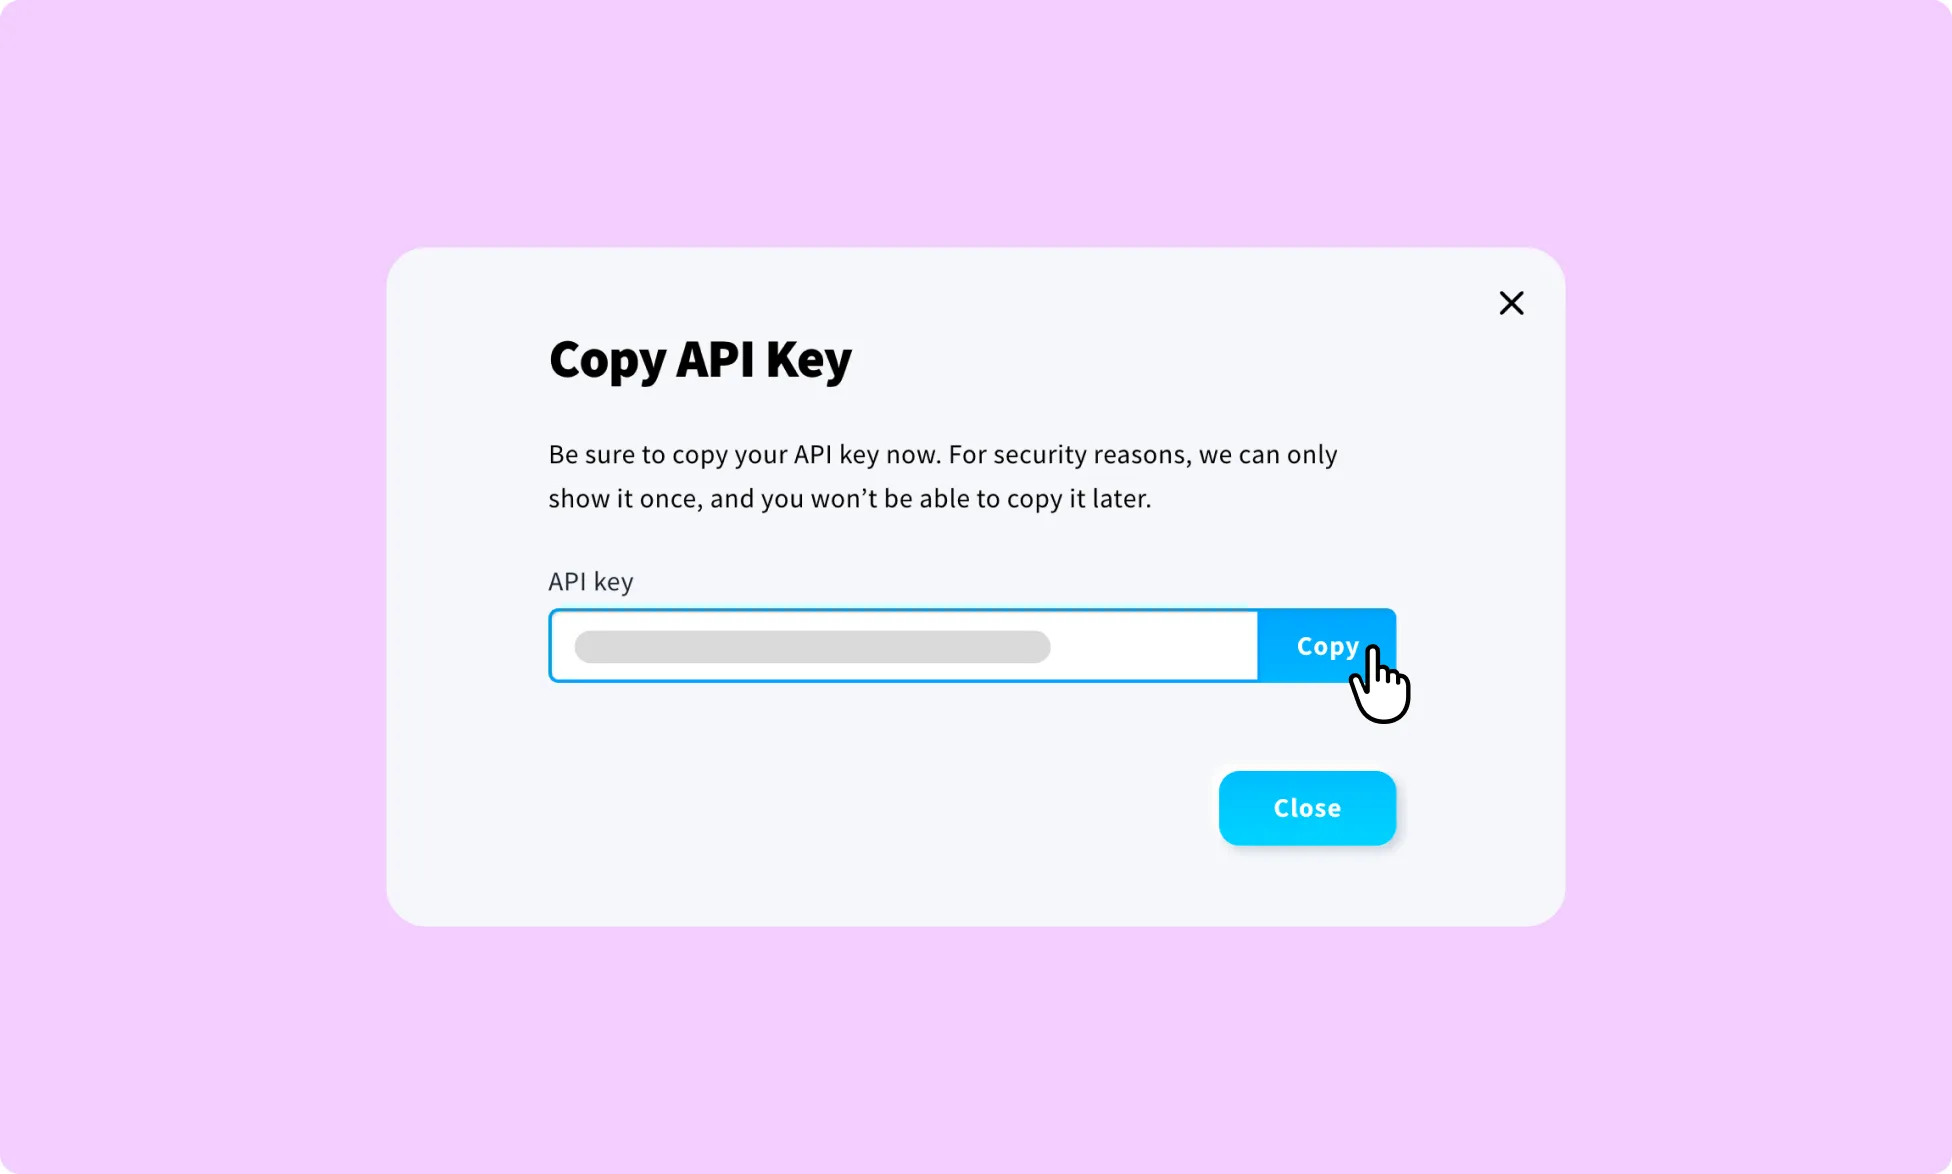
Note: GetResponse only displays the generated API key at this point. Copy it before leaving the page, and unused API keys expire after 90 days.
How to Install the GetResponse App in Kirki
- Log in to your WordPress dashboard.
- Go to Kirki → Apps.
- Locate GetResponse.
- Click Install and configure.
How to Configure the GetResponse Integration
- Go to Kirki → Apps → GetResponse → Settings.
- Paste your GetResponse API key into the API Key field
- Click Save Configuration and refresh the Kirki editor page.
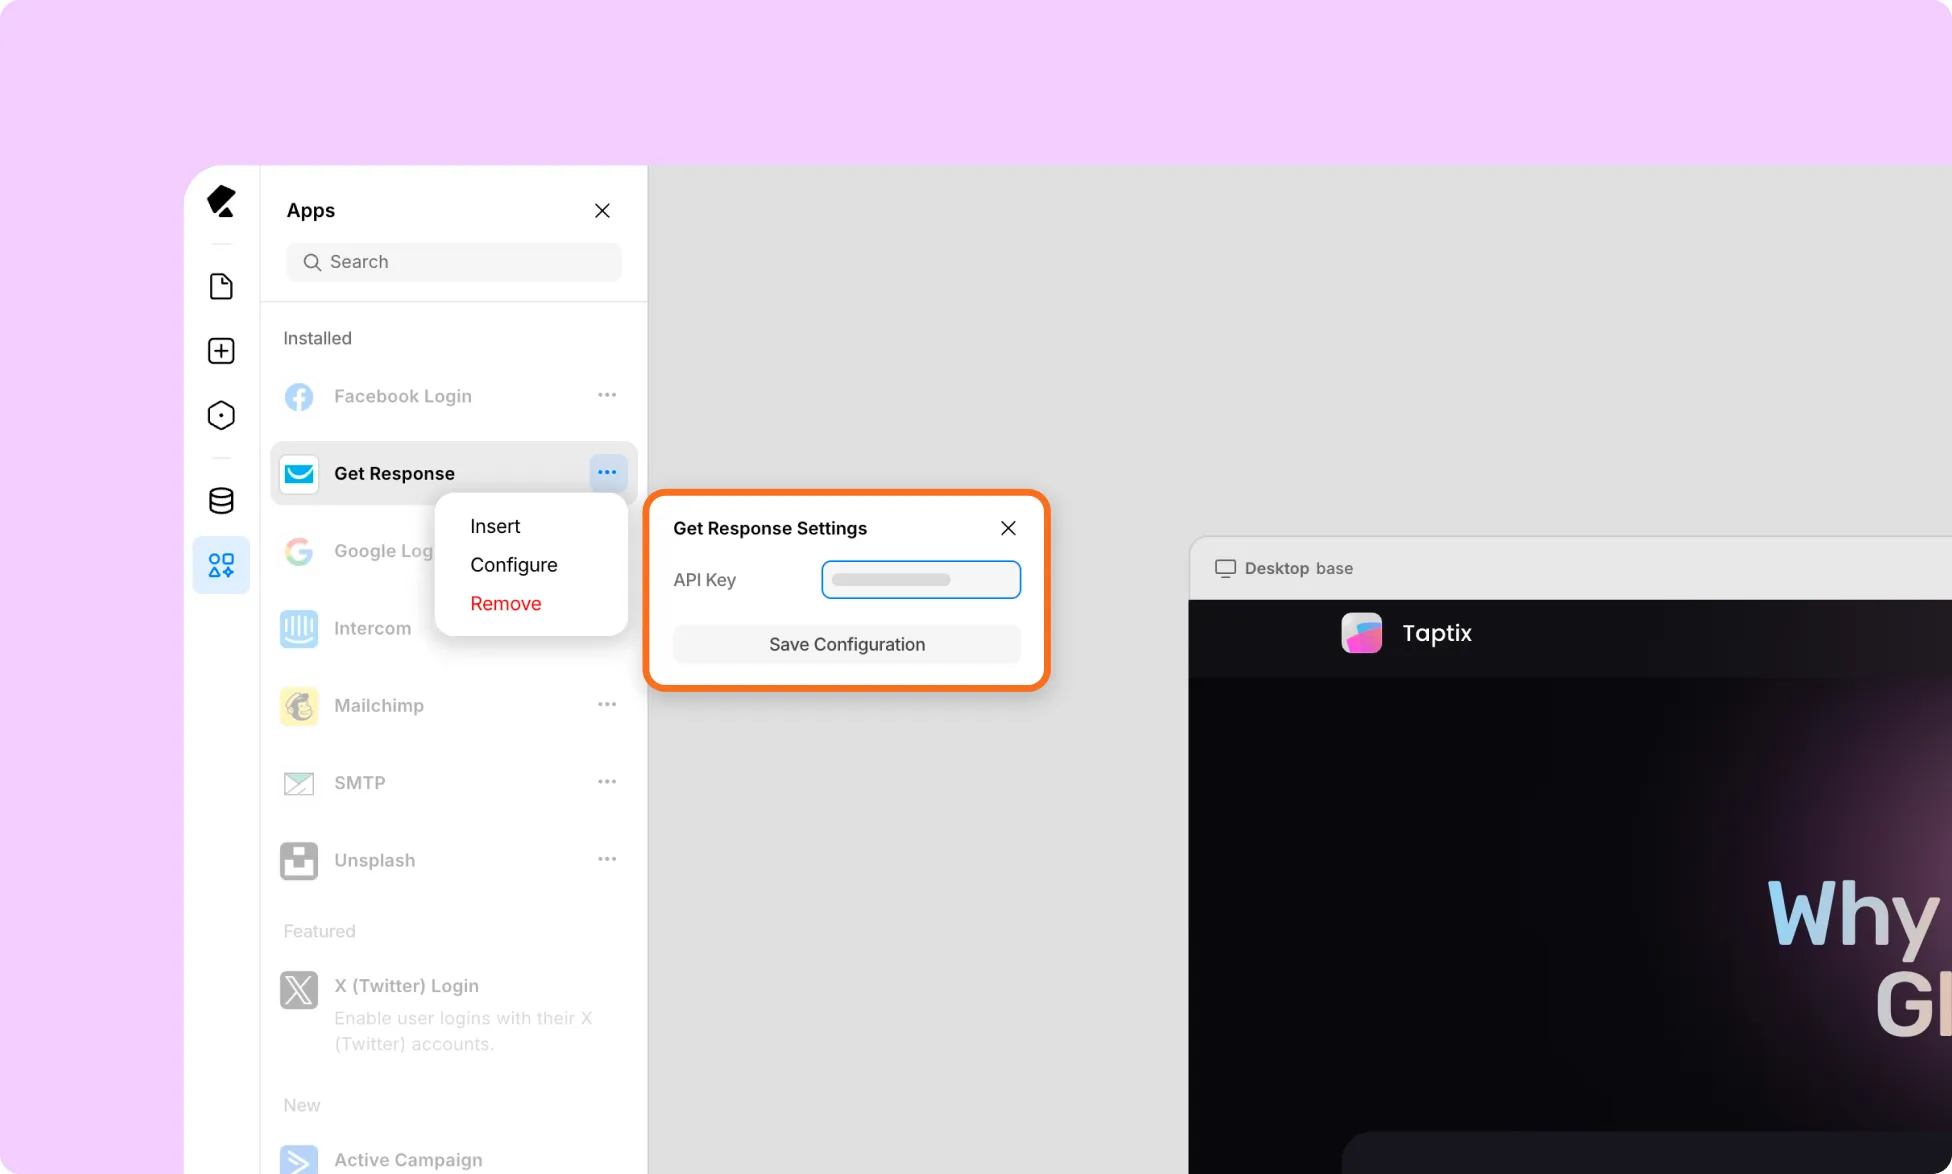
How to Connect GetResponse to a Kirki Form
- Add the GetResponse Form element to your page using the Insert option in the GetResponse App in Kirki.
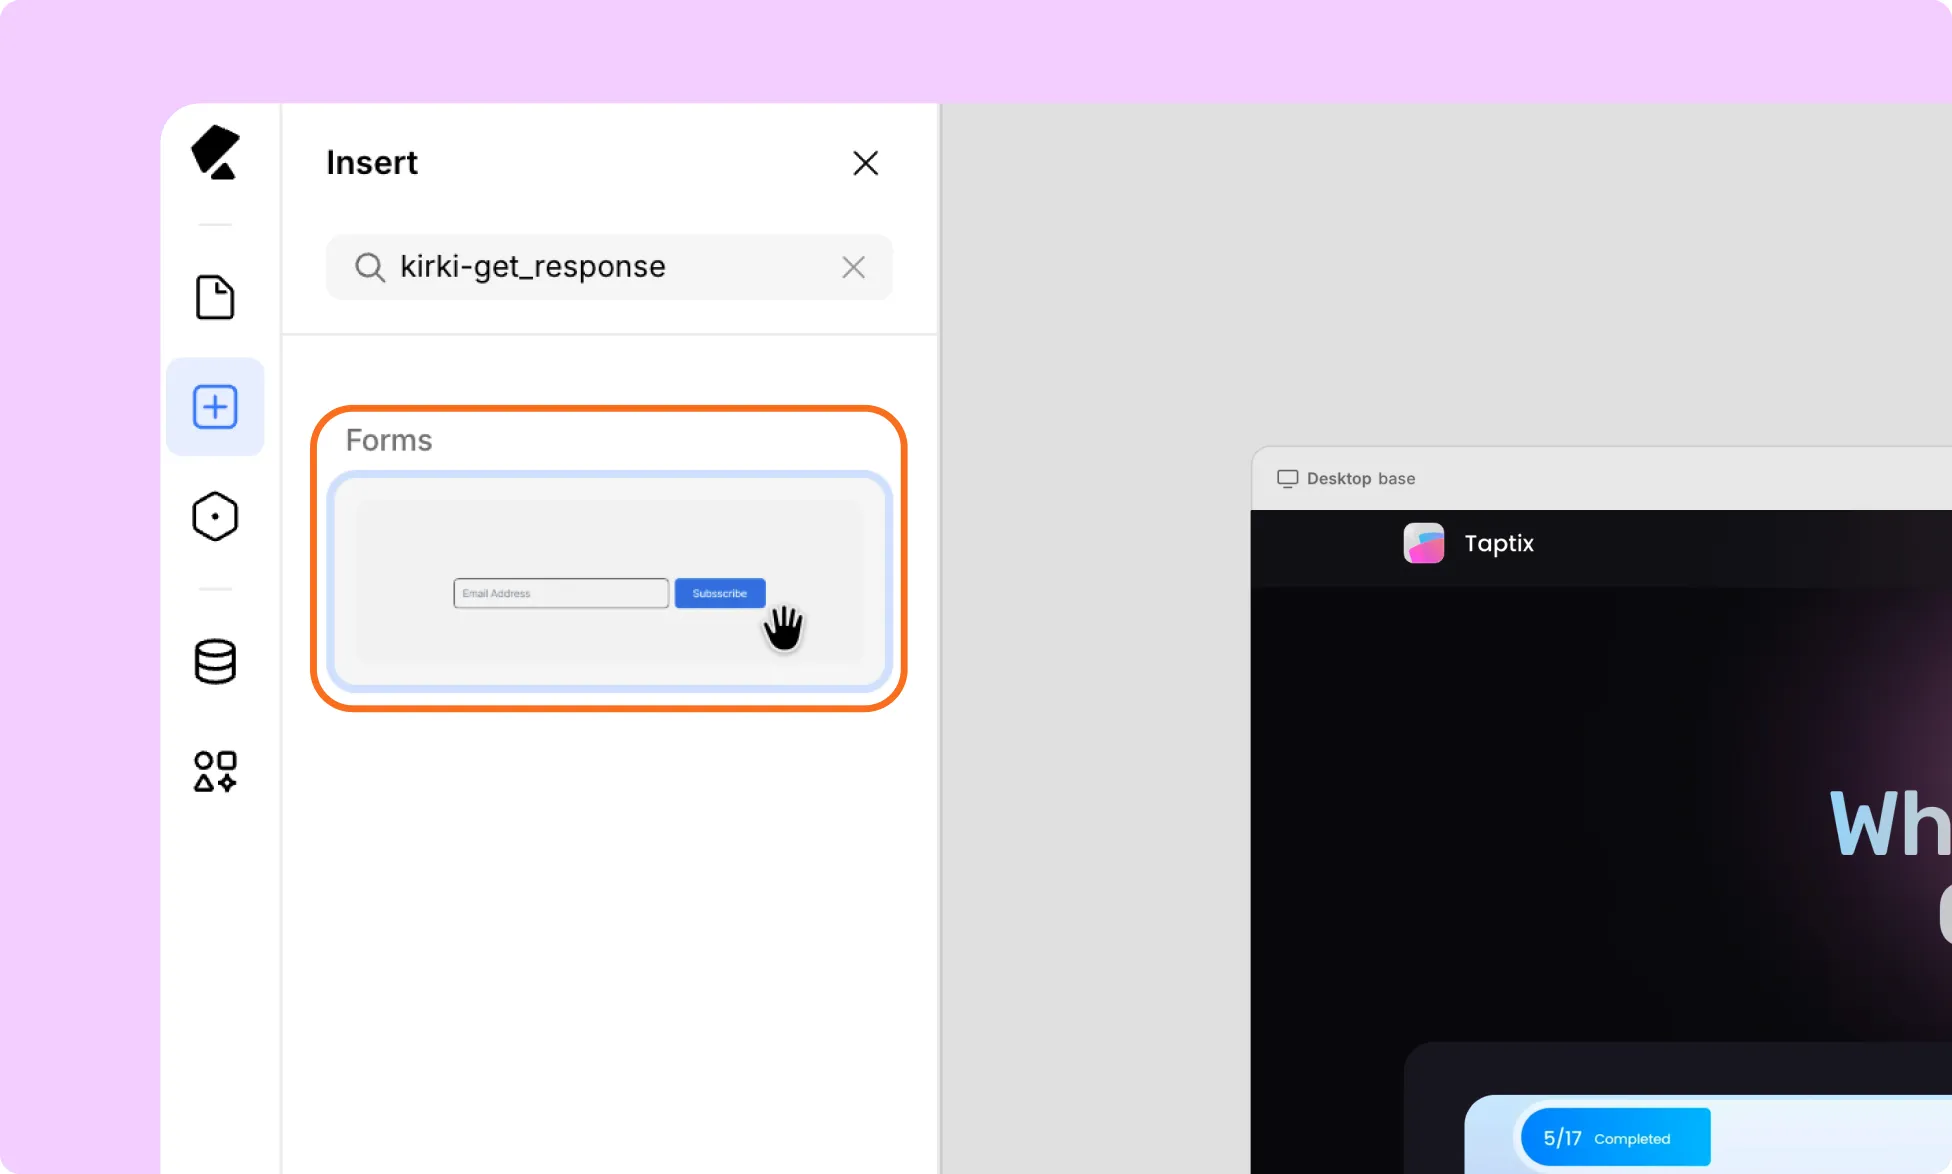
- You use it as a standalone mail subscription form.
Note: Add the mailing list form element on its own. If you place it inside an existing Form Block, the Submission button will not work as expected.
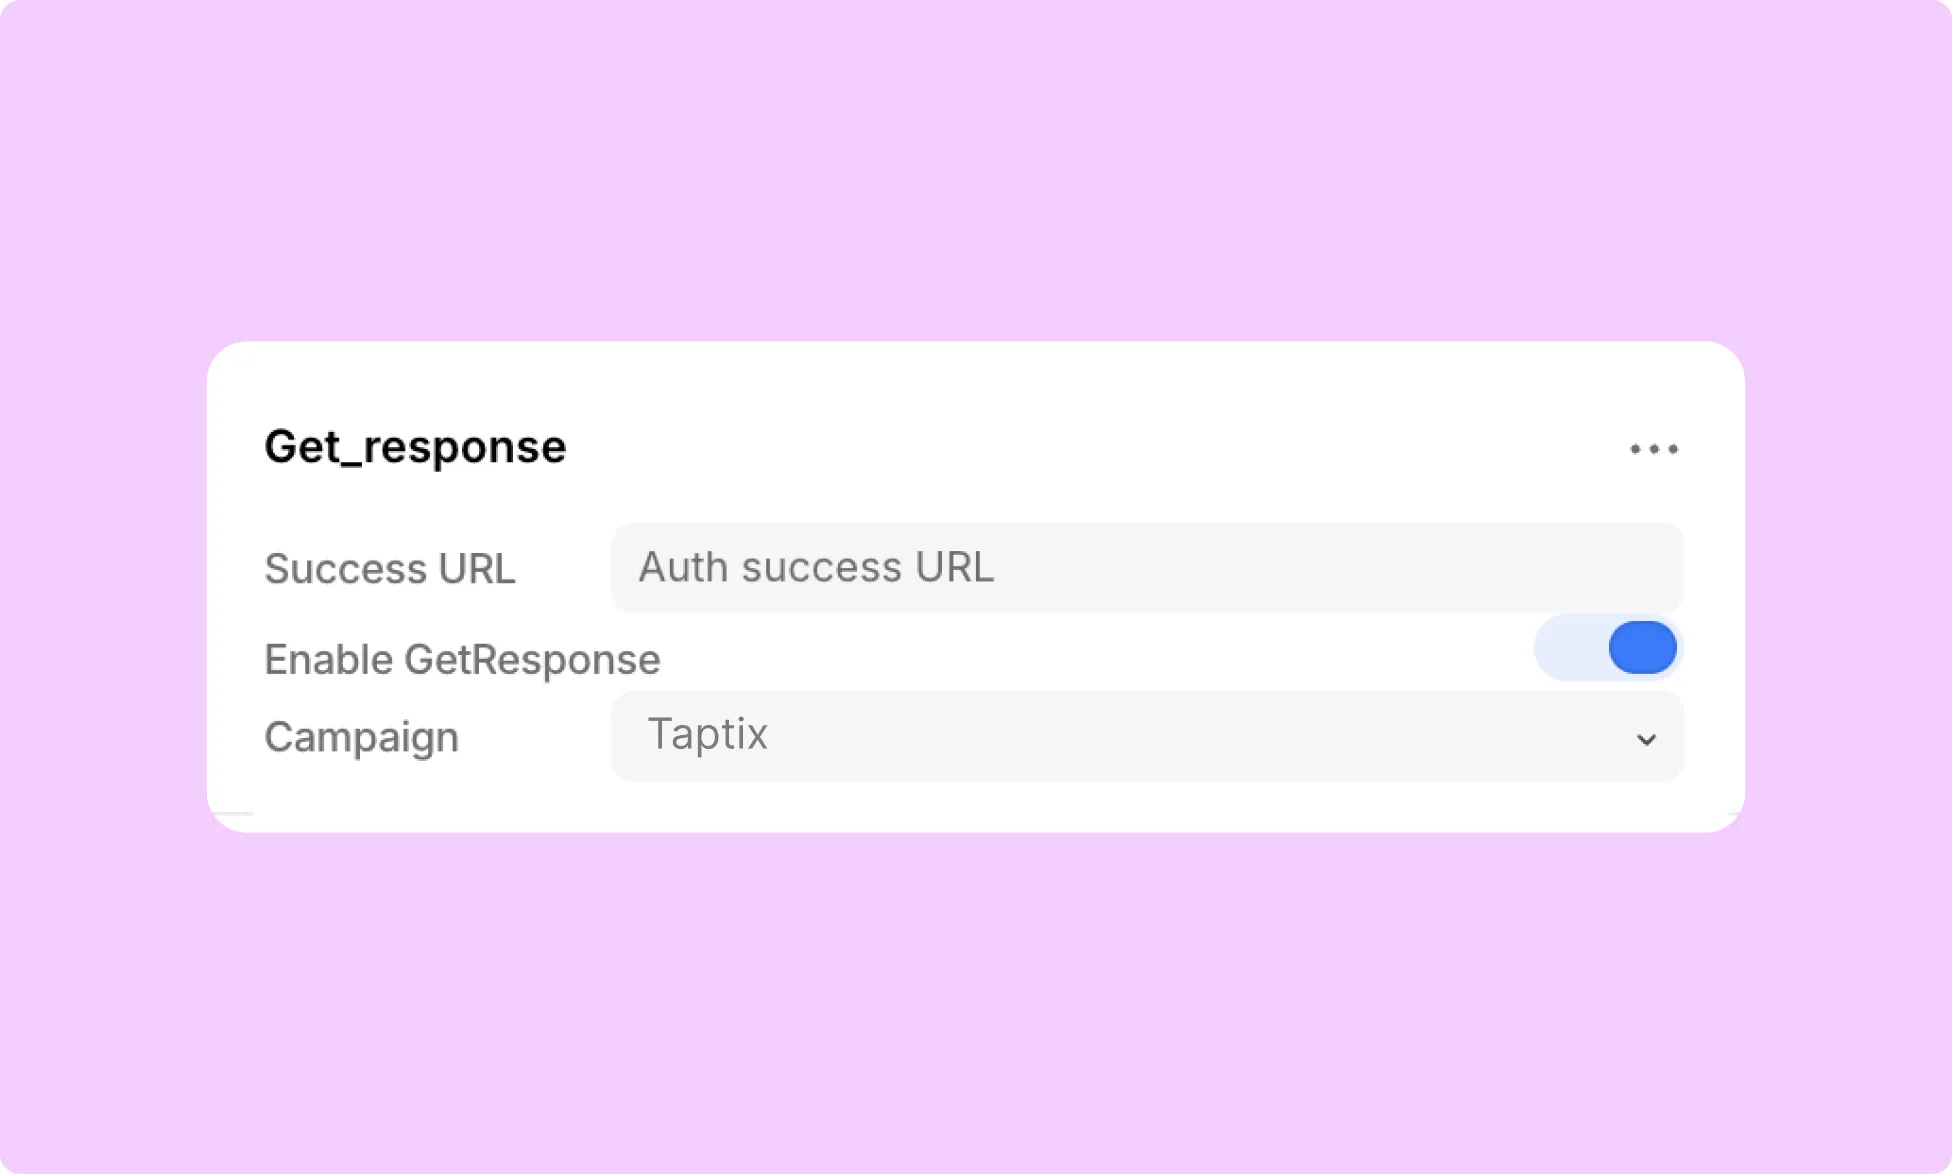
- In the right-hand panel, toggle Enable GetResponse on and select the Campaign list where you want your email submissions to appear.
Your Kirki mailing form is now connected to your GetResponse Campaign List.
How to Test the GetResponse Integration
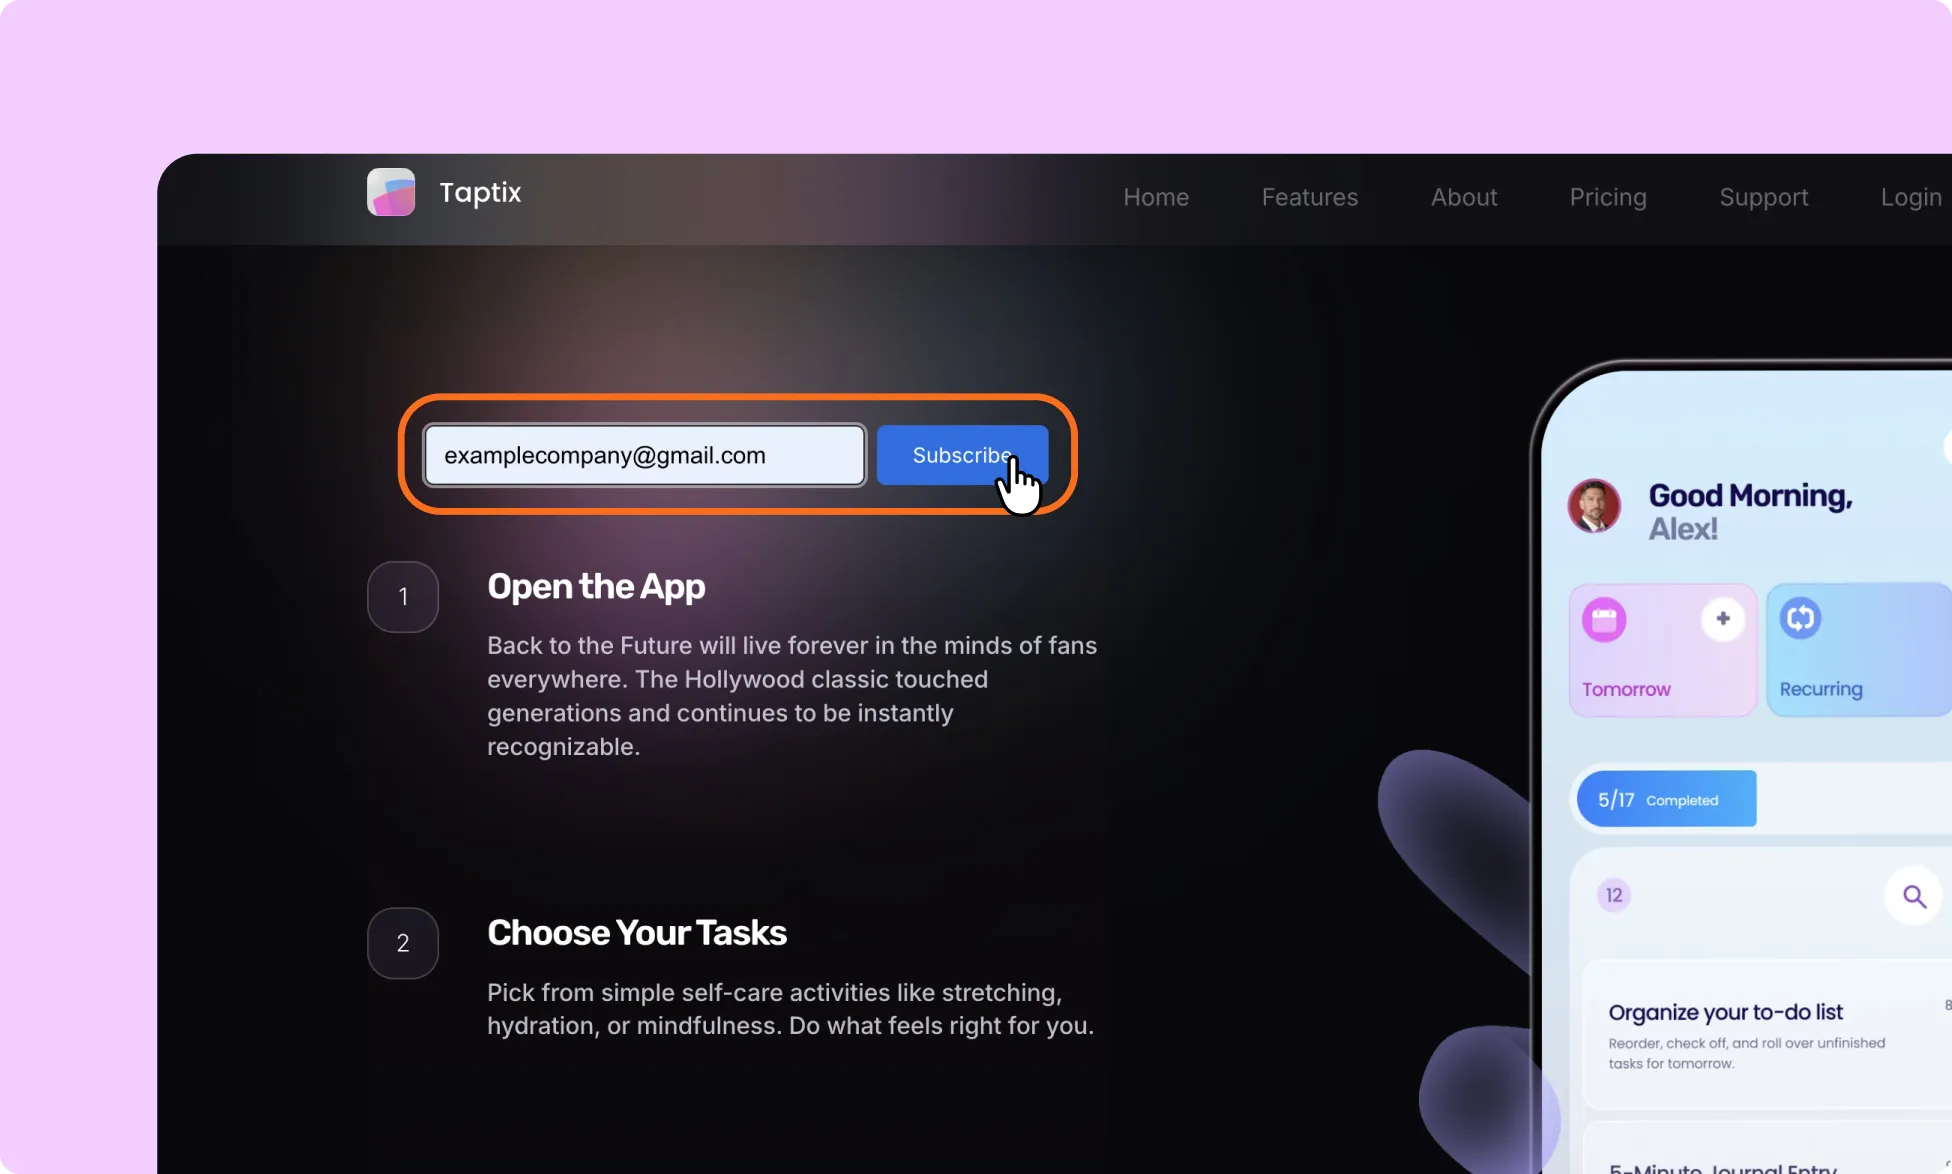
- Open a Kirki form connected to the GetResponse integration.
- Submit a test entry using a valid email address.
- Log in to GetResponse.
- Go to Contacts.
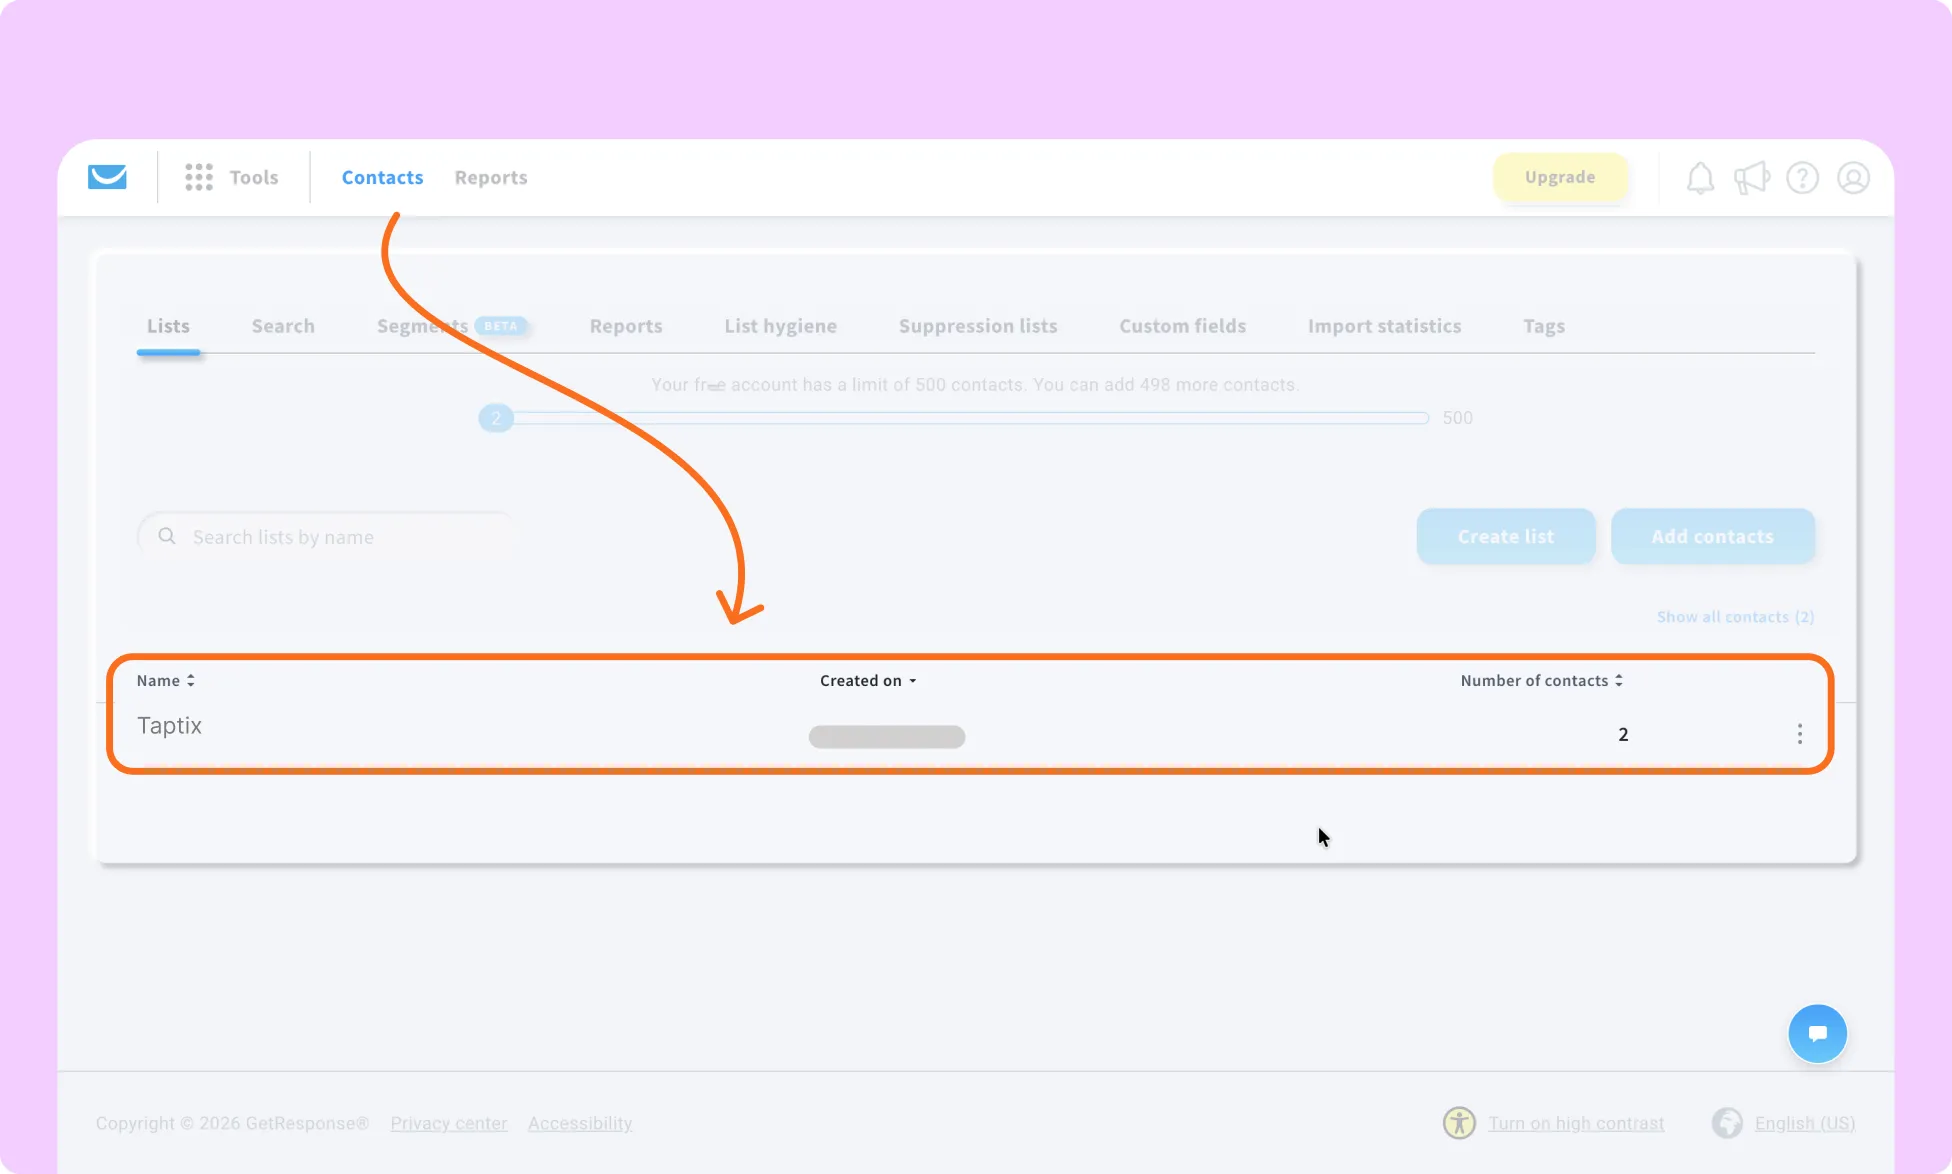
- Confirm that the test contact appears in the expected Campaign/List.