Login
Kirki makes it easy to add a Login page using a pre-built, fully functional Utility Page.
This guide walks you through how to set up, customize, and test your Login page.
1. Create a Login Page
- Open the Kirki Editor.
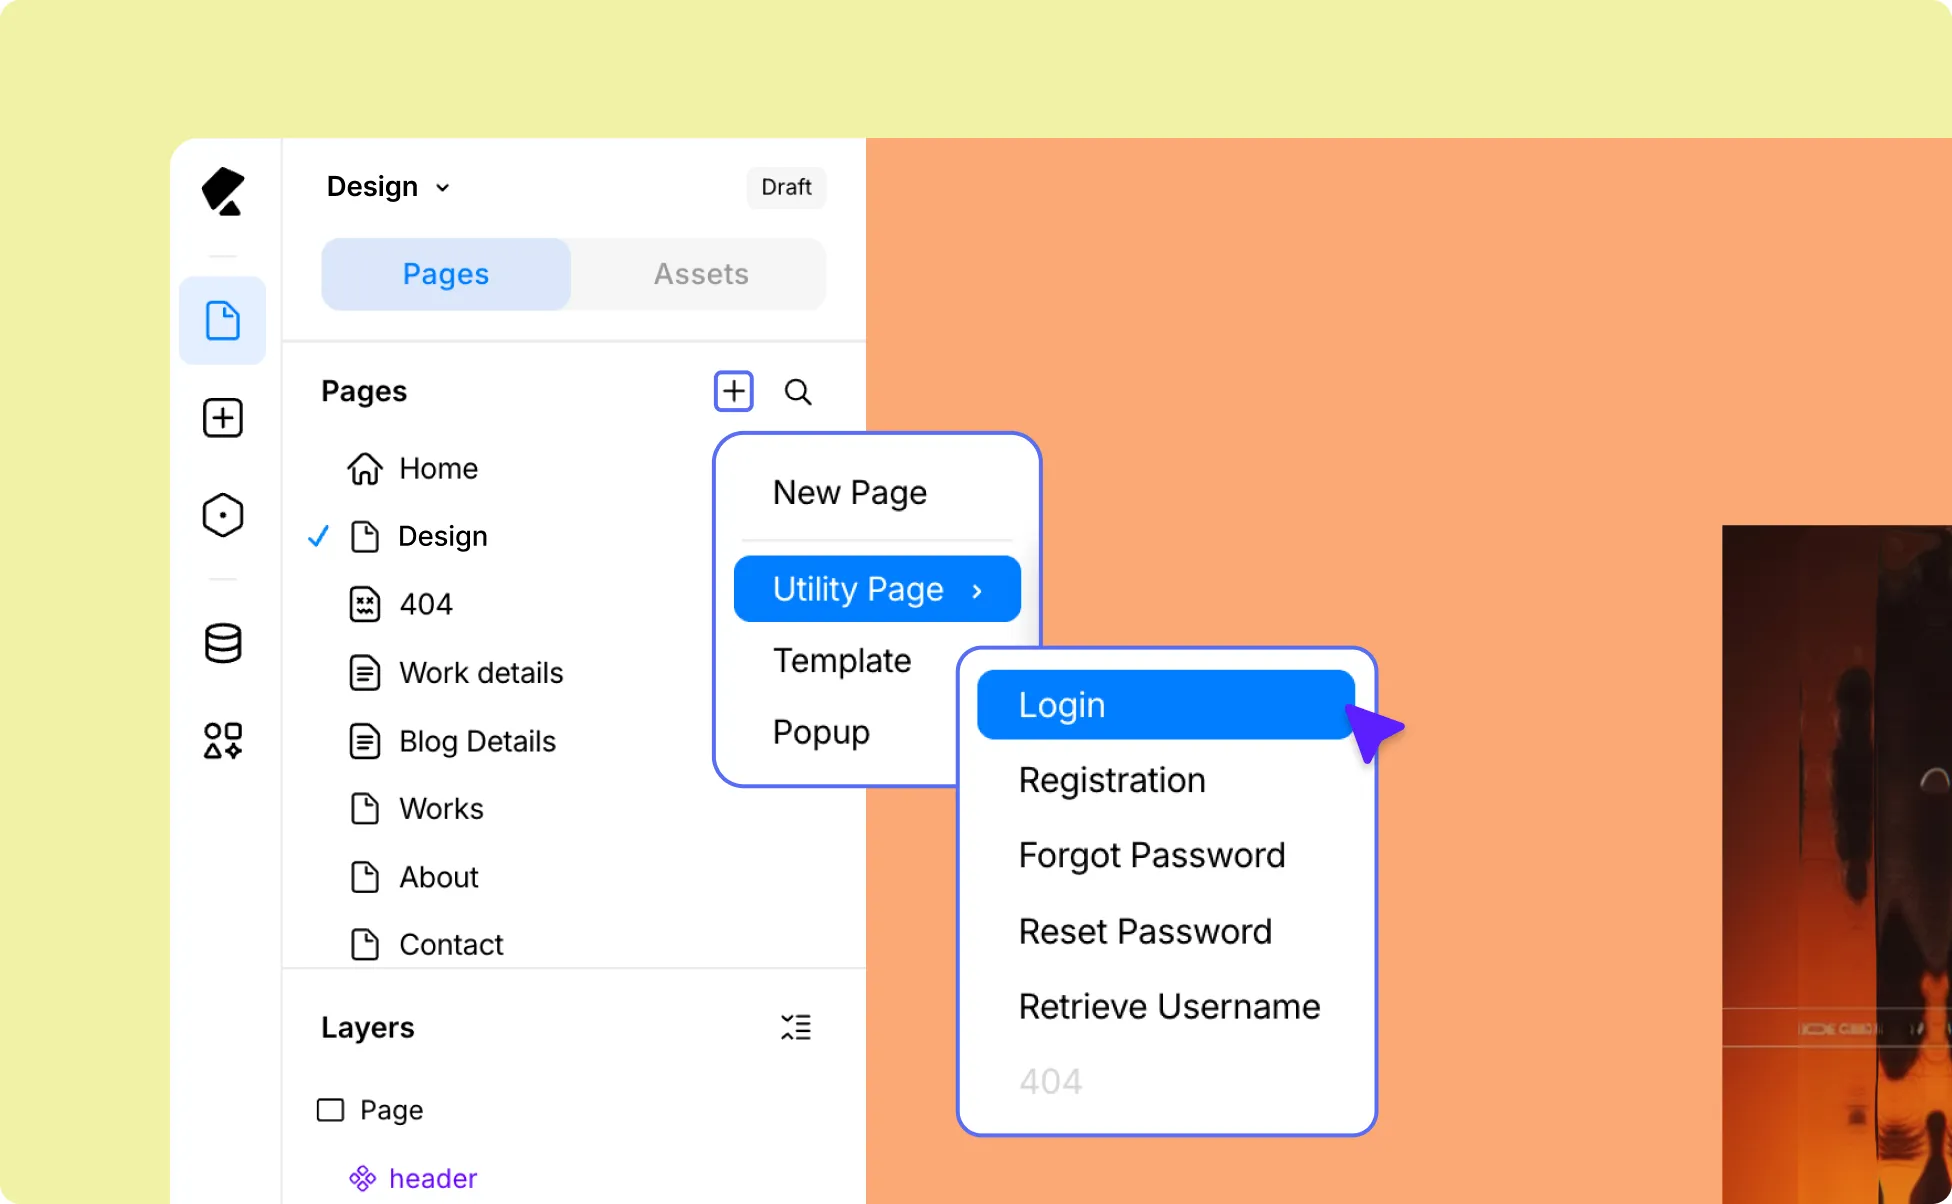
- Go to the Pages panel on the Left Sidebar and click the plus (+) icon.
- Select Login under Utility Pages.
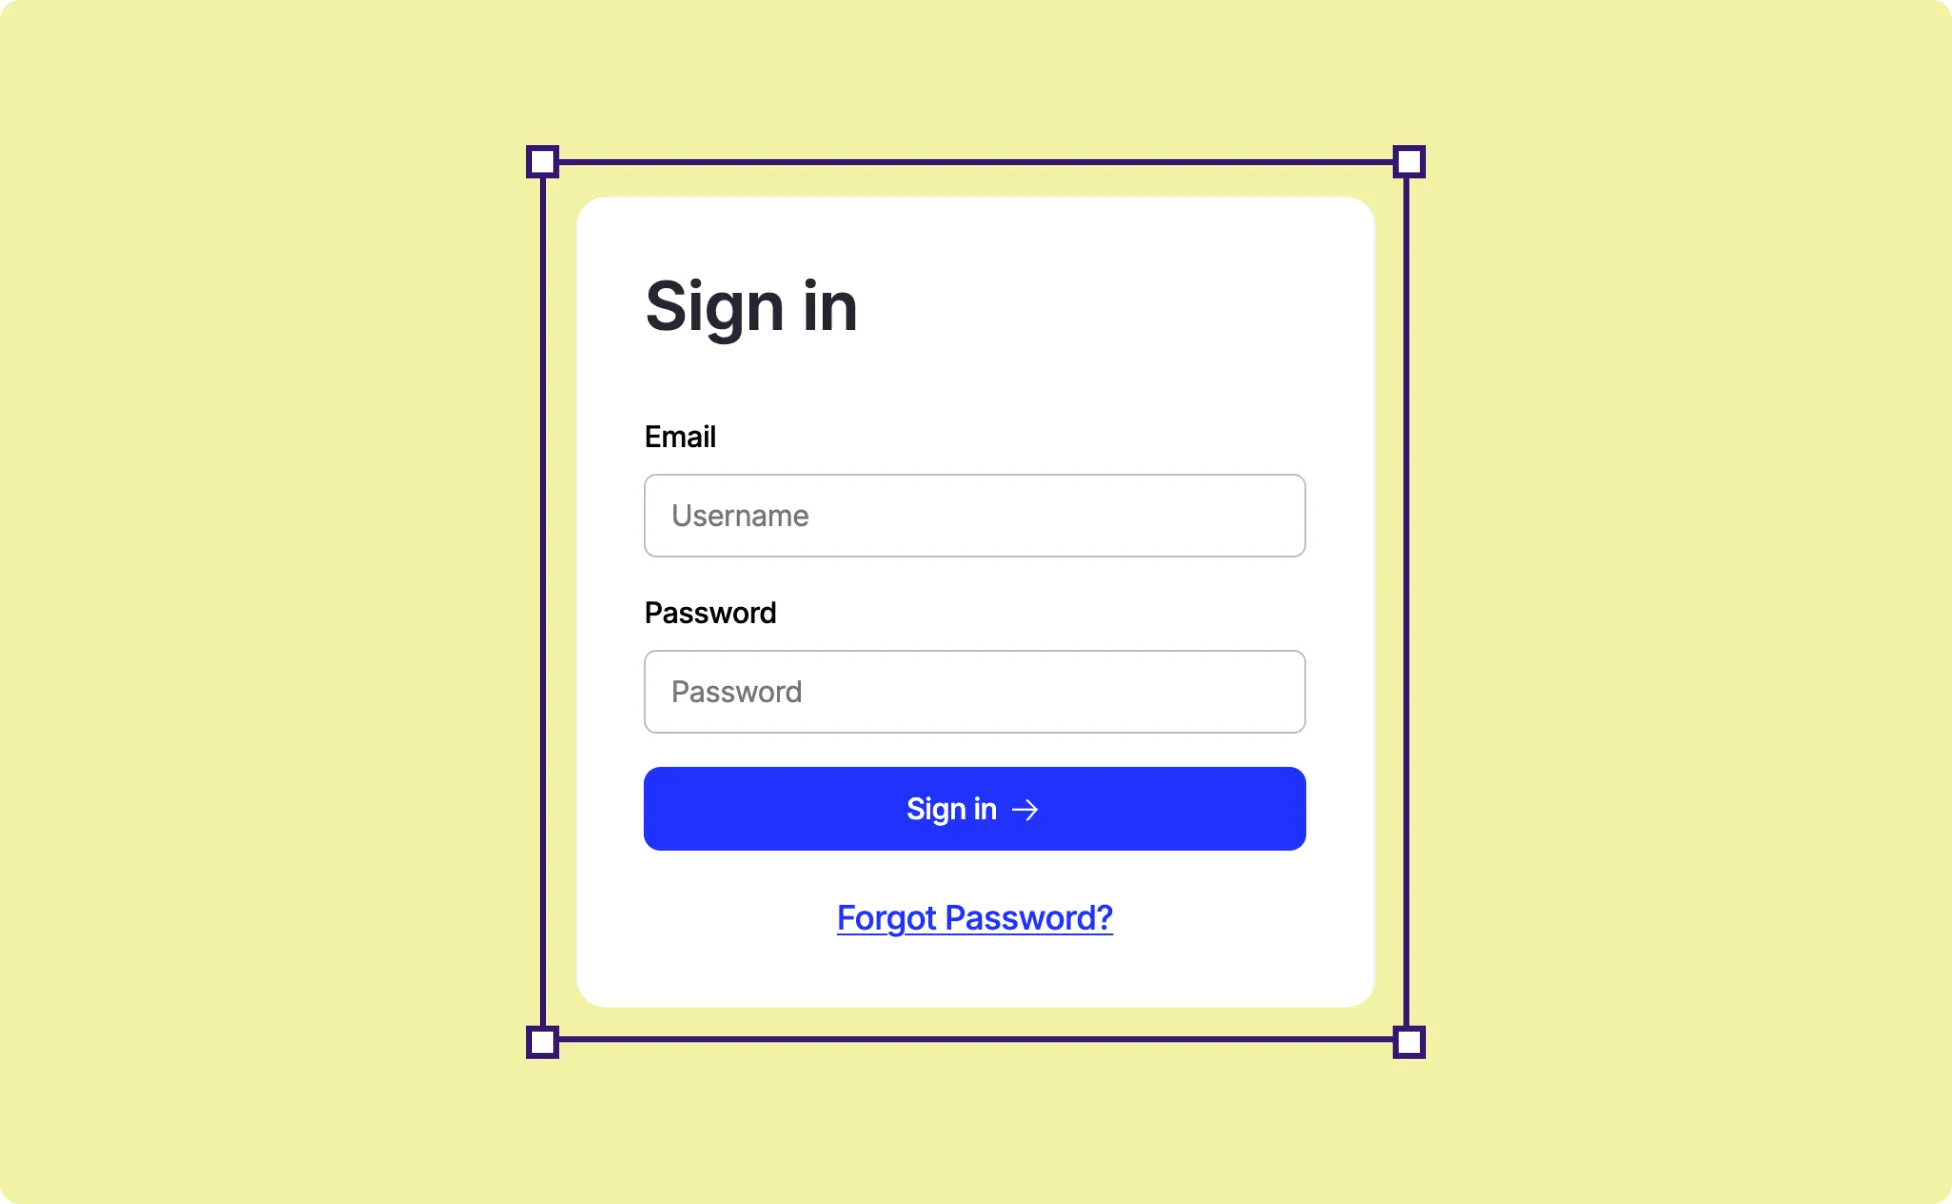
Kirki will automatically add a pre-made Login form to the page.
2. Customize & Configure the Login Page
Now it’s time to style your Login form and fine-tune its settings:
Use the options in the Right Panel to style and arrange the form to match your website’s brand.
Then, head to Page Settings to update your Page Title, Slug, and Description as needed. You can also find the SEO and Open Graph settings tab right here.
3. (Optional) Enable Social Login For Users
Now, users can log in using the form as is, but you can also enable Social Login in Kirki to allow users to use their existing accounts on social media platforms to access your site.
All you need to do is integrate Google, Facebook, or X (Twitter) apps.
Google Login
Step 1: Collect Google Client ID and Secret
To enable Google Login, you’ll first need to create a project in the Google Cloud Console and obtain your Client ID and Client Secret.
- Go to the Google Cloud Console.
- Sign in with your Google account.
- Navigate to APIs & Services → Credentials.
- Click Create Credentials → OAuth Client ID.
- Under Application type, select Web Application.
- Configure the OAuth consent screen if prompted (add app name, email, and authorized domain).
- Add the following Redirect URI: https://yourdomain.com/wp-json/GoogleLogin/v1/Auth/google-login
(Replace yourdomain.com with your actual website domain.)
- Click Create and copy the generated Client ID and Client Secret.
Step 2: Configure Google Login in Kirki
- Open the Kirki Editor.
- From the Left Sidebar, go to Apps.
- Search for Google Login and install it.
- Click the ellipsis (…) icon and select Configure.
- Paste your Client ID and Client Secret.
- Add a Success URL (where users will land after successful login).
- Click Save Configuration.
Step 3: Display Google Login on Your Site
- Open your Login Utility Page.
- From Apps, find Google Login.
- Click the ellipsis (…) icon, select Insert, then drag the button into your login form.
- Customize the button style if needed.
Facebook Login
Step 1: Collect Facebook App ID and Secret
- Visit the Meta for Developers.
- Log in with your Facebook account.
- Click My Apps → Create App.
- Enter your app name, contact email, and click Next.
- For use cases, choose Other and click Next.
- Choose Consumer as the app type and click Next. Enter your app name, contact email, and click Create App.
- Then, select Facebook Login as the product, and go to Settings. Add the following Redirect URI: https://yourdomain.com/wp-json/FacebookLogin/v1/Auth/facebook-login
(Replace yourdomain.com with your actual website domain.)
- From the left menu, go to App Settings → Basic.
- Make sure you have the site URL added, and copy your App ID and App Secret.
- Add your website domain under App Domains.
- Save changes.
Step 2: Configure Facebook Login in Kirki
- Open the Kirki Editor.
- From the Left Sidebar, go to Apps.
- Search for Facebook Login and install it.
- Click the ellipsis (…) icon and select Configure.
- Add your App ID and App Secret.
- Add a Success URL (where users will land after successful login).
- Click Configuration.
Step 3: Display Facebook Login on Your Site
- Open your Login Utility Page.
- From Apps, find Facebook Login.
- Click the ellipsis (…) icon, select Insert, then drag the button into your login form.
- Customize the button style if needed.
X (Twitter) Login
Step 1: Collect X (Twitter) Client ID and Secret
To enable X (Twitter) Login, you’ll first need to create an app and generate your Client ID and Client Secret credentials from the X Developer Console:
- Visit the X Developer Console and sign in. You might have to fill out a Developer Agreement form initially.
- Go to Apps and click Create App.
- Set your Application Name and Environment.
- Once created, copy and save your credentials.
- After that, refresh the dashboard, select your app, and from User Authentication Settings, click Set Up.
- Set App Permissions to Read.
- Choose your Type of App as Web App, Automated App, or Bot.
- Then, add the following Redirect URL: https://yourdomain.com/wp-json/XLogin/v1/Auth/x-login
(Replace yourdomain.com with your actual domain – or copy this directly from your app configuration panel.)
- Finally, add your Website URL: https://yourdomain.com/
(Again, replace yourdomain.com with your actual domain)
- Click Save Changes and copy your Client ID and Client Secret.
Step 2: Configure X (Twitter) Login in Kirki
- Open the Kirki Editor.
- From the Left Sidebar, go to Apps.
- Search for X (Twitter) Login and install it.
- Click the ellipsis (…) icon and select Configure.
- Paste your Client ID and Client Secret.
- Add a Success URL (where users will land after successful login).
- Click Save Configuration.
Step 3: Add the X (Twitter) Login Button to Your Site
- Open your Login Utility Page.
- From Apps, find X (Twitter).
- Click the ellipsis (…) icon, select Insert, then drag the button into your login form.
- Customize the button style if needed.
Note: You can insert Social Login buttons only on a Login Utility Page.
4. Publish and Test the Login Page
If you’re already logged into your site, the login page will appear blank when previewed through the editor or visited.
So once everything looks good in the editor, go ahead and Publish your page.
Then open the page in an incognito window, or log out of your site and visit the page. This ensures you see the login form as a new visitor would.
Was this page helpful?