Glass Effect
The Glass Effect in Kirki allows you to create a translucent and depth-rich glass-like look for your design.
This effect is perfect for designing sleek interfaces, adding depth to cards and navigation, or giving your site an Apple-style premium touch.
Where to Use Glass Effect
- Cards – Glass product/feature cards in a grid.
- Navigation Bars/Headers – Frosted navigation bar that blurs background content on scroll.
- Modals & Popups – Keep focus on content while still revealing context behind.
- Hero Sections – Add depth and sophistication to landing page highlights.
- Background Overlays – Semi-transparent overlays that keep the background visible.
Add Glass Effect
- Select an element on the page.
- Remove the background or lower its opacity from the Right Panel → Fill.
- Then go to the Right Panel → Style.
- Click the plus (+) icon and select Glass Effect.
Add Glass Effect
Select an element on the page and on the Right Panel → Style, click on the Glass Effect layer to access its settings:
- Refraction: Controls how much the background behind the glass bends or distorts. Higher values create a more liquid-like feel.
- Depth: Defines how “thick” the glass appears, adding dimensionality.
- Dispersion: Adjusts color splitting, giving a subtle prism effect.
- Blur: Controls background blur intensity, from sharp to heavily frosted.
- Light, Angle, Depth (lighting controls): Fine-tune how light interacts with the glass surface, adding realism.
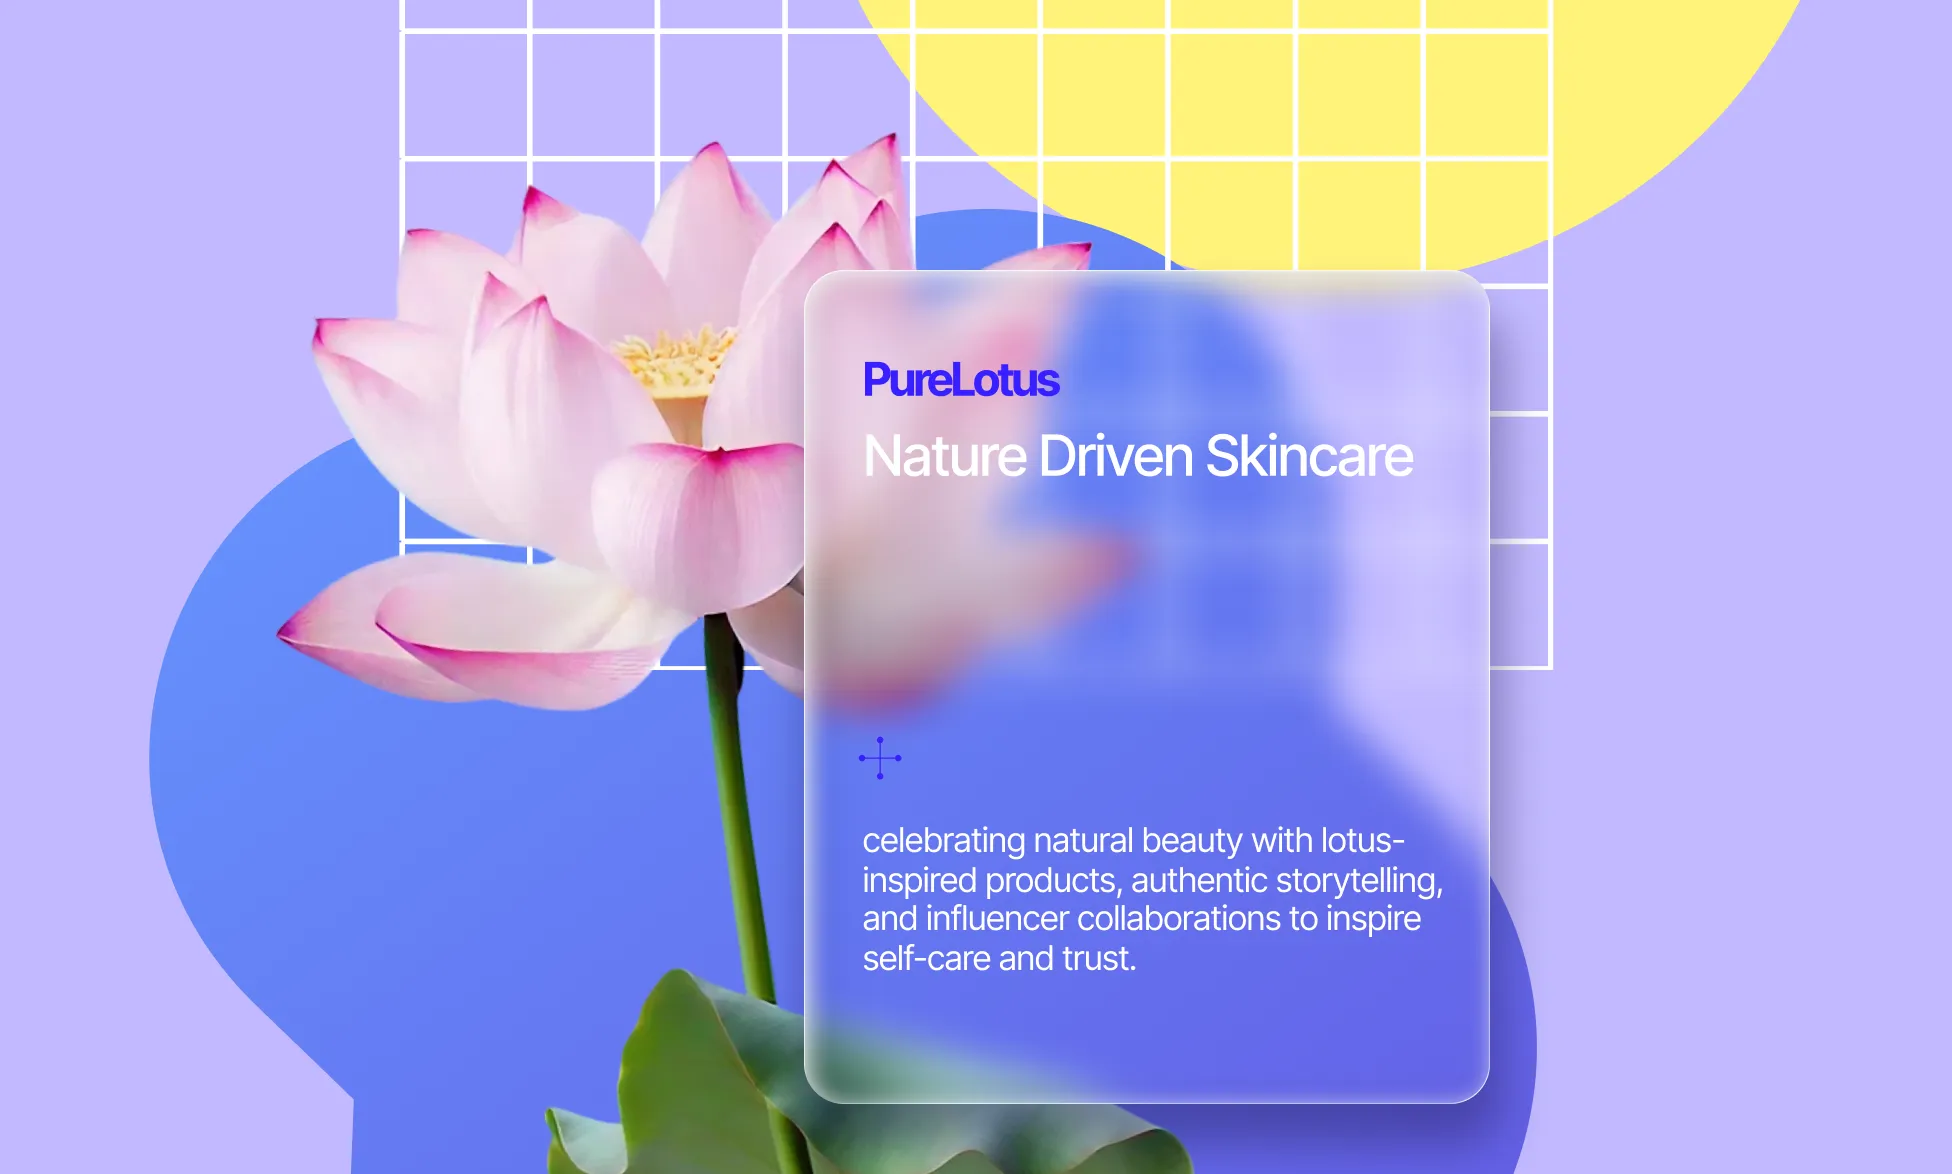
Example Use Case: Frosted Cards
Goal: Create elegant translucent cards that blur content behind them.
Steps:
- Prepare the background: Ensure the section behind the card has visual detail (image, gradient, video). Avoid flat, solid colors behind the card.
- Add the card: Insert a Div inside your section/grid and resize the div. Add text/icons inside the card as needed.
💡 Note: Keep the card above the background you want to blur. To do that, set the position to absolute and adjust the z-index value.
- Remove Card background: Remove the background of the card or lower its opacity.
- Enable Glass Effect: Select the card, go to the Right Panel → Style, click the plus (+) icon, and select Glass Effect.
- Adjust the values until you get the desired effect.
Tips for Best Results
To make the glass actually look like glass:
- Element Background: Use no or low-opacity background. Solid fills block the glass effect.
- Content Behind Glass: Use textured or detailed backgrounds. Pure white/black or fully opaque overlays weaken the effect.
- Layering: Glass elements should sit above the content you want to blur (position absolute, high z-index).
- Performance: Large or full-bleed glass sections may impact scroll performance. Prefer glass on cards/components instead of entire sections.
Was this page helpful?