How to Add & Edit Text
Text is a core part of any web page. From content to style, every detail shapes your page’s impact.
In Kirki, adding, editing, and styling text is quick and easy.
How to Add a Text Element
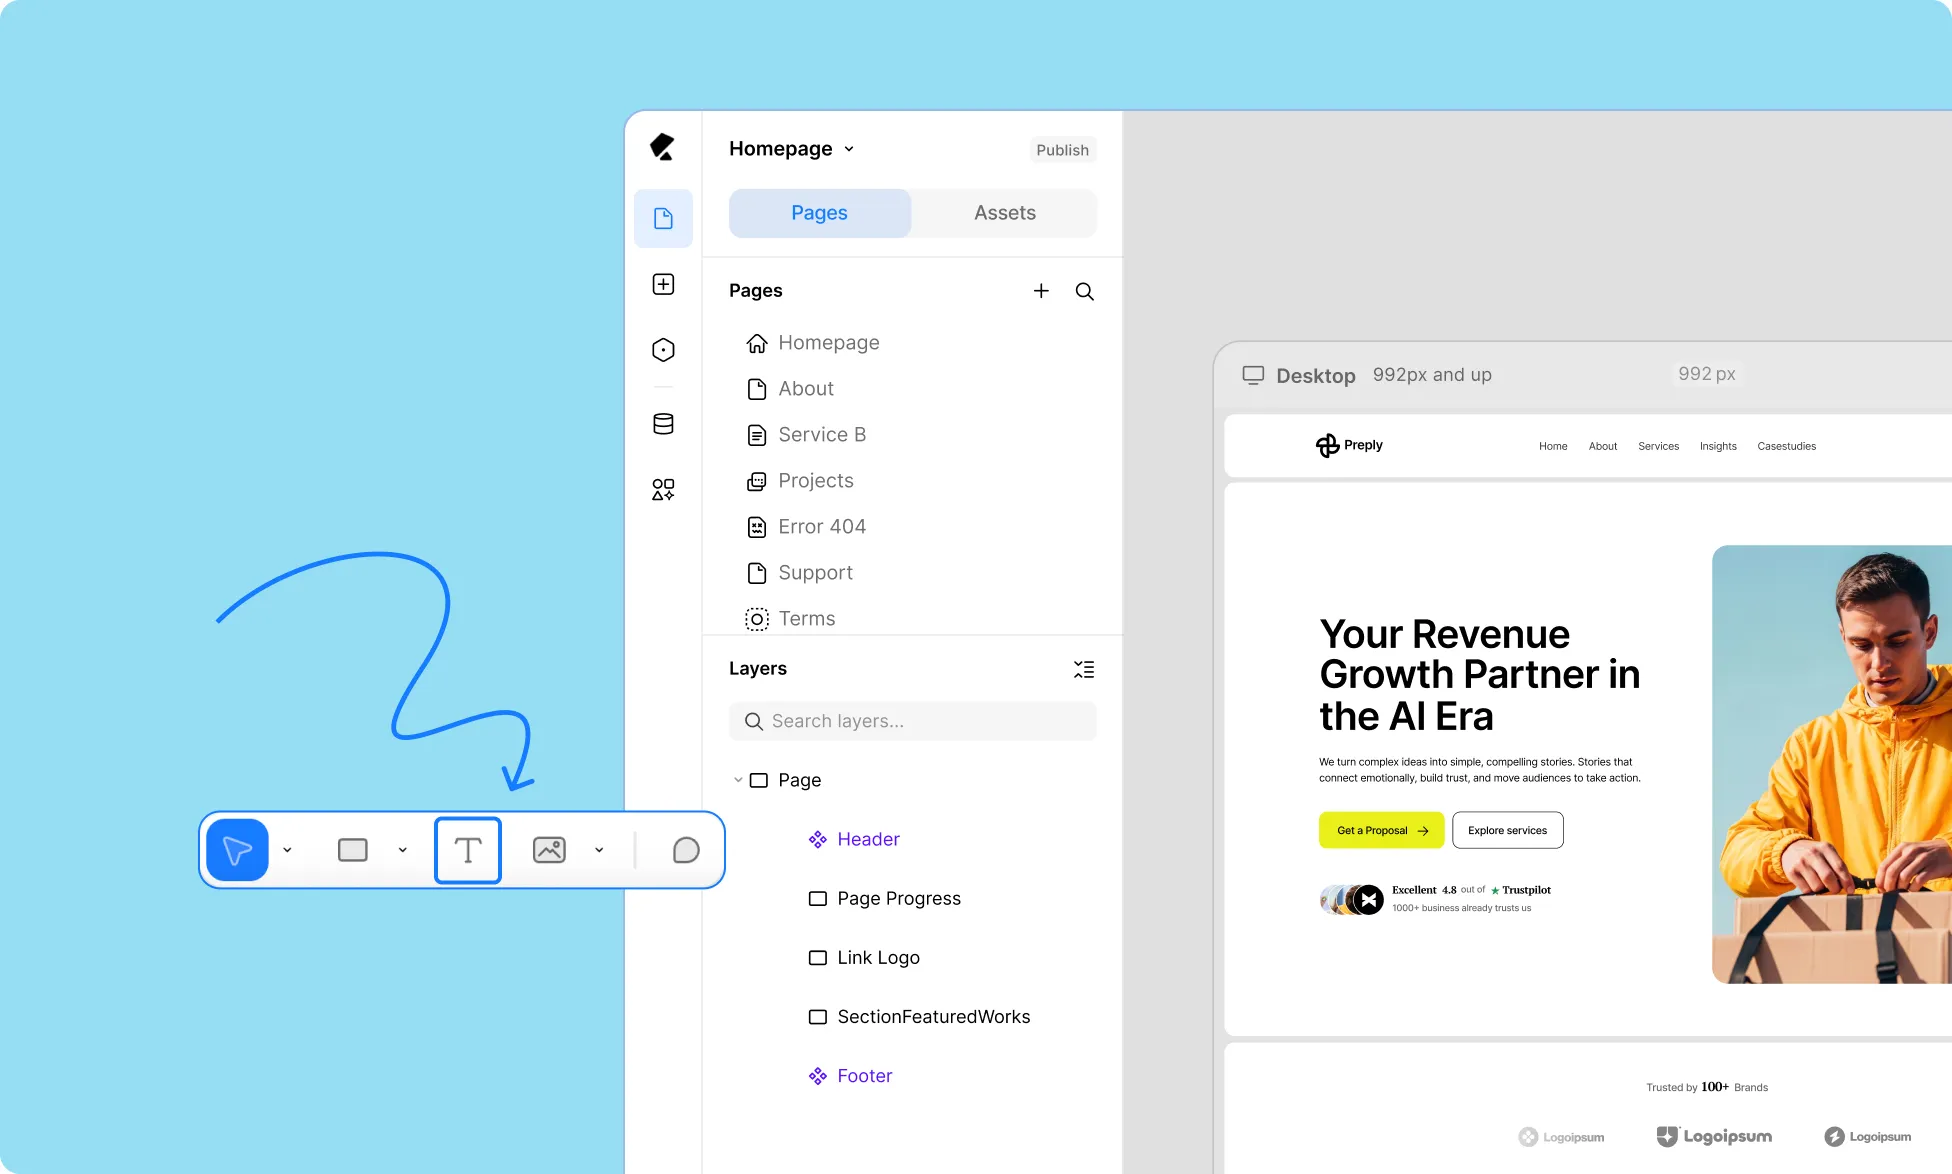
Select the Text element from the Element Island or press T on your keyboard. Then you have two ways to add text to your canvas:
Click Once
Click once on the canvas to create a text layer that spans the full horizontal space available. Its width is also set to Auto, so it will expand automatically as you type.
- Click once on the canvas.
- Start typing to add your text content.
- Press enter to create a new line.
Click and Drag
Alternatively, with the Text element selected, click and drag on the canvas to create a text layer with a fixed width and height.
Text content will wrap and overflow onto new lines as needed.
- Click and drag on the canvas.
- Use the visual guide to draw the dimensions you want.
- Start typing to add your text content.
- Press enter to create a new line.
📝 Note: The Text element adds a < p > (Paragraph) tag for body text. While you can style it like a heading, this isn’t recommended for SEO and accessibility. Instead, use the Heading element.
How to Add a Heading Element
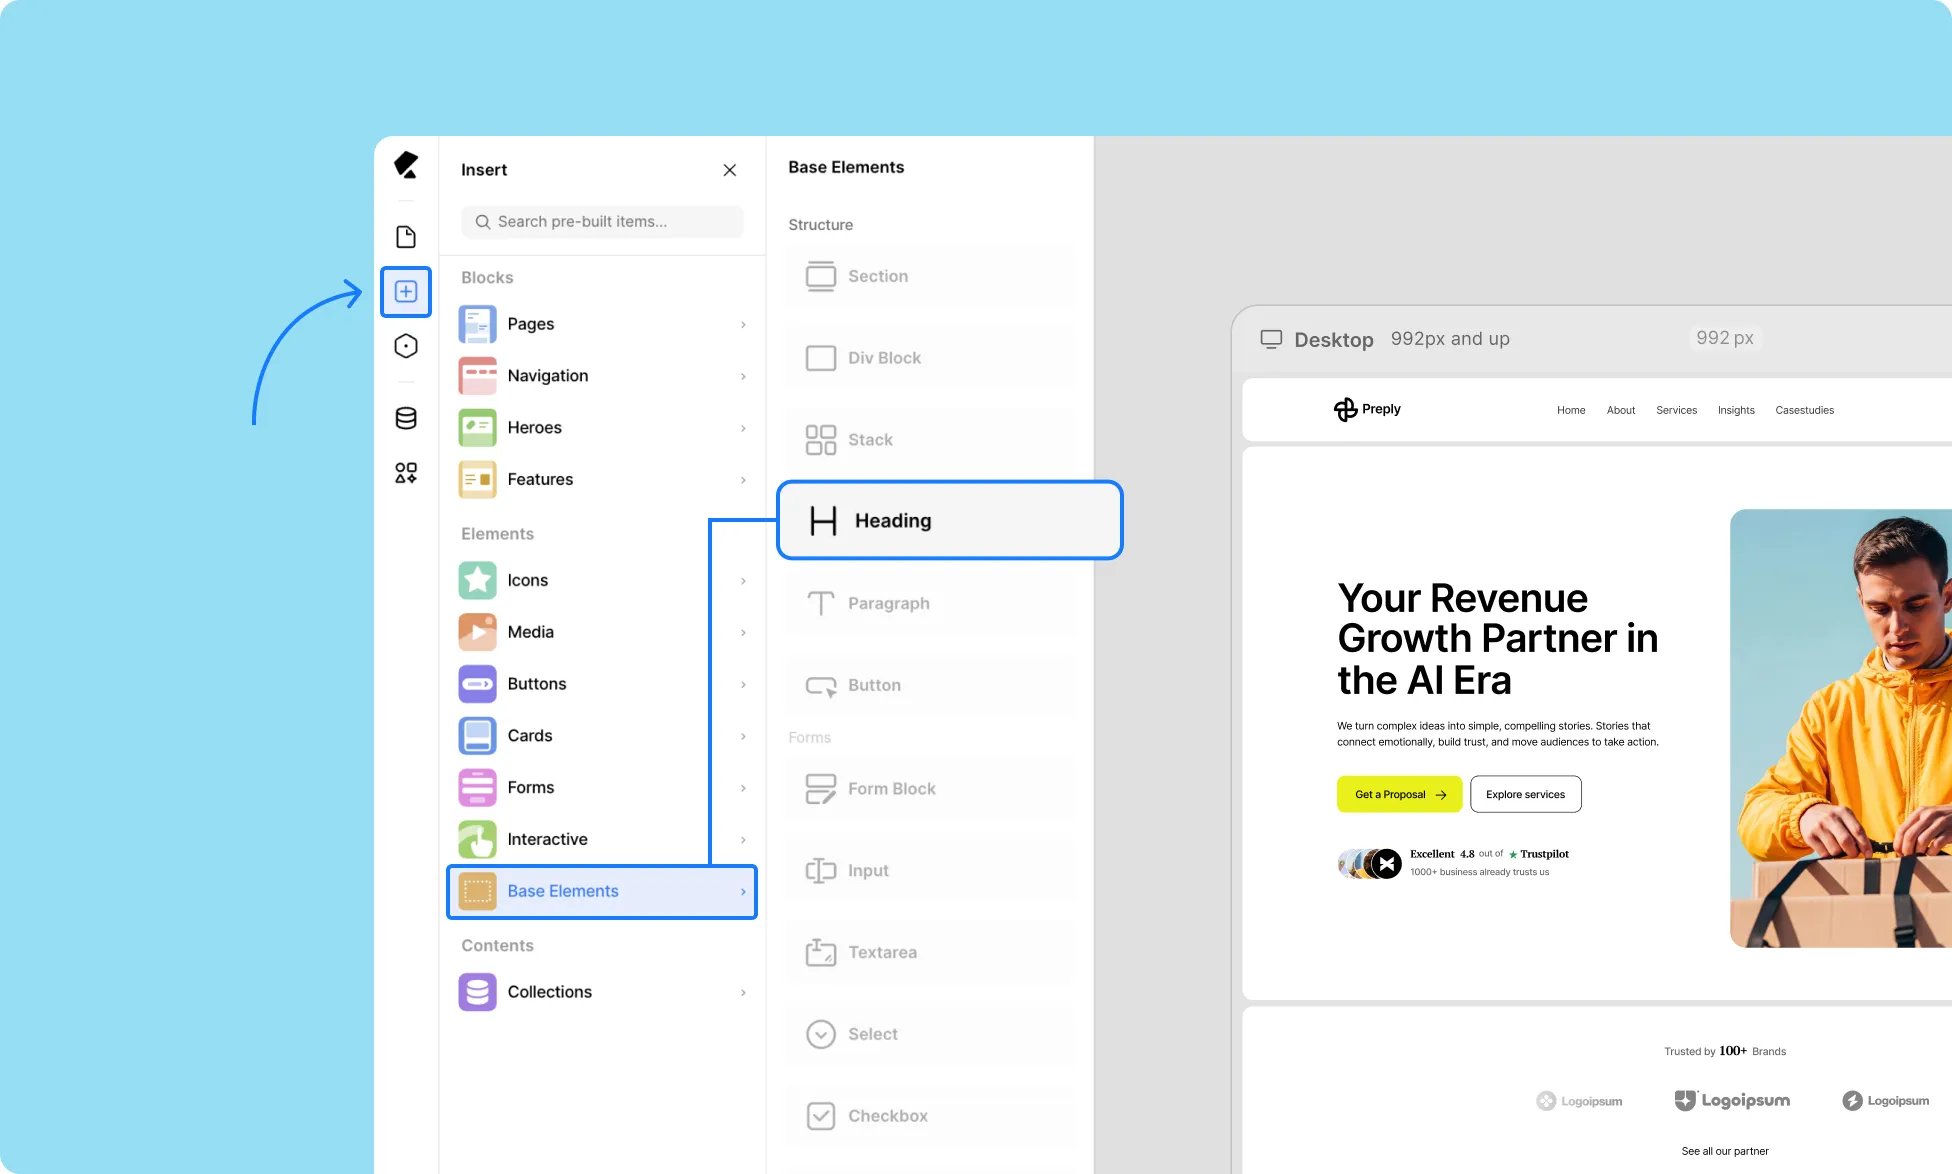
Give your page a better structure with the Heading element:
- Click on Insert on the left sidebar.
- Scroll down to Base Elements.
- Click the Heading element to add it to your canvas.
📝 Note: If you don’t see Base Elements, click the Kirki logo in the top-left corner, go to View, and enable Show Base Elements.
How to Switch Header Tags

By default, a Heading element is set to H1. Here’s how you can switch it to another header tag:
- Select your Heading element.
- Go to the Settings Tab in the Right Panel.
- Open the Tag dropdown and choose the header tag you want to use (H1-H6).
How to Edit Text Content
You can edit your text content in two easy ways:
Directly on the Canvas
Double-click a text layer and type or paste content inside the field right on the canvas.
Using the Right Panel
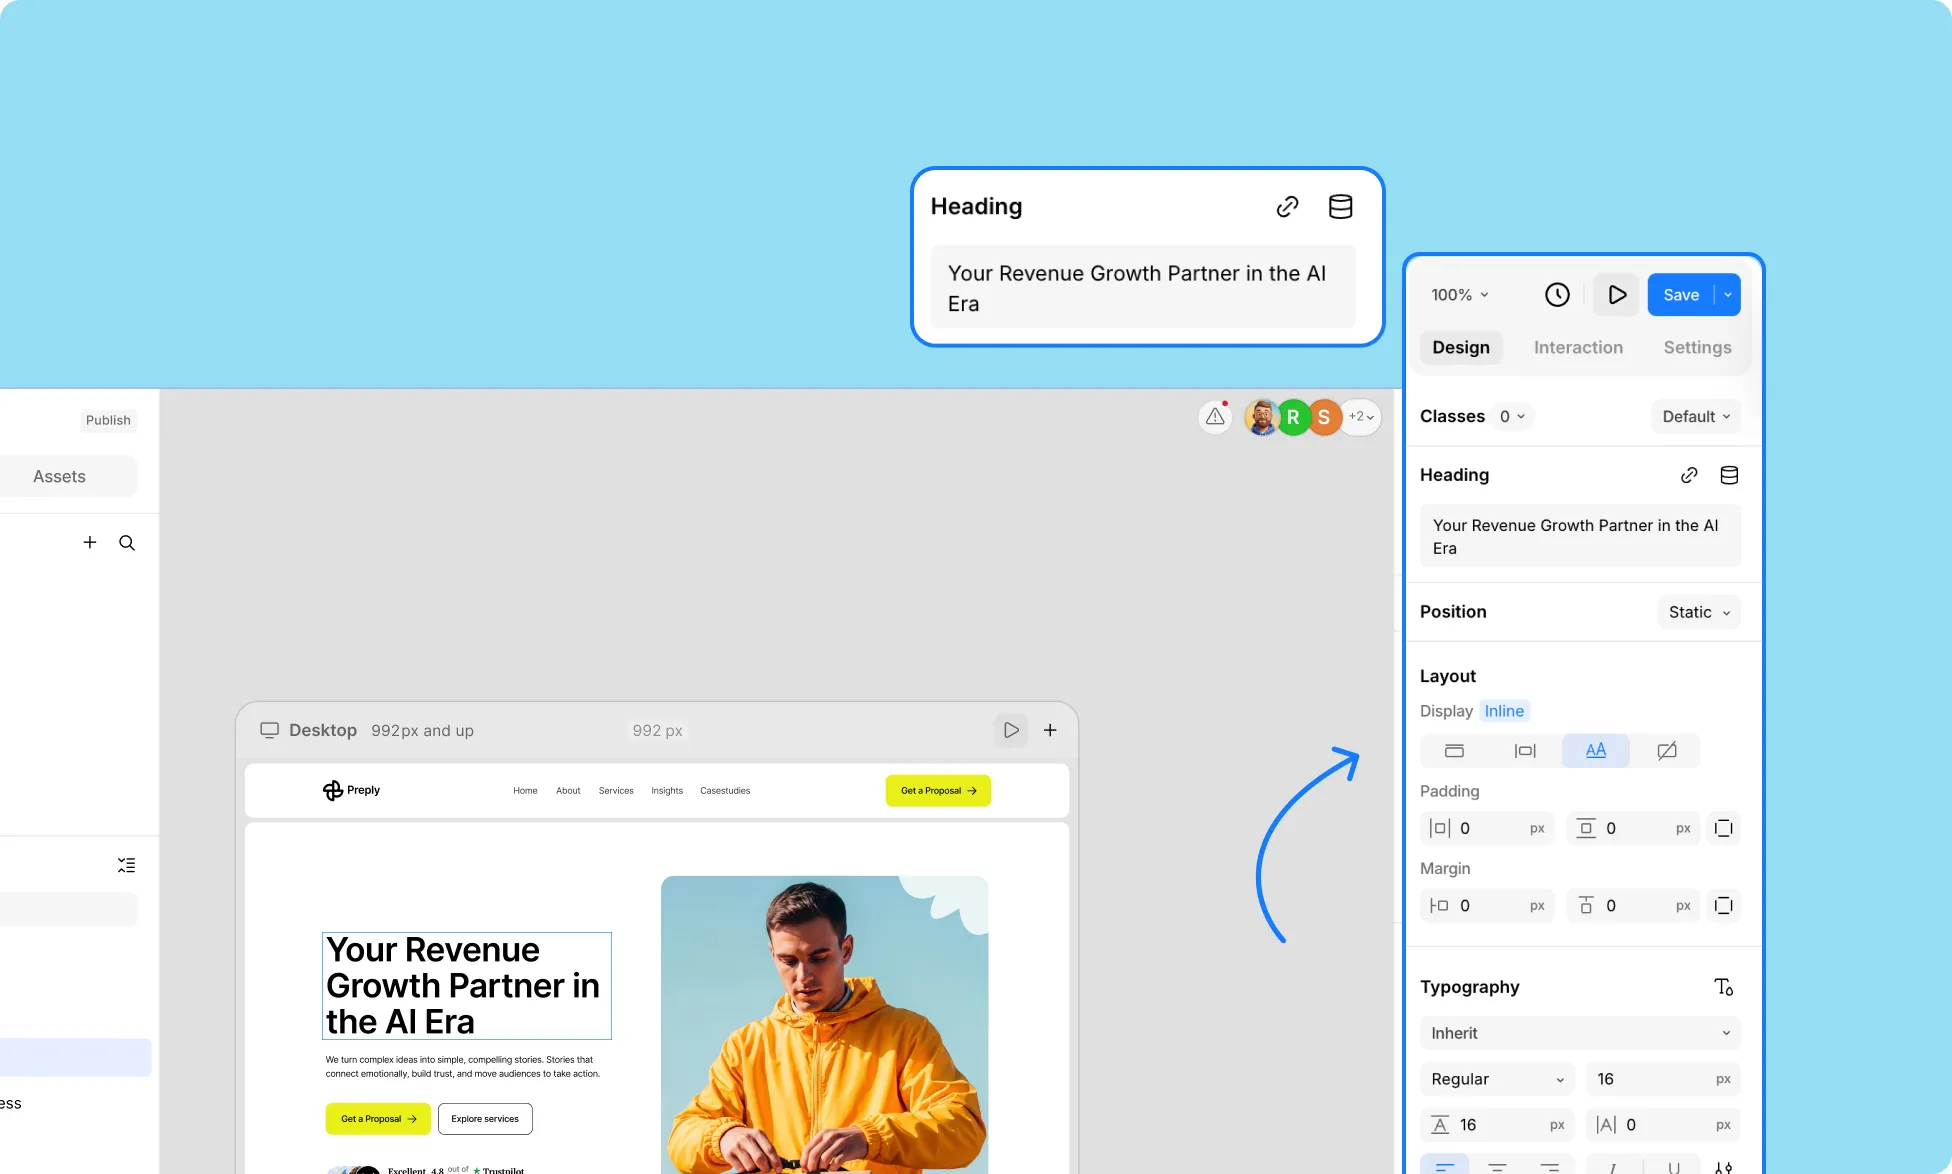
Select your Text element, then type or paste content inside the text field at the top of the Right Panel.
Change Text Font
Change your text font from the Typography section in the Right Panel. Click on the dropdown to access the three font sources available:
- Pre-installed Fonts – Choose from the fonts included in Kirki.
- Google Fonts – Pick from a wide selection of free Google Fonts.
- Custom Fonts – Upload Custom Fonts from your local device.
Learn more about Adding Custom Fonts.
Edit Type Properties
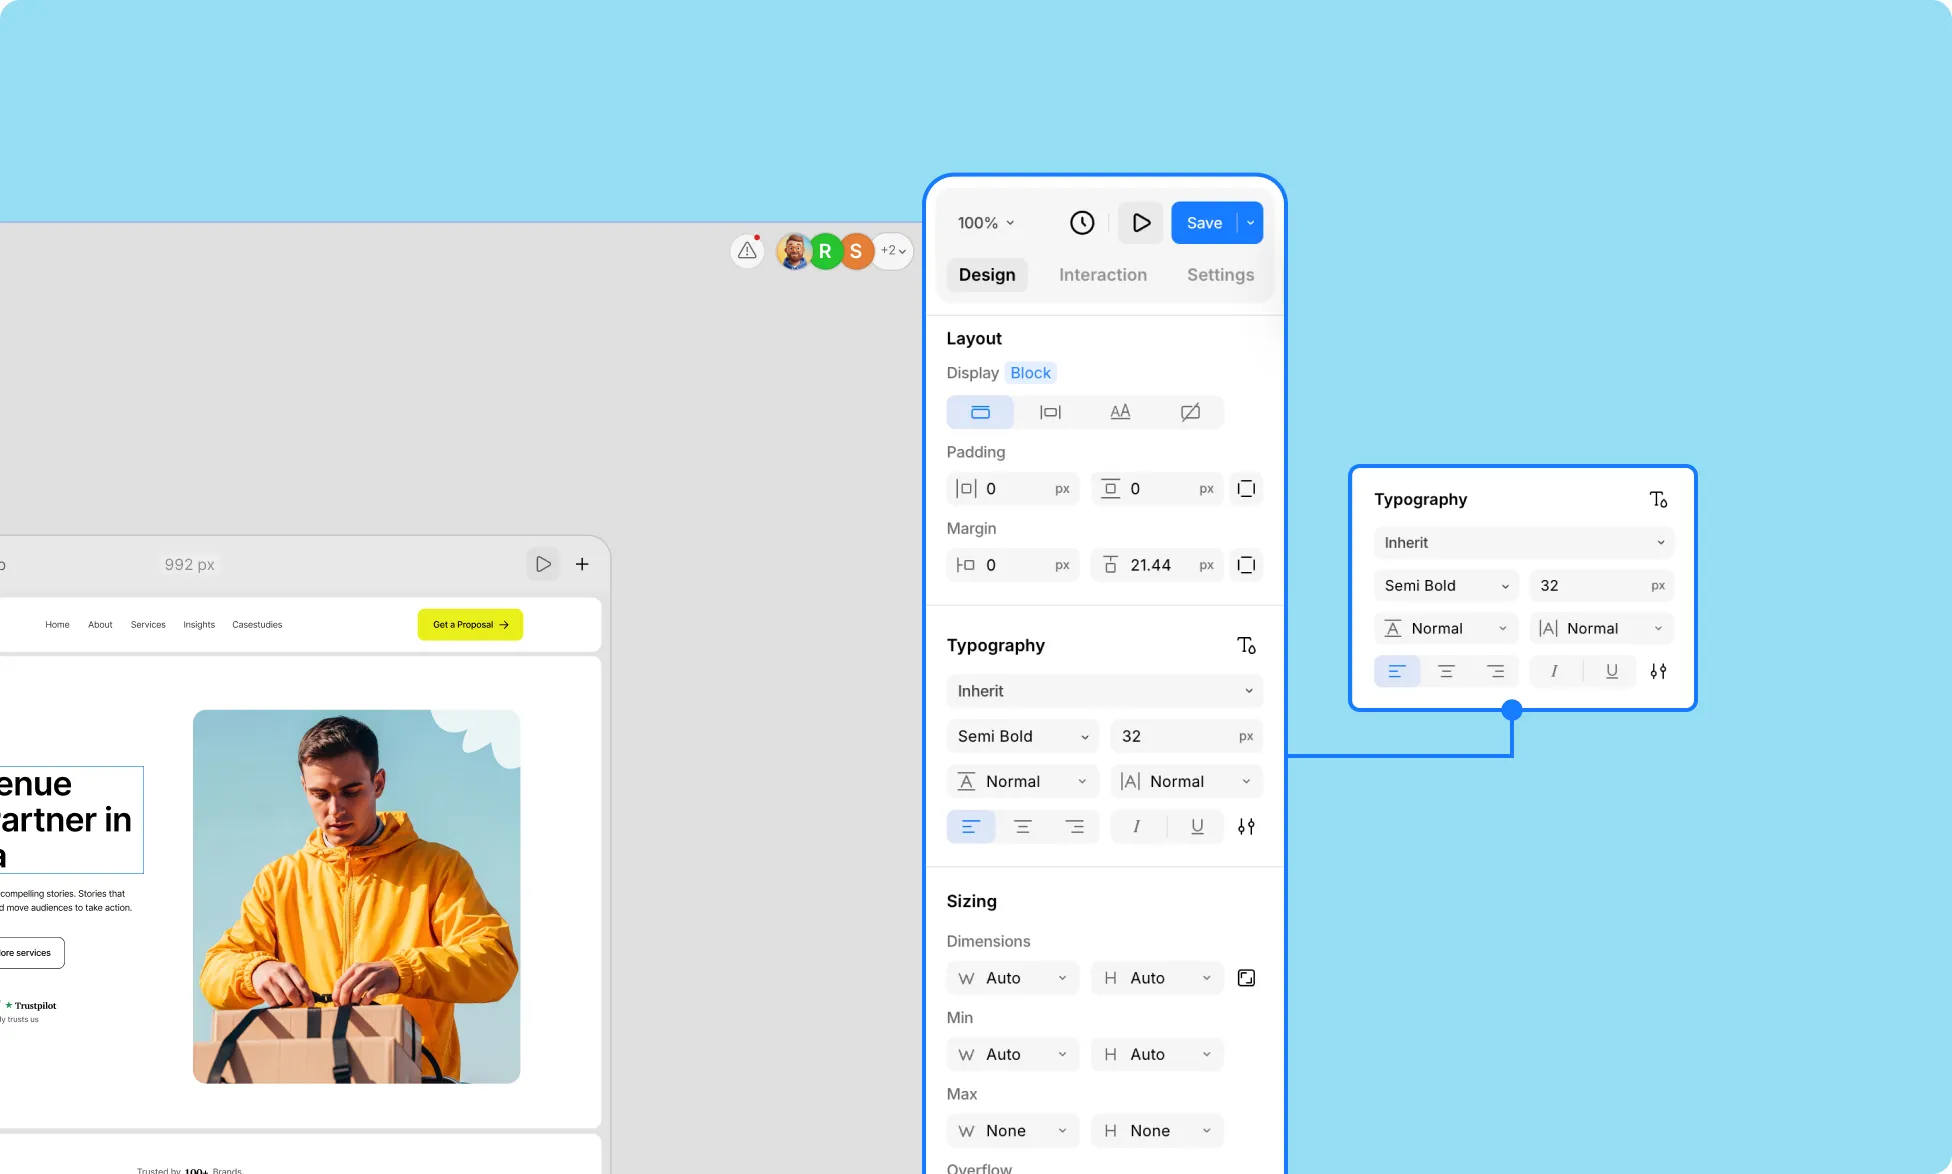
Similarly, edit any type properties, including font size, weight, spacing, alignment, and more from the Typography section in the Right Panel.
- Explore Typography Properties
- Using Variable Fonts
Customize Font Styling

From the Style section on the Right Panel, customize your font color, stroke, opacity, and shadow.
- Color: Add color, gradients, and images to text using the element’s Fill properties.
- Stroke: Add an outline around your text and adjust its color, thickness, and opacity.
- Opacity: Control the transparency of your text.
- Shadow: Add a shadow behind your text for depth and emphasis
Learn more about Style properties.
Other Properties
You can also adjust additional properties for a text layer from the Right Panel that aren’t specific to its typography or style settings.
- Layout: Set the text layer’s display type, padding, and margin from the Layout section.
- Size: Adjust the text layer’s width, height, and other sizing parameters (including overflow) from the Size section.
- Position: Control the text layer’s placement and alignment on the canvas from the Position section.
Was this page helpful?